
The Resurrection of 550 Arlington Avenue: Phase 2


Now that the foundation install is complete, we’re on to the next several steps of the custom home building process:
Supporting Beam Structure
Wall & Roof Framing
Fire Blocking
Stairs & Sheathing
French Drain
Basement Slab
Rough-In Plumbing, Electrical & HVAC
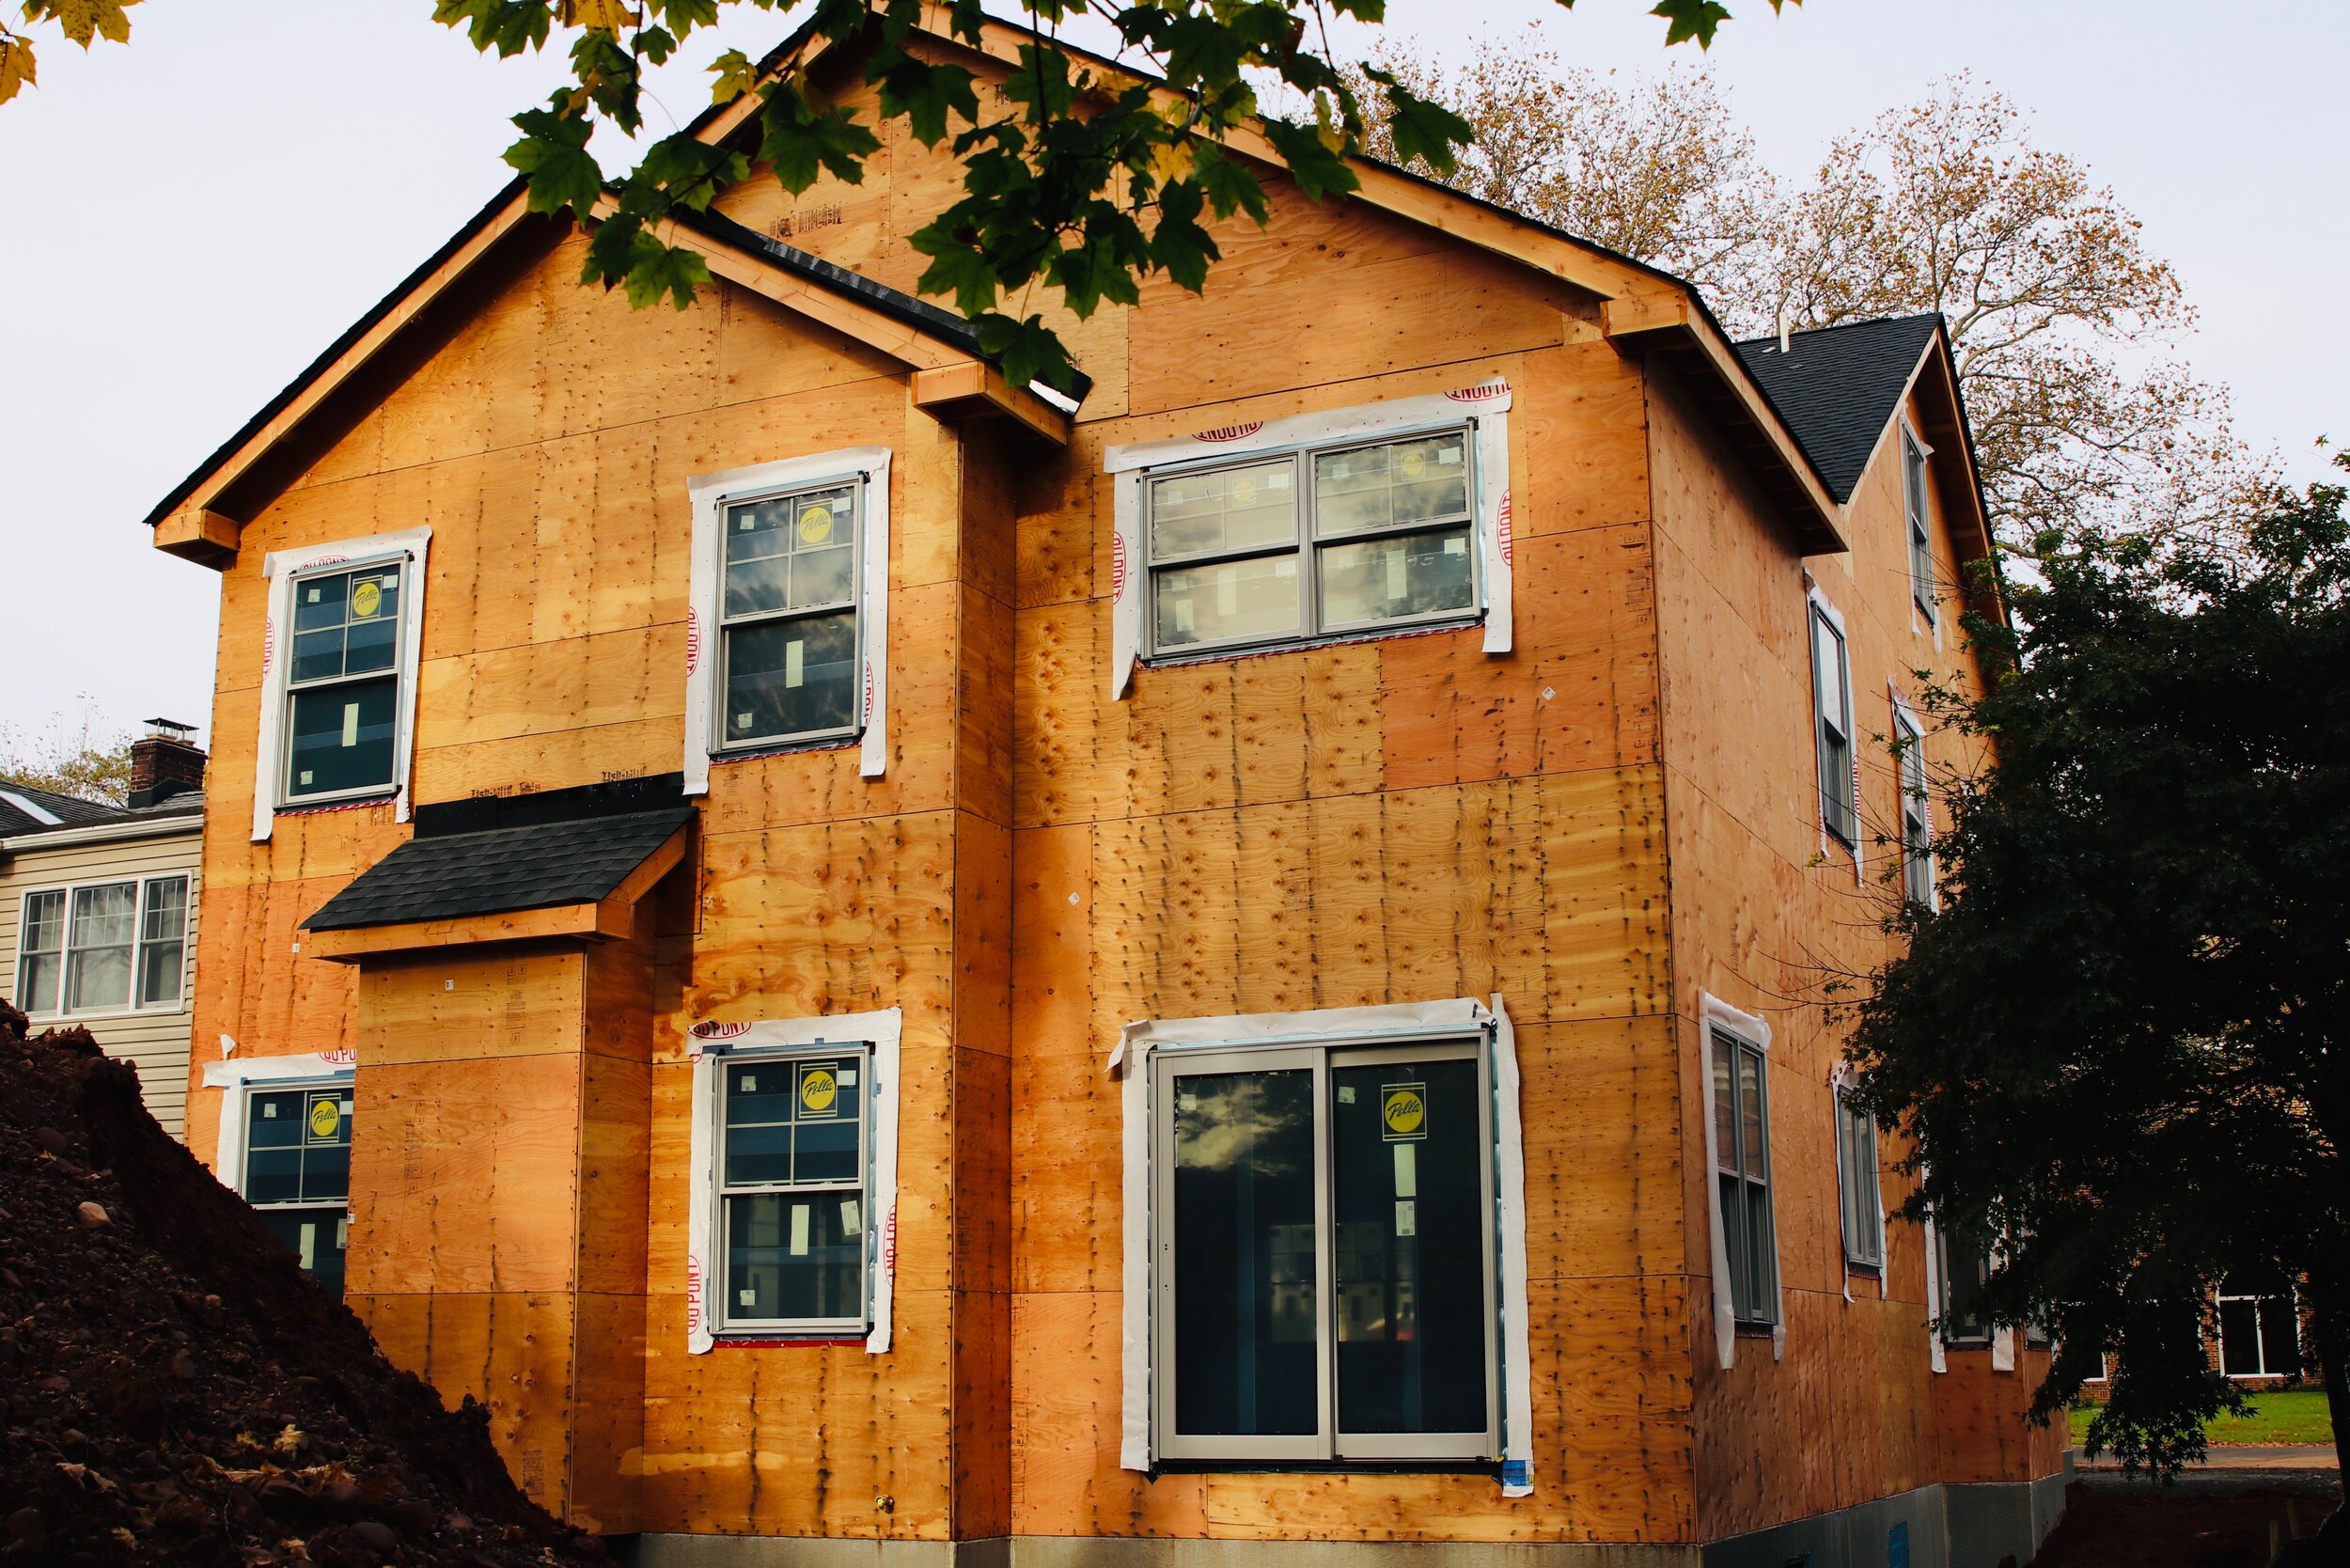
House Wrap
Siding
Inspections
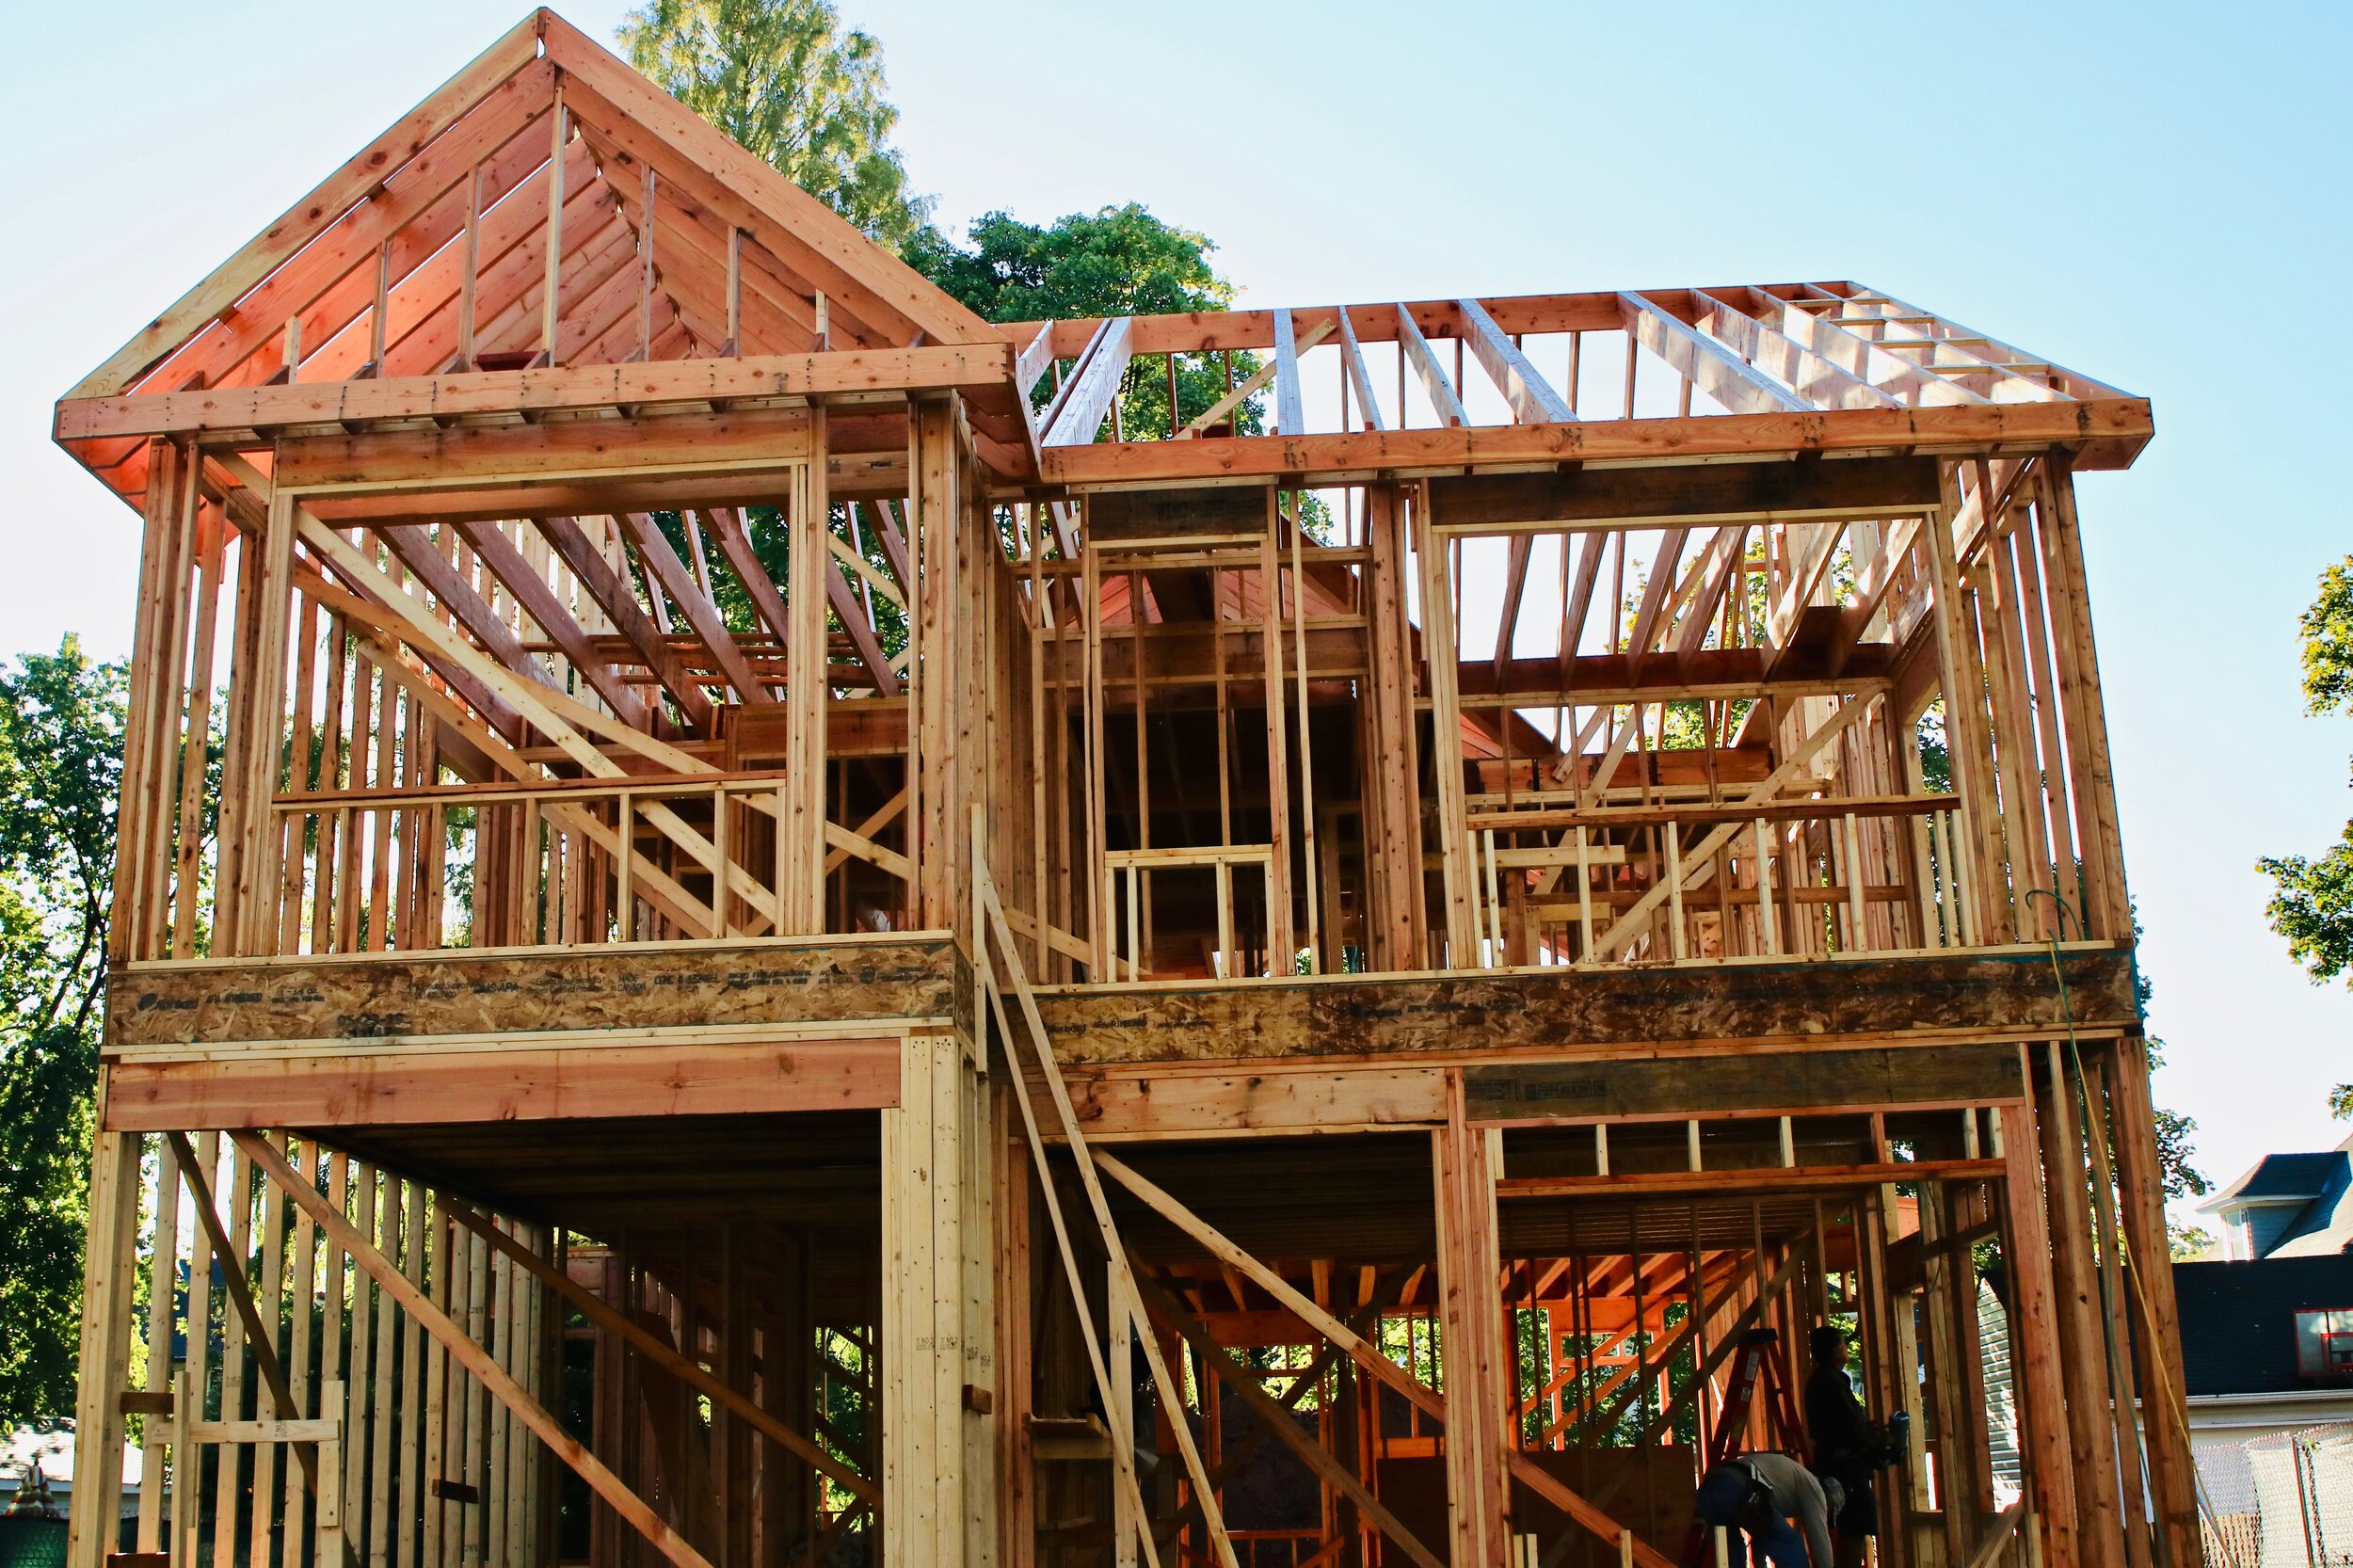
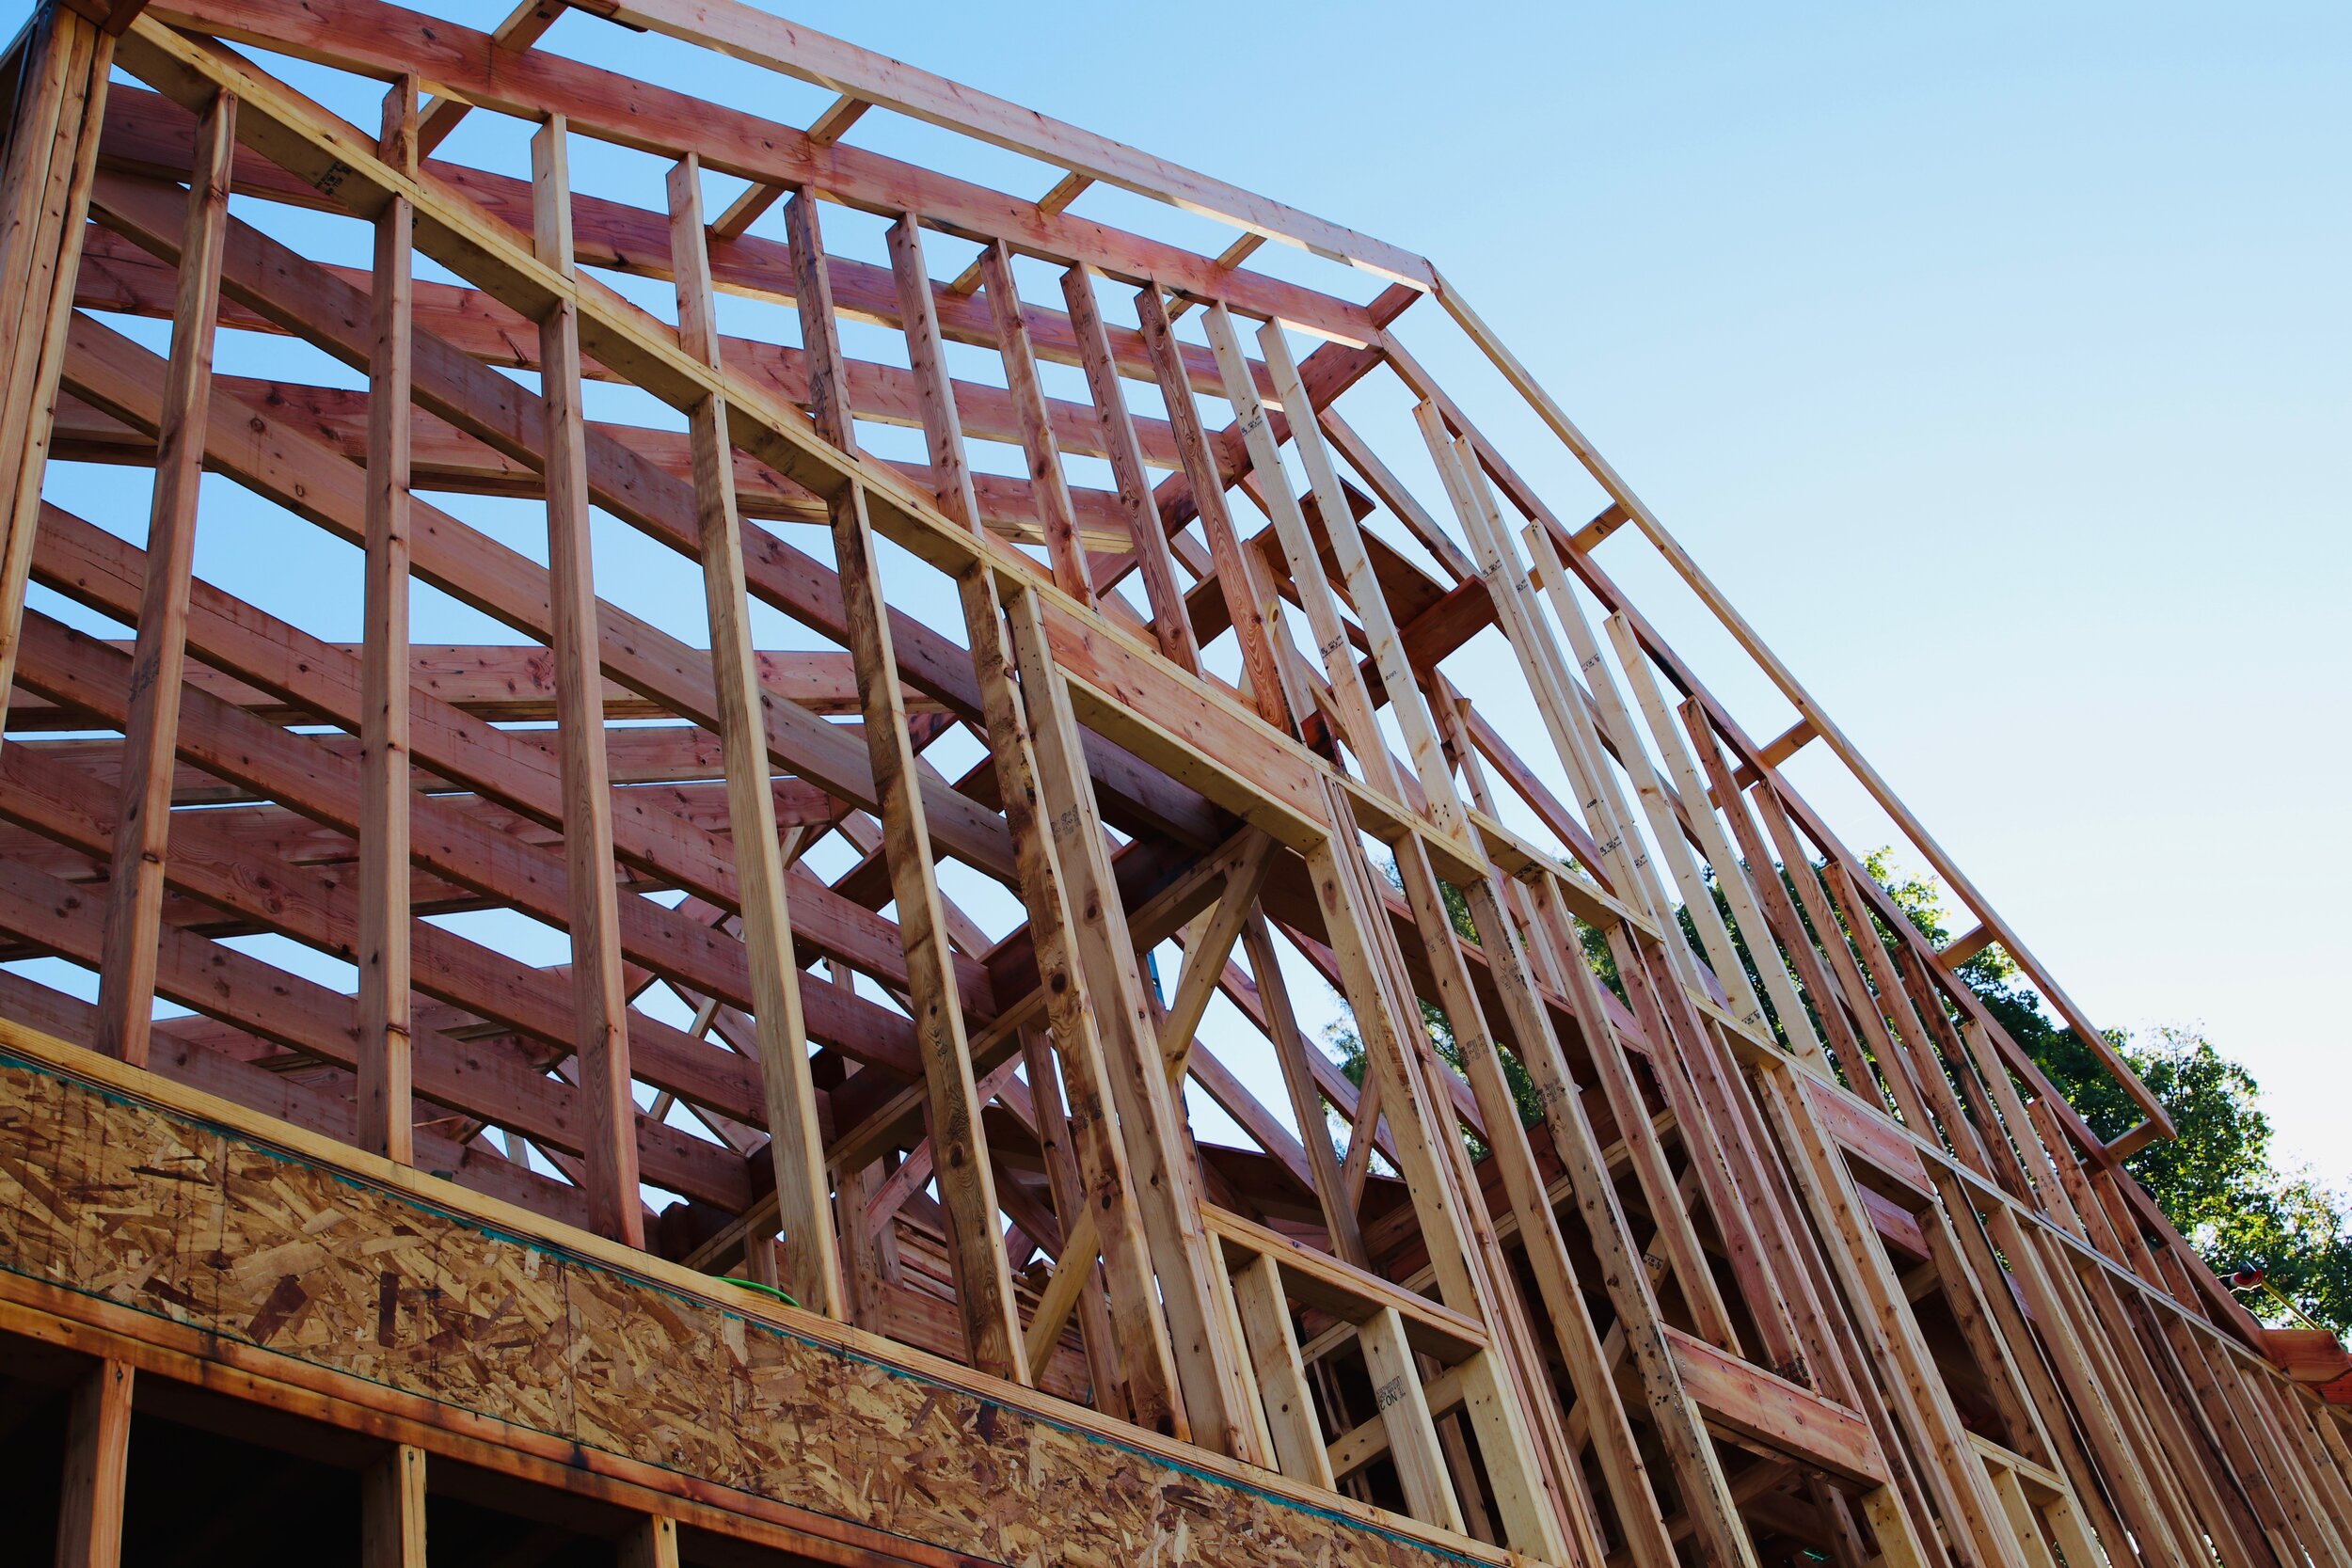
The most important part of the framing process for 550 Arlington Avenue, and most new homes, begins with the first floor, directly above the basement.
It’s probably no surprise that the entire first floor structure is laid out explicitly by an architect or structural engineer. Once the drawings are sent to a lumber supplier, the specific LVL and TJI lumber pieces are laid out and ordered.
As the framing is assembled, we’ll note that the flooring is a combination of TJI floor joists and LVLs - Laminated Veneer Lumber beams.
Each joist or LVL is installed specific to the structural plans and precisely tied-in to the lally columns. TJI floor joists, LVLs, and even glulam beams are at the foundation of a structurally sound and long lasting home.
What Are TJI Floor Joists?
TJI Joist is short for Trus Joist. The Trus Joist is engineered lumber that supports the load which the floor is built to bear. It’s essentially the buildings skeleton.
TJI Joists are developed and manufactured by Weyerhaeuser.
According to Weyerhaeuser, Trus Joist® TJI® joists are a key part of making a high-performance floor. The manner in which the TJI joists are manufactured provides tremendous stability for the home.
The quality of the materials and the detailed assembly of the product provide age related resistance to warping, twisting and shrinking.
If the builder doesn’t order the right product, all of these things can lead to squeaky floors over time. And if you own an old house, you know how annoying squeaky floors can be!
TJI Joists are considered lightweight and come in longer lengths than conventional lumber, which make them easier to install than traditional framing. Much like the precast foundation that was installed, this saves both time and money.
Traditional joists made with non-engineered lumber are much larger, heavier, and tend to protrude, making installation flush to the ceiling difficult, if not impossible.
LVLs (Laminated Veneer Lumber) Are Holding Up Your House
Laminated Veneer Lumber (LVLs) are a strong, high-quality engineered wood product used mostly for building and structural needs. Think of LVLs as a type of high-powered plywood with an extremely strong core, and designed to carry heavy loads.
LVLs are about the same strength as concrete, steel or even a very well milled timber. Similar to the way TJI joists are created, LVLs are developed by using high heat to laminate together sliced wood veneers.
At install, the LVL is more rugged and long lasting than a typical piece of non-engineered lumber. The engineering process provides more resistance to twisting, splintering and cracking while providing a more long lasting, leveled finished product- leading to less squeaky floor product for years to come.
LVLs come in various sizes from various manufacturers and will be cut by the framer to match the exact engineering specs.
There are different laminated veneer lumber (LVL) brands available for the home builder.
These brands include:
• Microllam (it’s often misspelled as Microlam)
• GP Lam LVL (Georgia Pacific)
• LP SolidStart LVL (Louisanna Pacific)
• Power Lam (Anthony Forrest Products)
Glulam Beams
Glulam beams are short for glue-laminated timber beams. Similar to LVLs, glulam beams are manufactured by heat pressing together several layers of solid wood lumber using a high strength glue product to form one single structural beam.
Since an LVL is designed as a strong, structural element and not for aesthetics, it’s almost always concealed in the ceiling and walls. Most glulam beams however, are intended to be exposed in the ceiling and therefore are manufactured with more aesthetically pleasing products like spruce, pine and fir, all of which are typically clear coated or stained to design.
Unlike the LVL manufacturing process which is more commodified, the glulam beam is manufactured more methodically, and with a more custom finished product in mind. Because glulam beams are more customized to the needs of the engineering plans, they tend to be pre-cut before arriving on site, and tend to be more expensive.
The main benefit with glulam beams is the more natural looking finished product.
Although not as pleasing to the eye, LVLs typically carry a stronger load than glulam’s simply because of the manufacturing process.
Most of the manufacturers above manufacture trus beams, lvls and glulams.
Lally Columns
From the basement up, the lally columns carry the weight of the home, spreading out the house’s load points across the LVLs. At each load point a joist will get tied to an LVL with Simpson strong tie hangers.

Example of lally columns, basement joists and LVLs
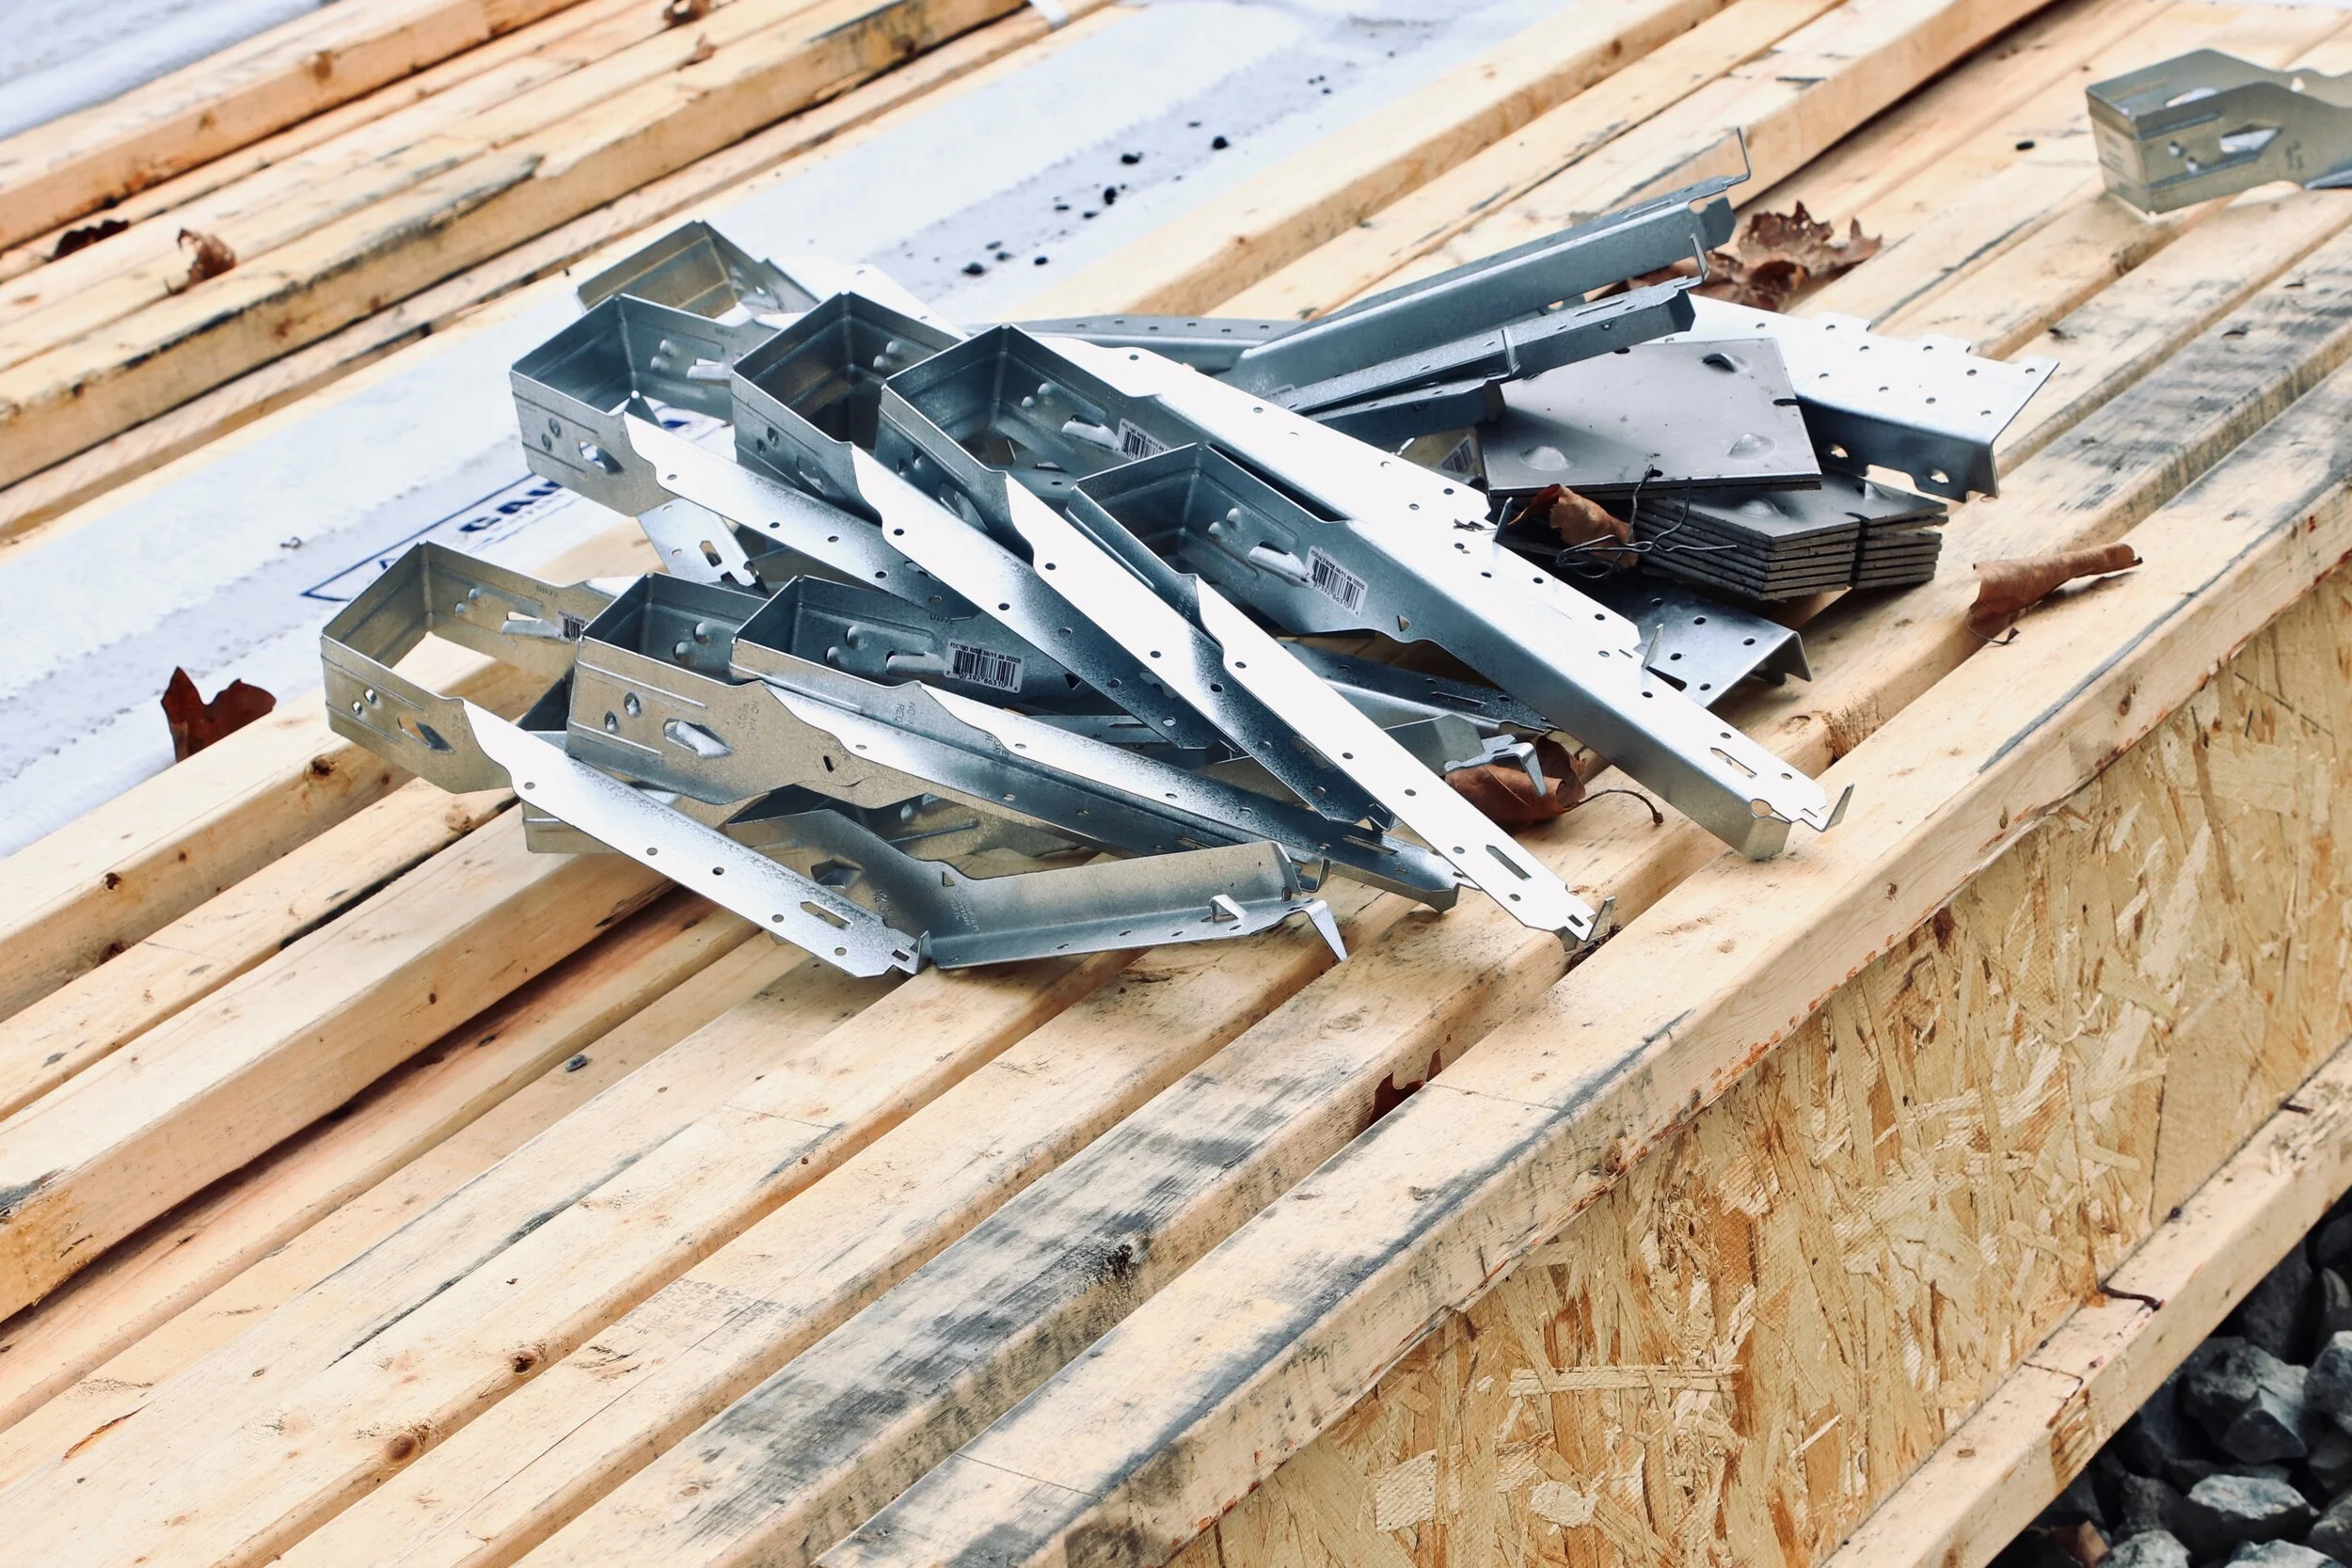
BWAB: Simpson Strong Tie
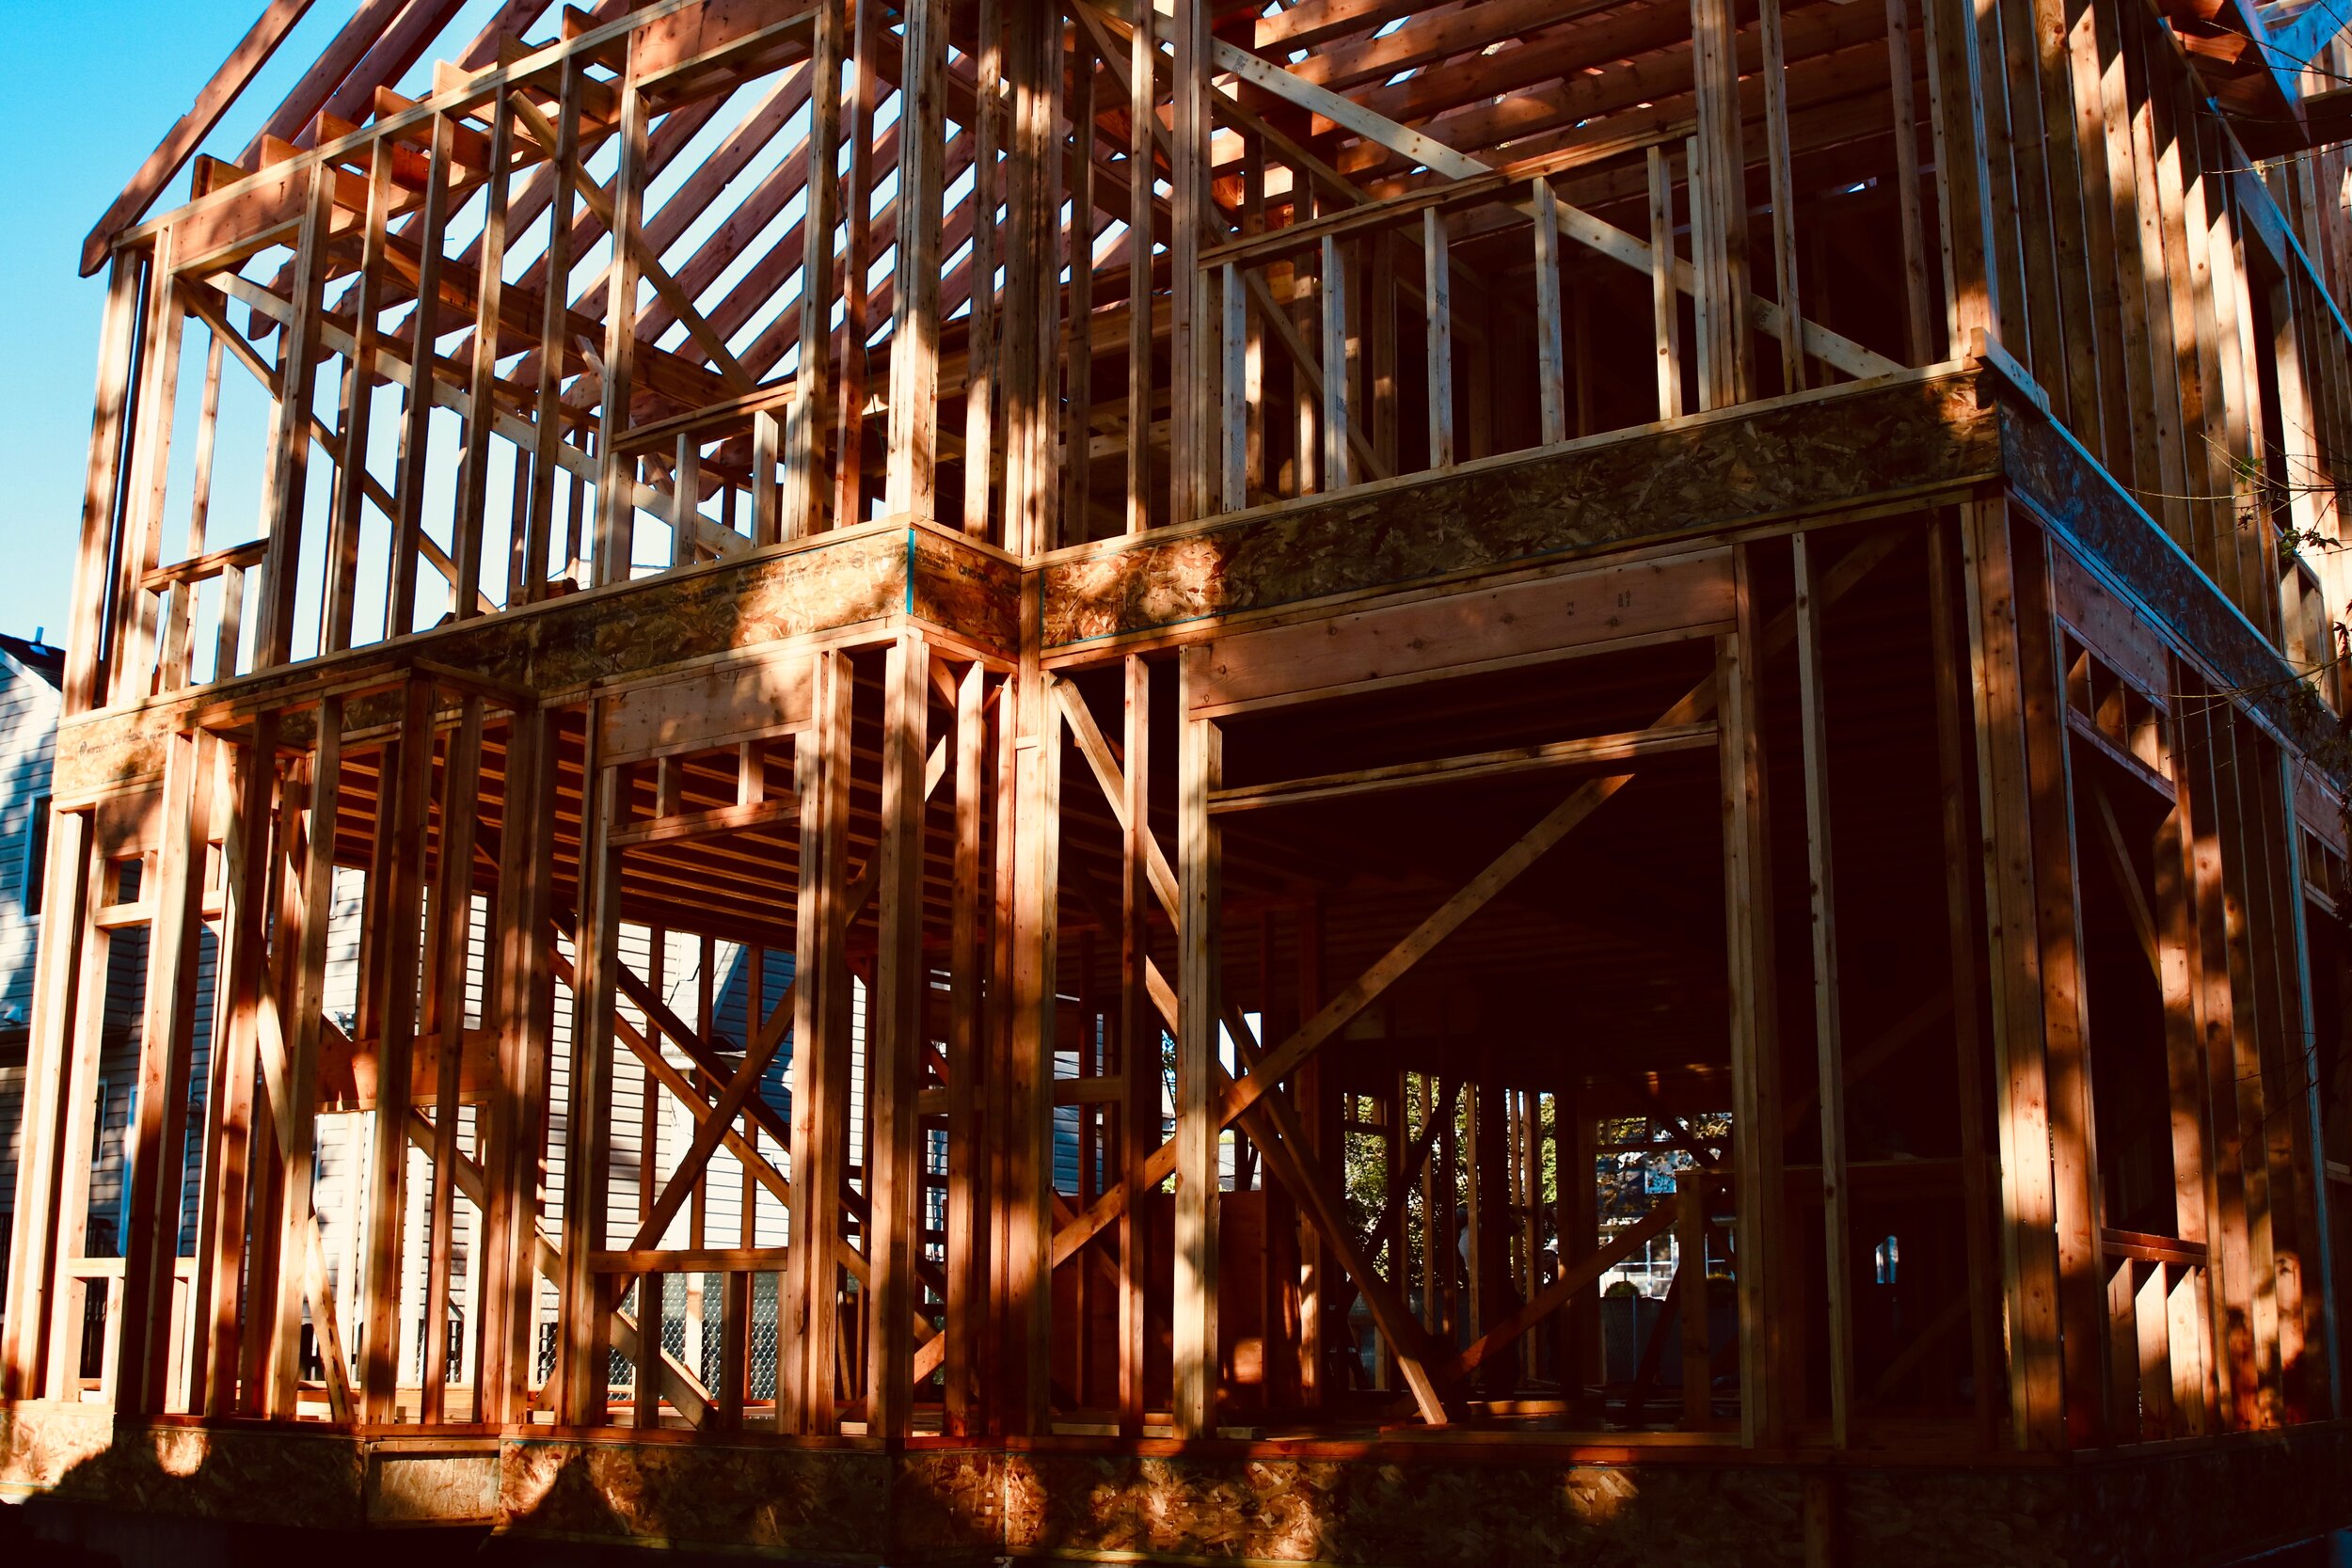
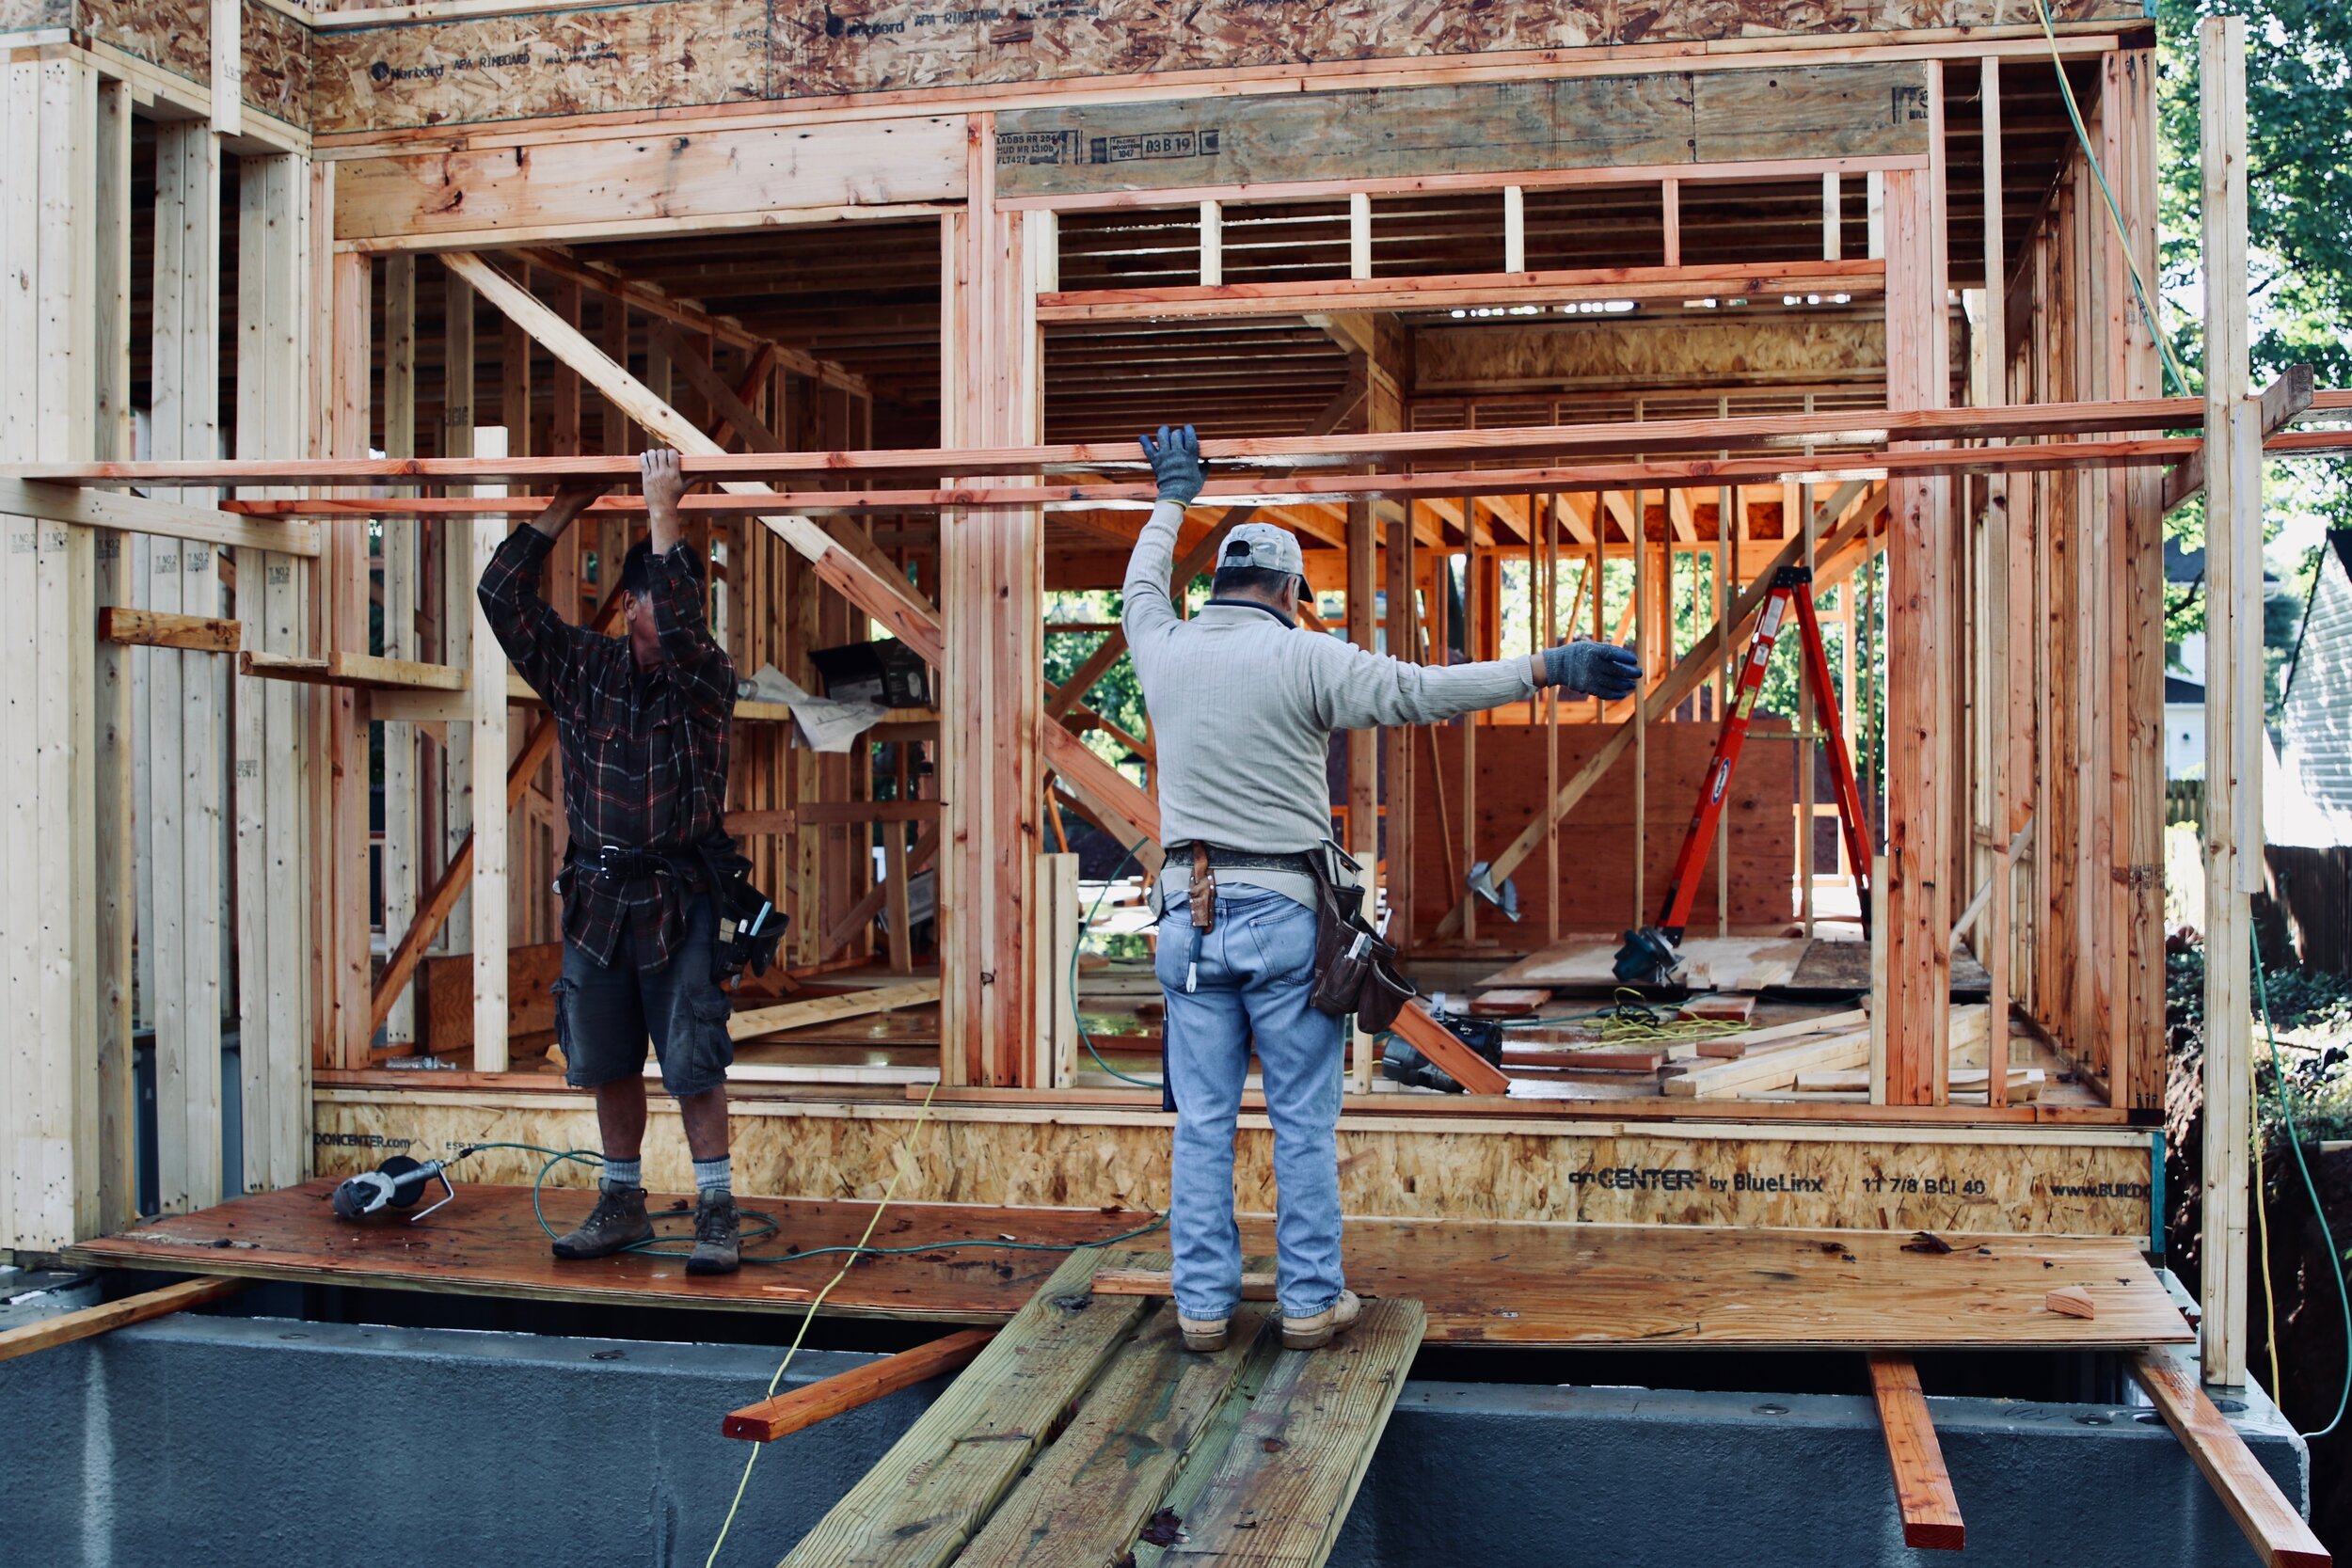
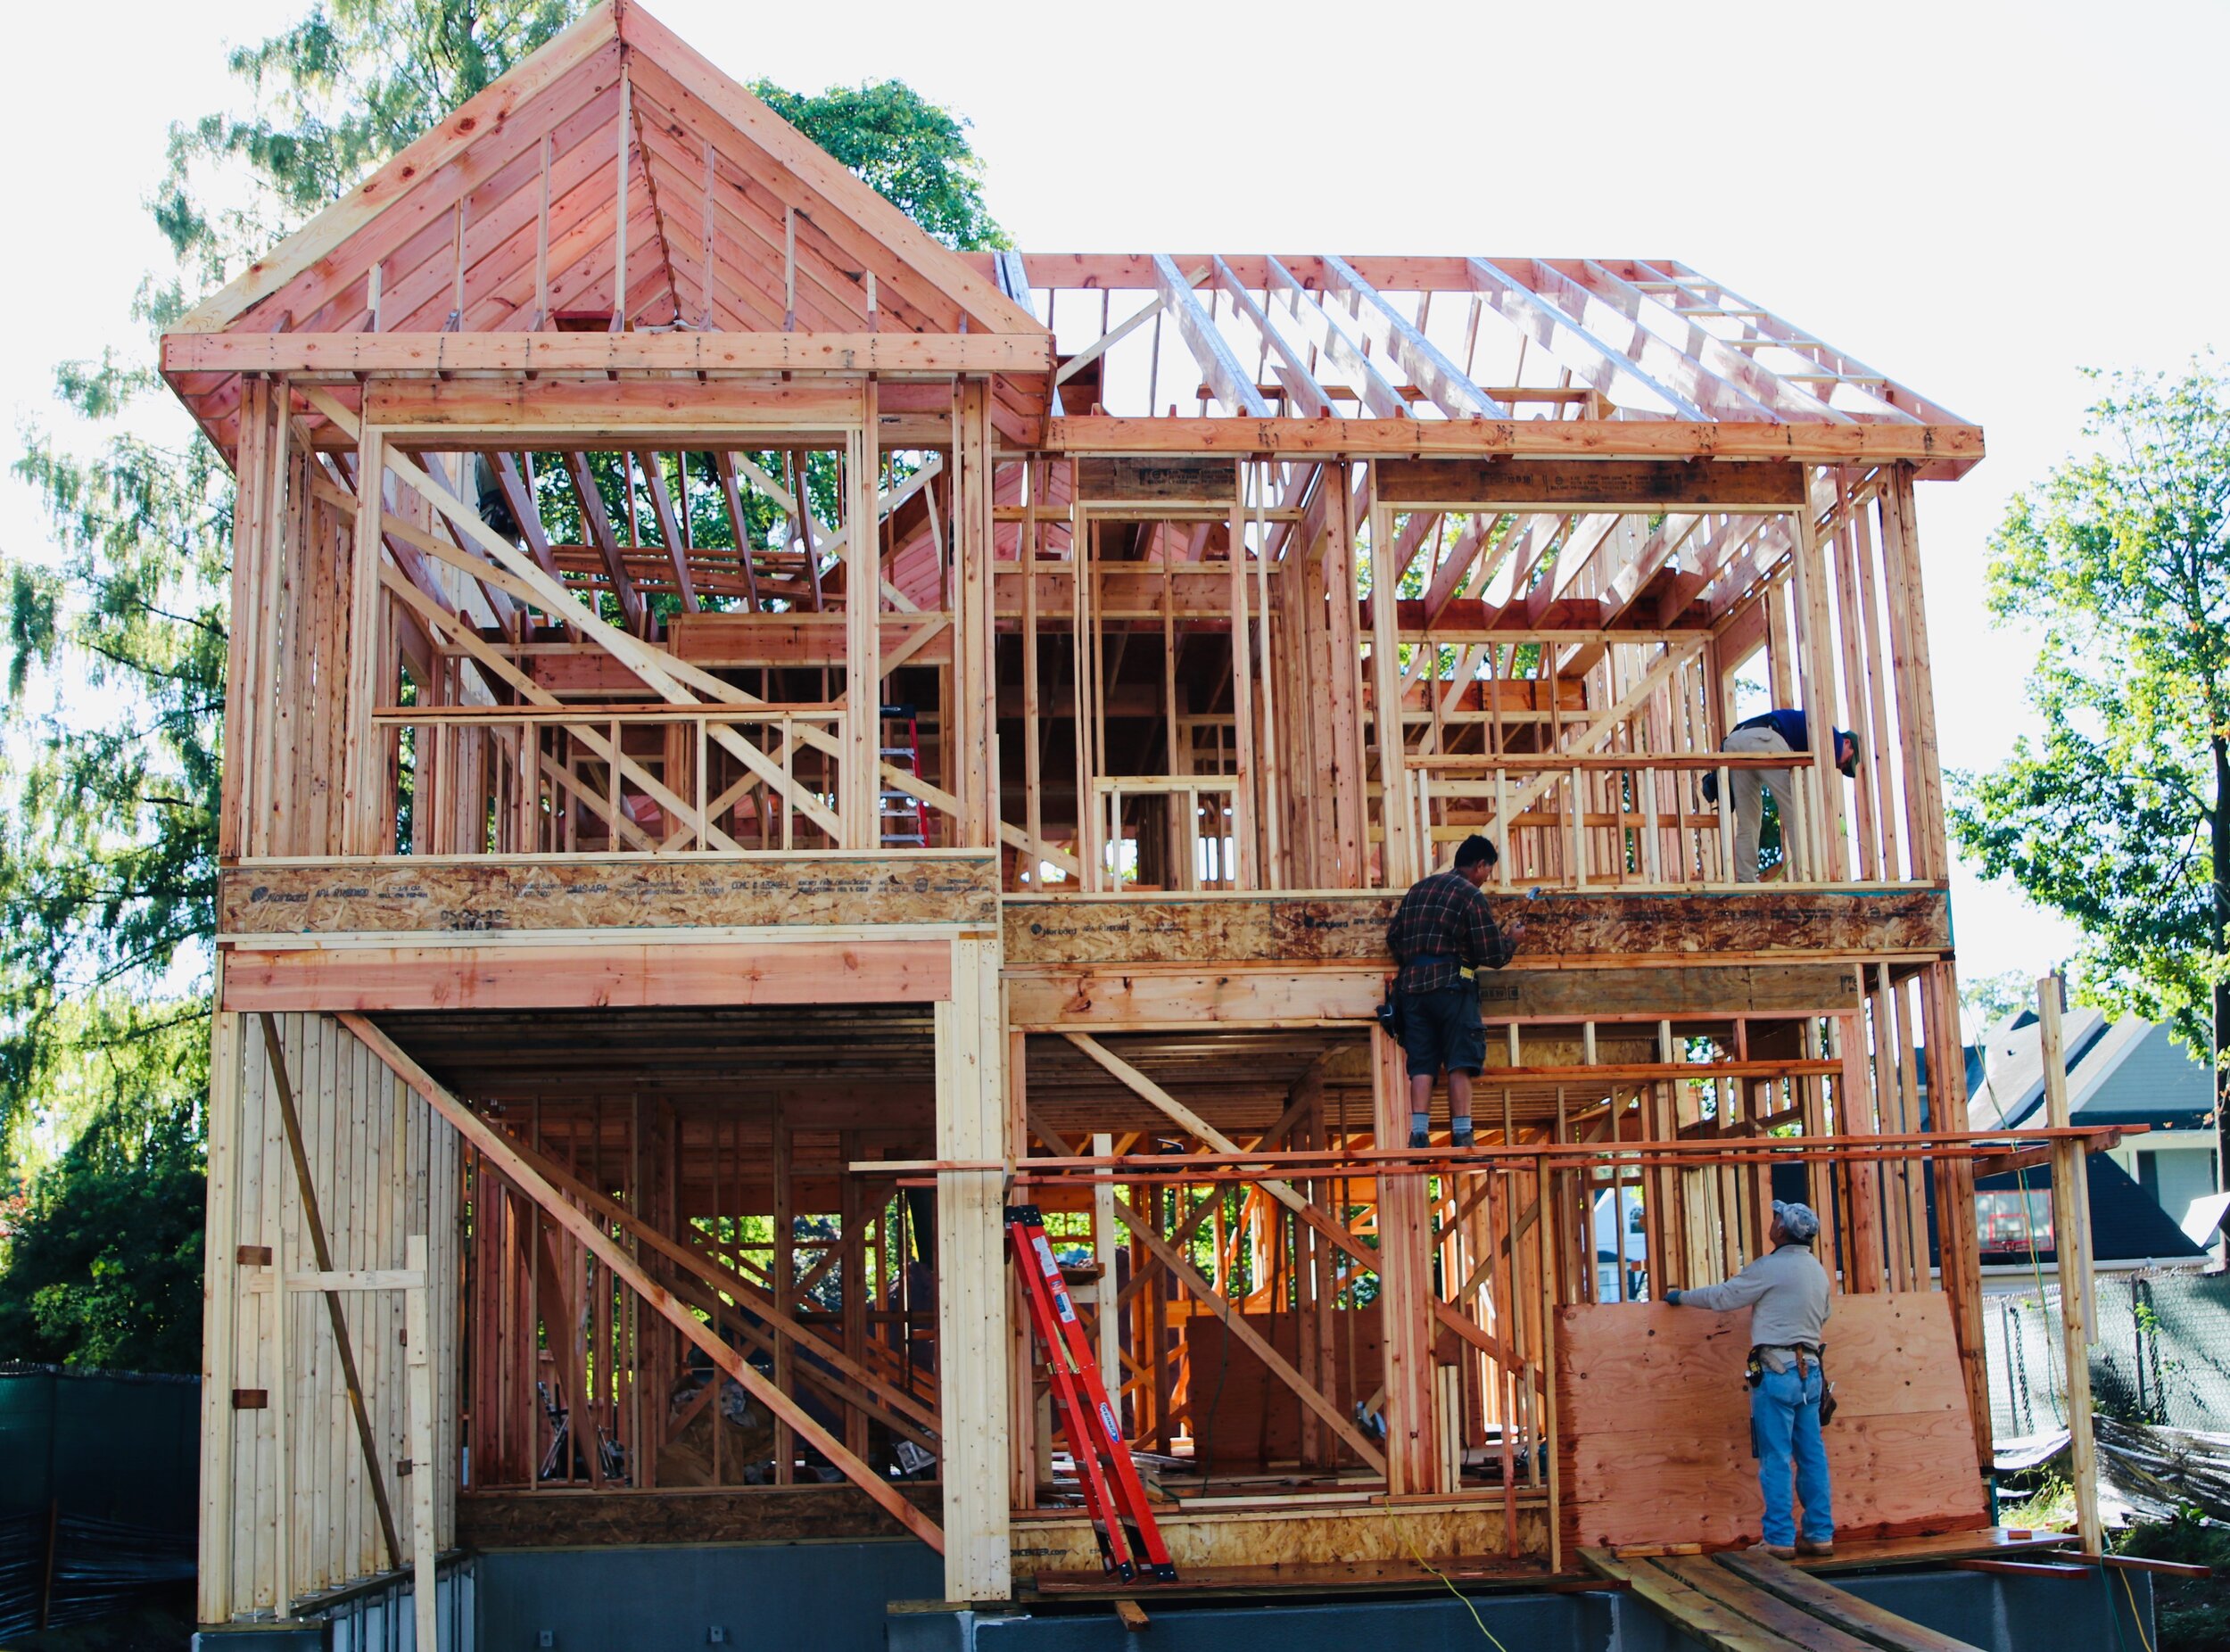
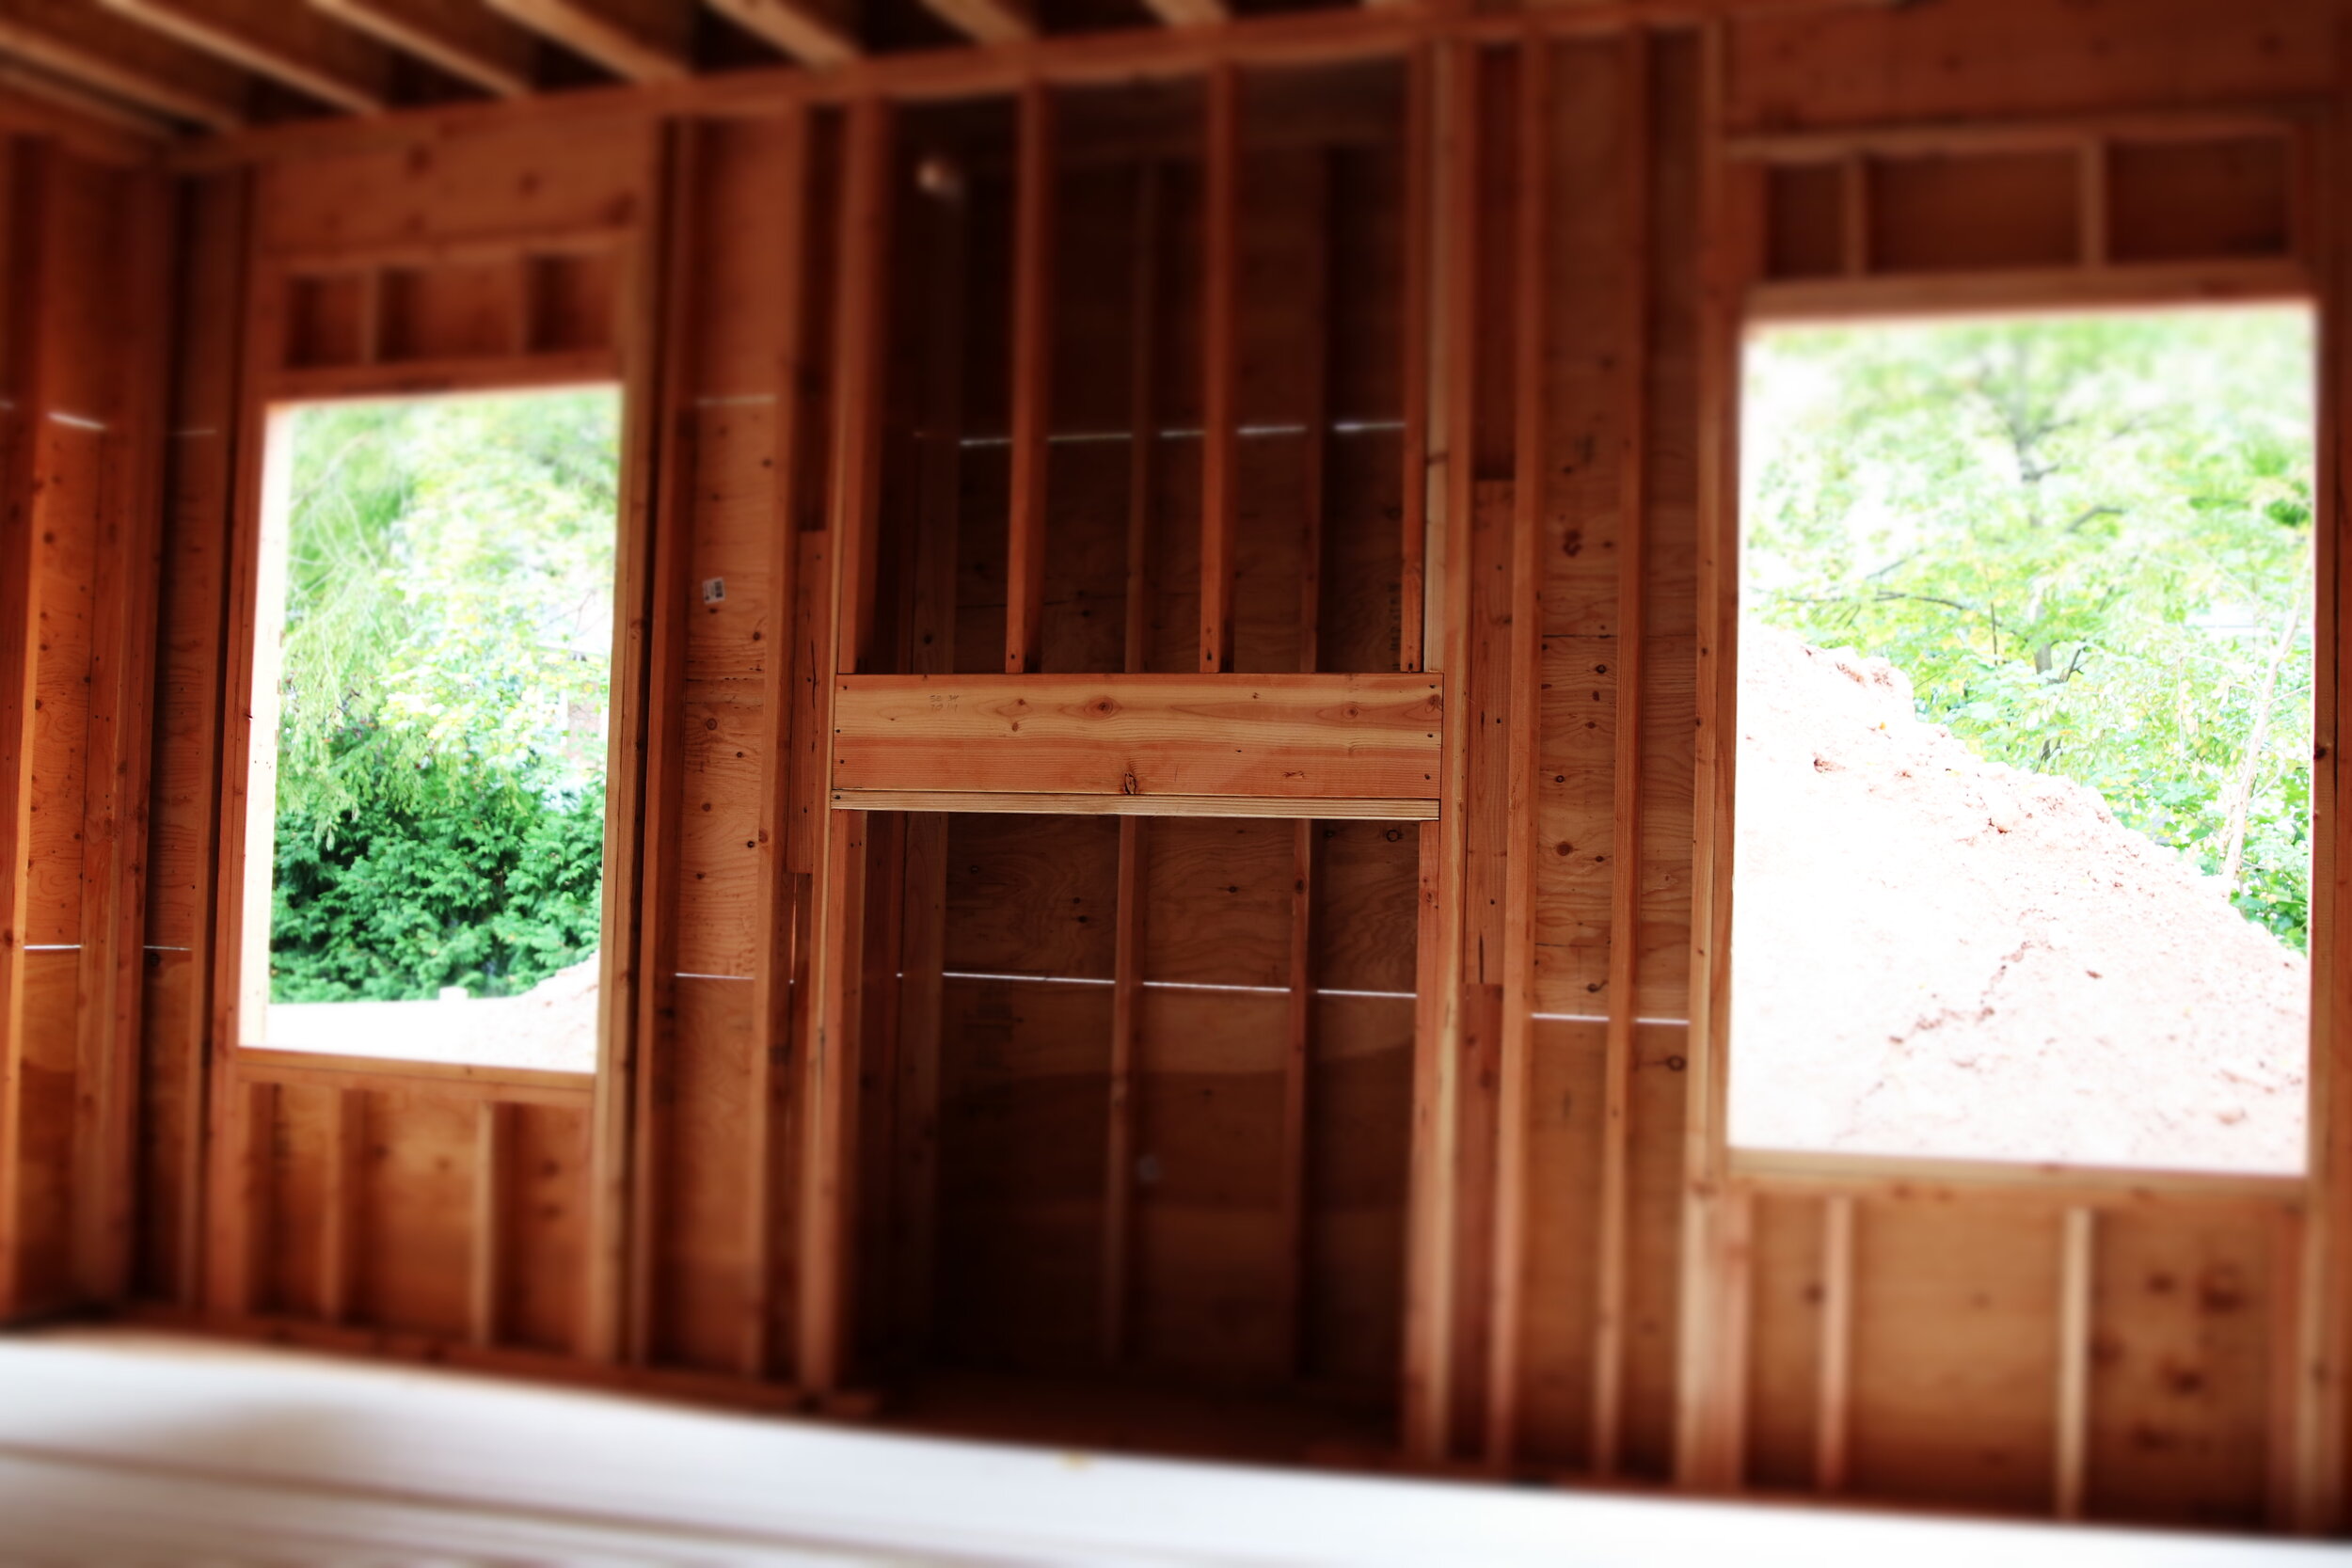
Framing Exterior & Interior Walls
Once the joists and LVLs are in place and the 3/4 inch tongue & groove plywood subfloor has been glued and nailed in to place, the framers begin to create the interior & exterior wall structures with 2 x 4 lumber and in some applications – 2 x 6.
The wall stud spacing for each 2 x 4, both exterior & interior walls are built at 16” on center. Meaning that each stud is at maximum 16” apart.
New Jersey and national code for wall stud spacing also allows for either 16” or 24” on center; however, the architect has specified that 16” on center provides a better infrastructure based on engineering loads for the Arlington Home.
As each exterior and interior wall is built to the architects specification and completed, the framers lift the wall up and set it in to place. This is repeated until each of the walls are complete and secured.
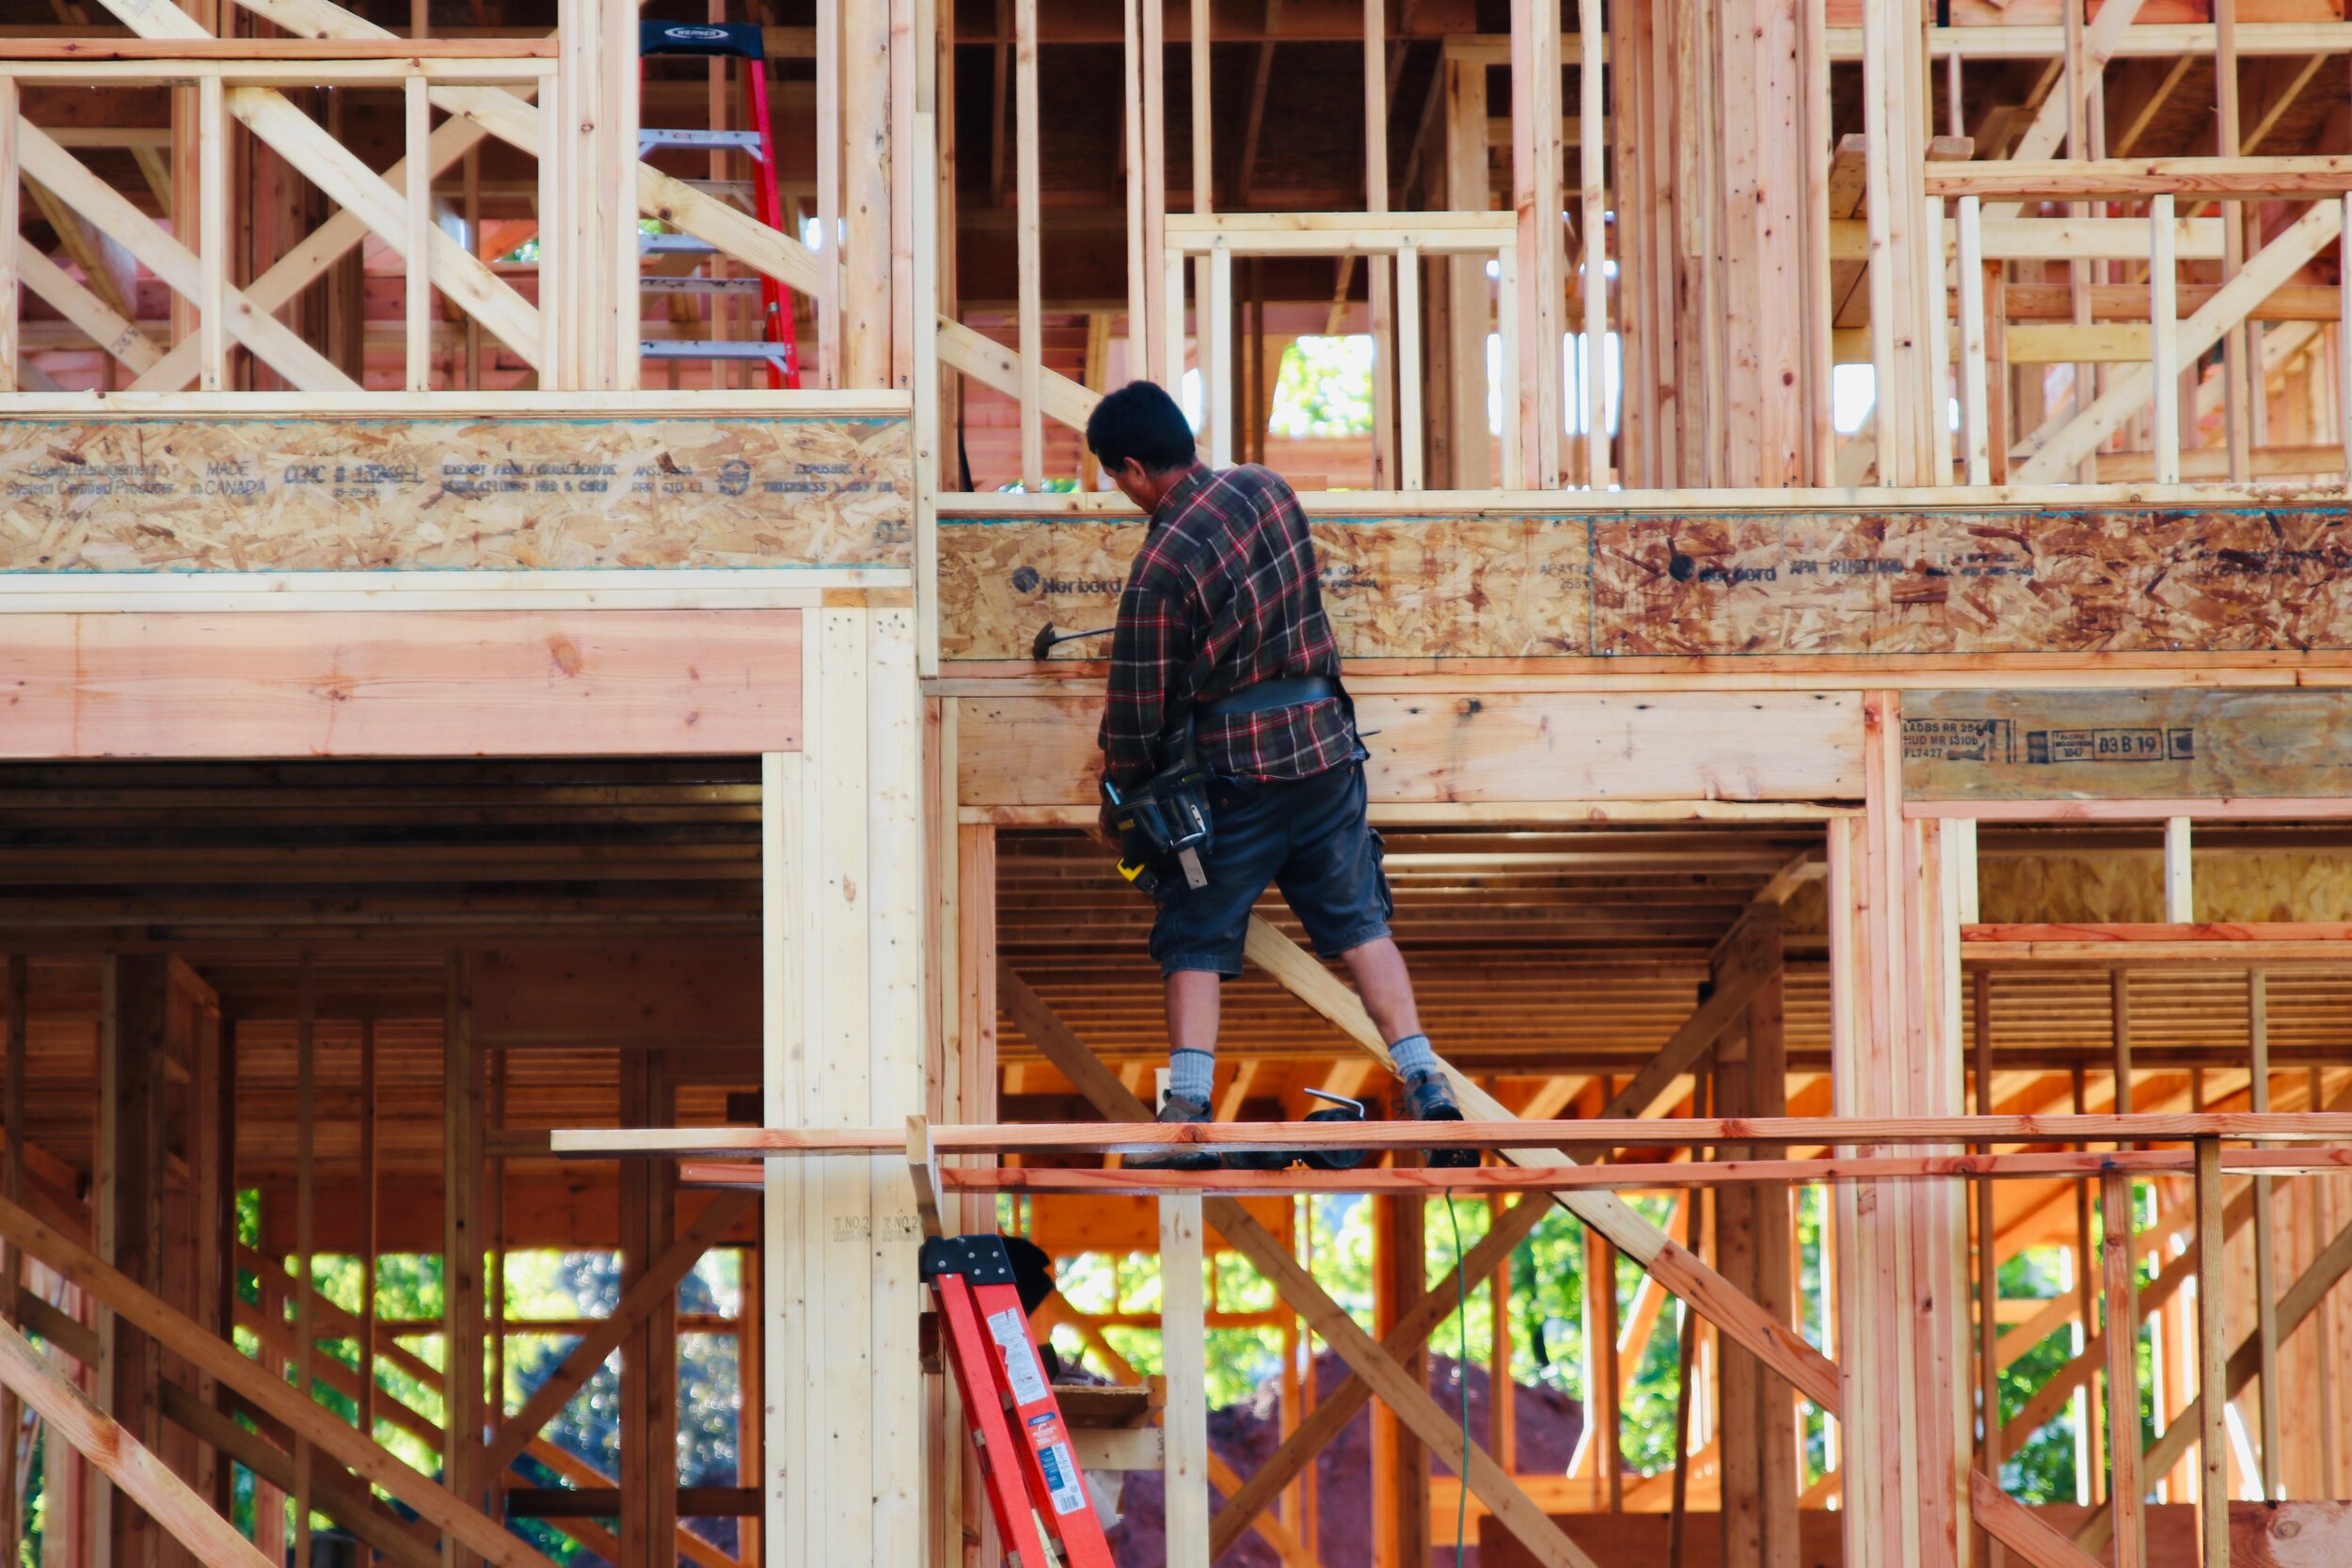
Once the entire first floor is framed, the framers move on to the second floor’s sub-floor, and the process begins again and again, until they reach the roof.
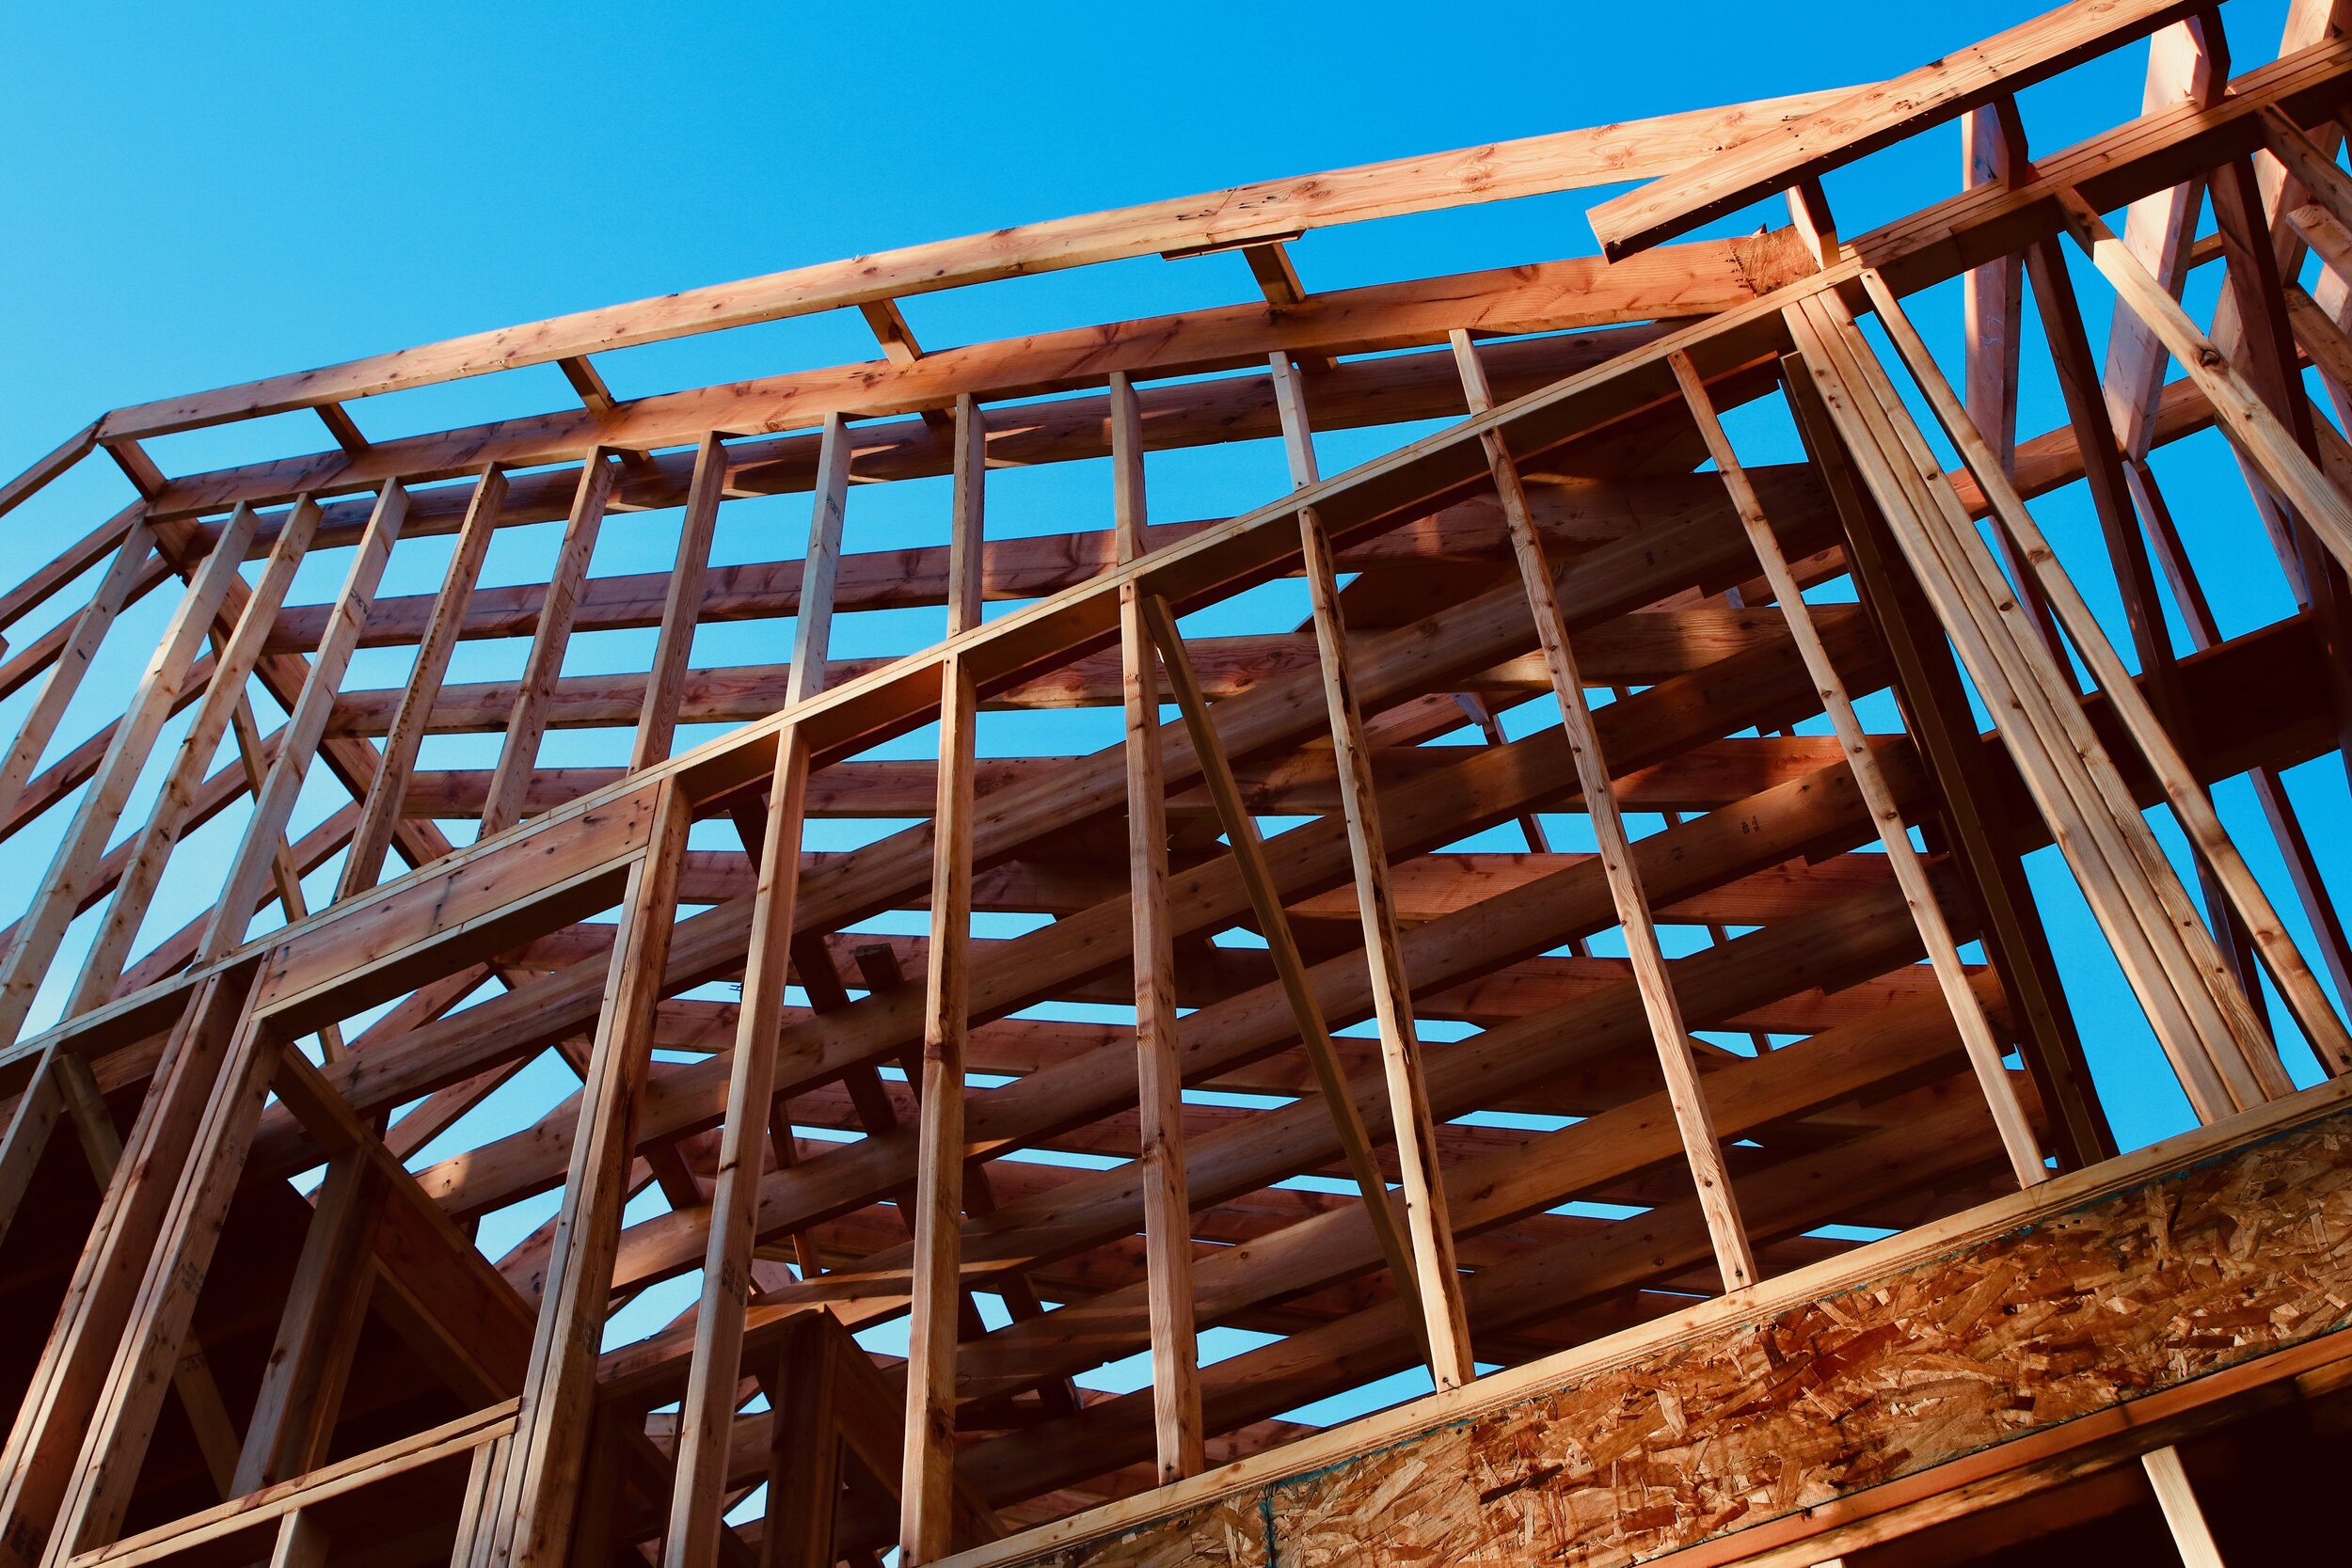
Framing The Roof
The ridge beam is set precisely to the architects plans and the township’s ridge height maximum. The ridge beam is at the highest point or apex of the home, and runs horizontally, from the left to the right side of the house supporting the descending roof joists.
Ridge Beam and Roof Line Framing
Fire Blocking
Once the roof is up and the interior walls are built and erected, the framers begin to install fire blocking materials in specific open cavities throughout the home. Fire blocking helps to control the flow of oxygen to a fire and and prevents the fire from spreading.
Materials used to fire block in a new build can include any number of product that may already be on site:
(2 X 2) or (2 X 1/2) Lumber pieces
2 Layers of Plywood
Mineral Wool, Fiber Glass, Spray Foam, or Cellulose Insulation
Stairs & Exterior Sheathing
Stair cases are built and installed once each floor is completed. At 550 Arlington the framer builds the platform for the stairs using 2 x8 lumber and plywood for the decking on top. After the staircases are quality checked, they are moved in to place and secured.
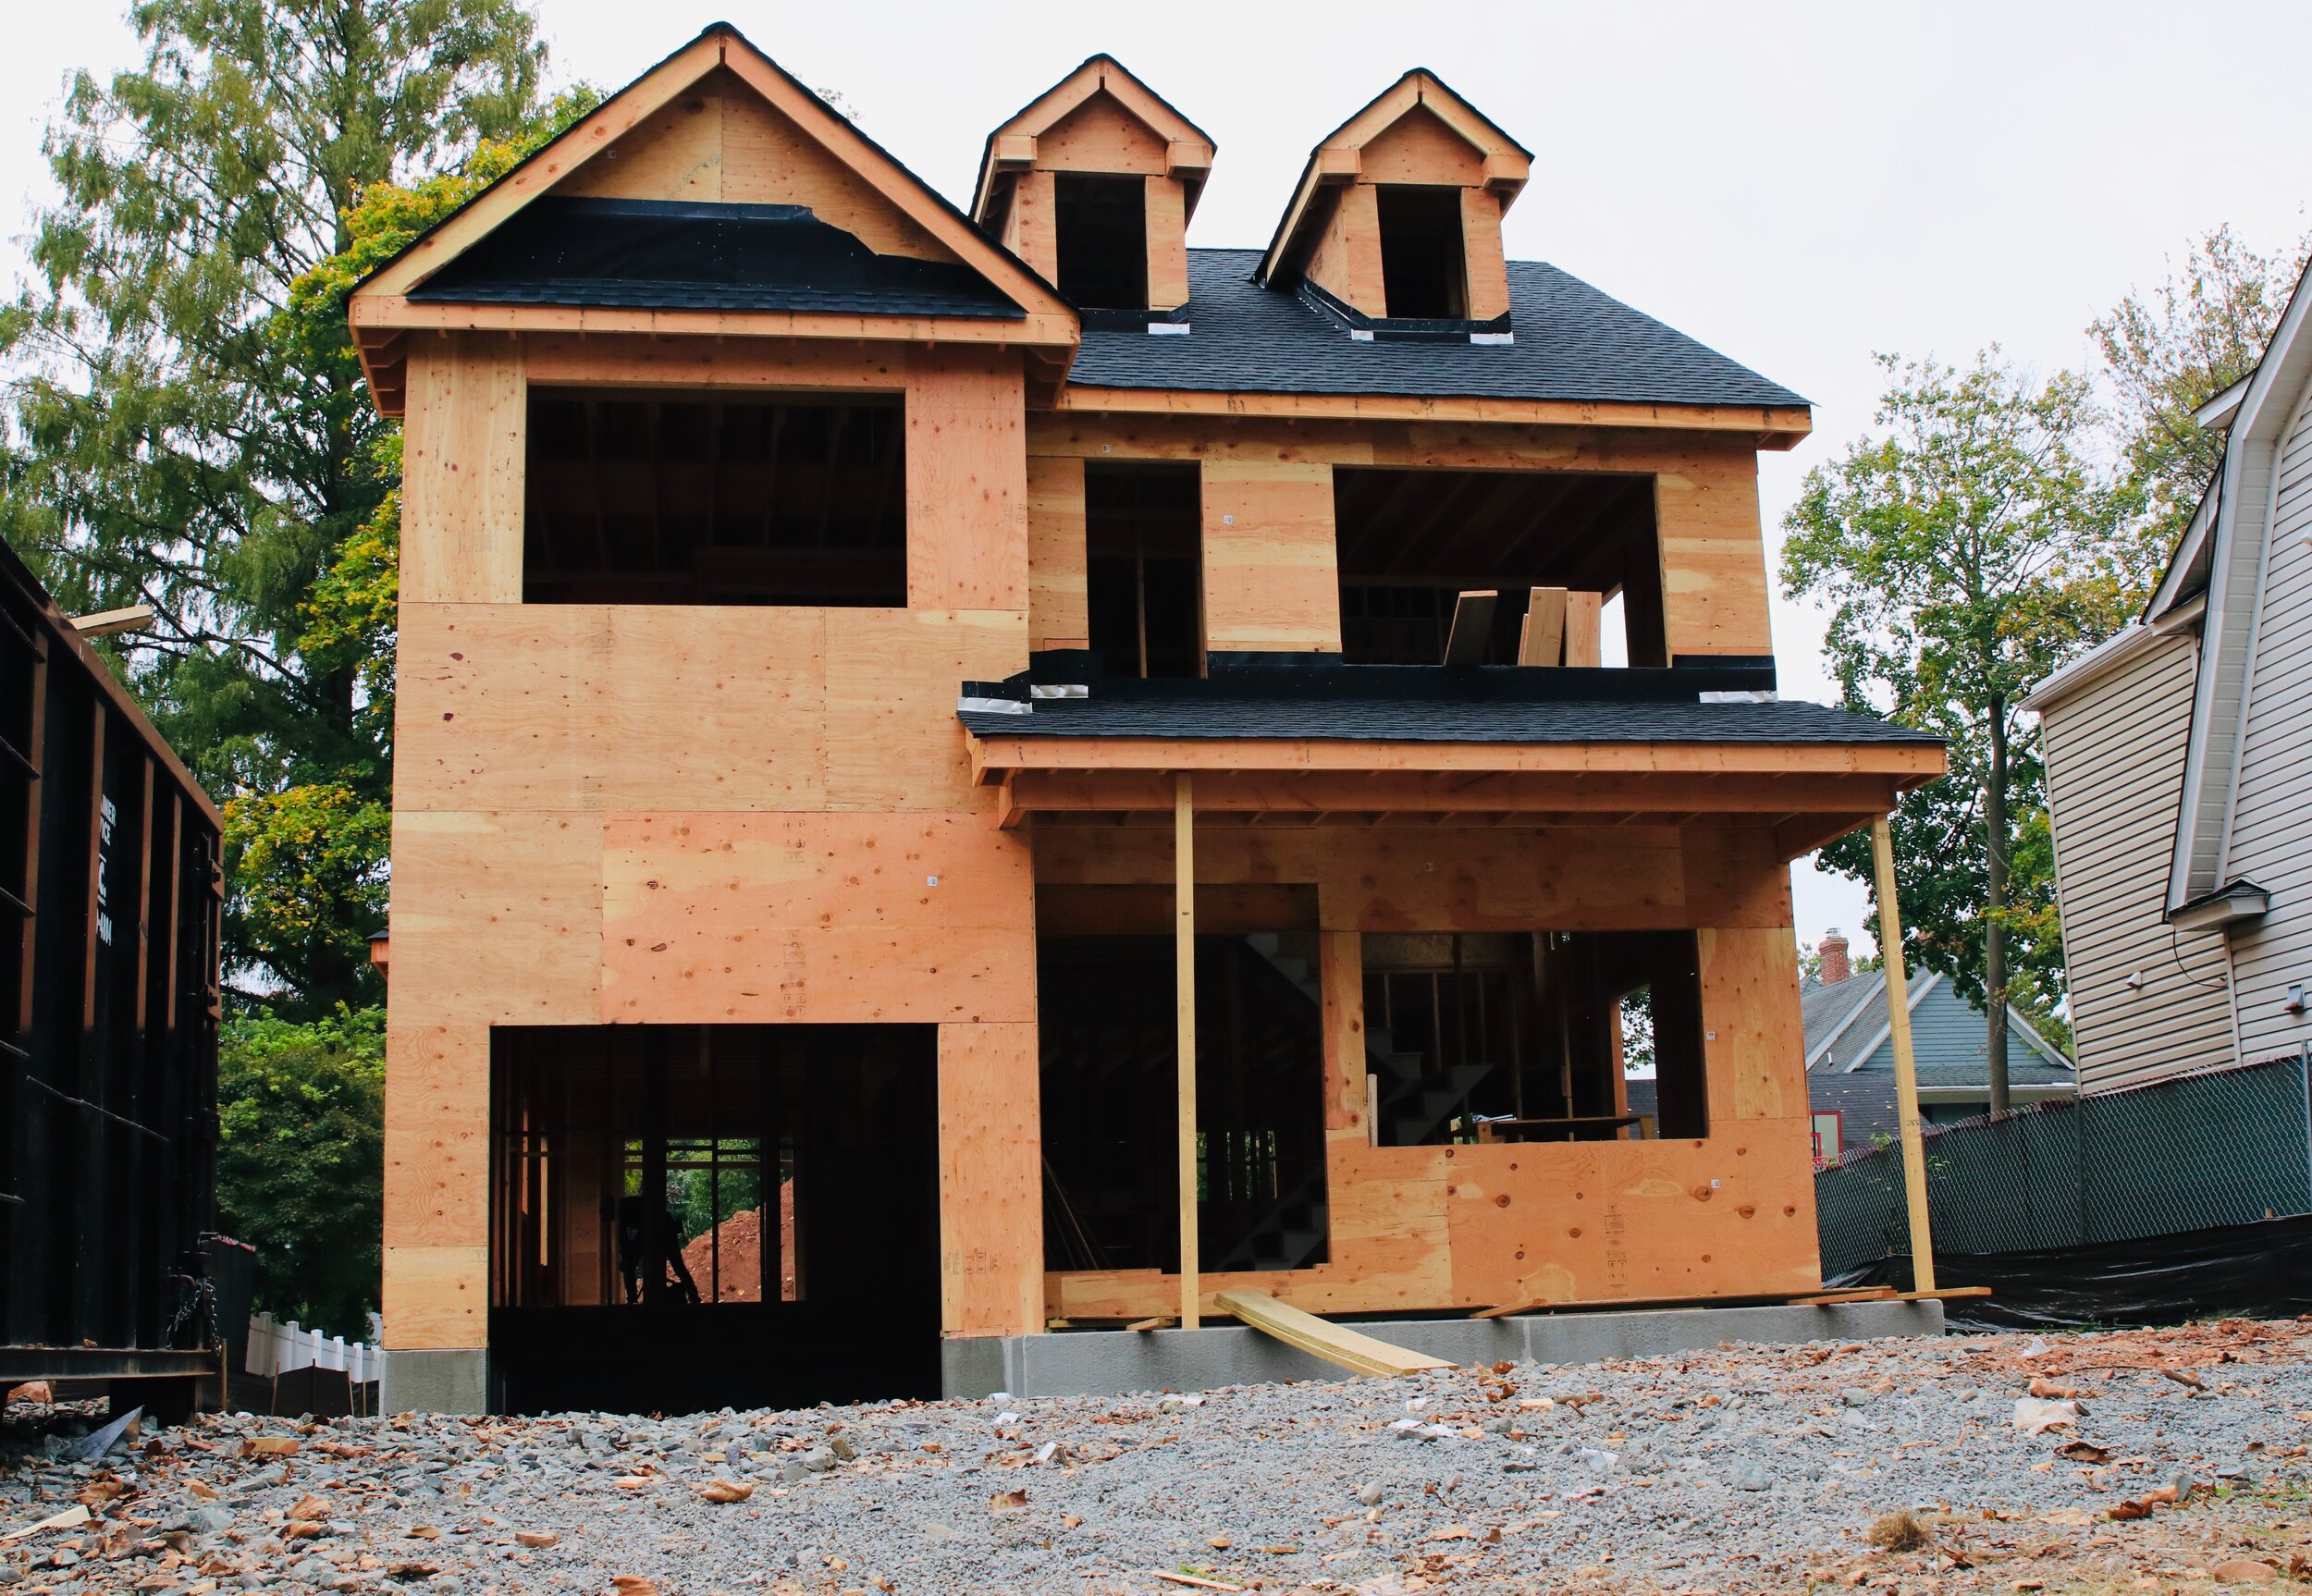
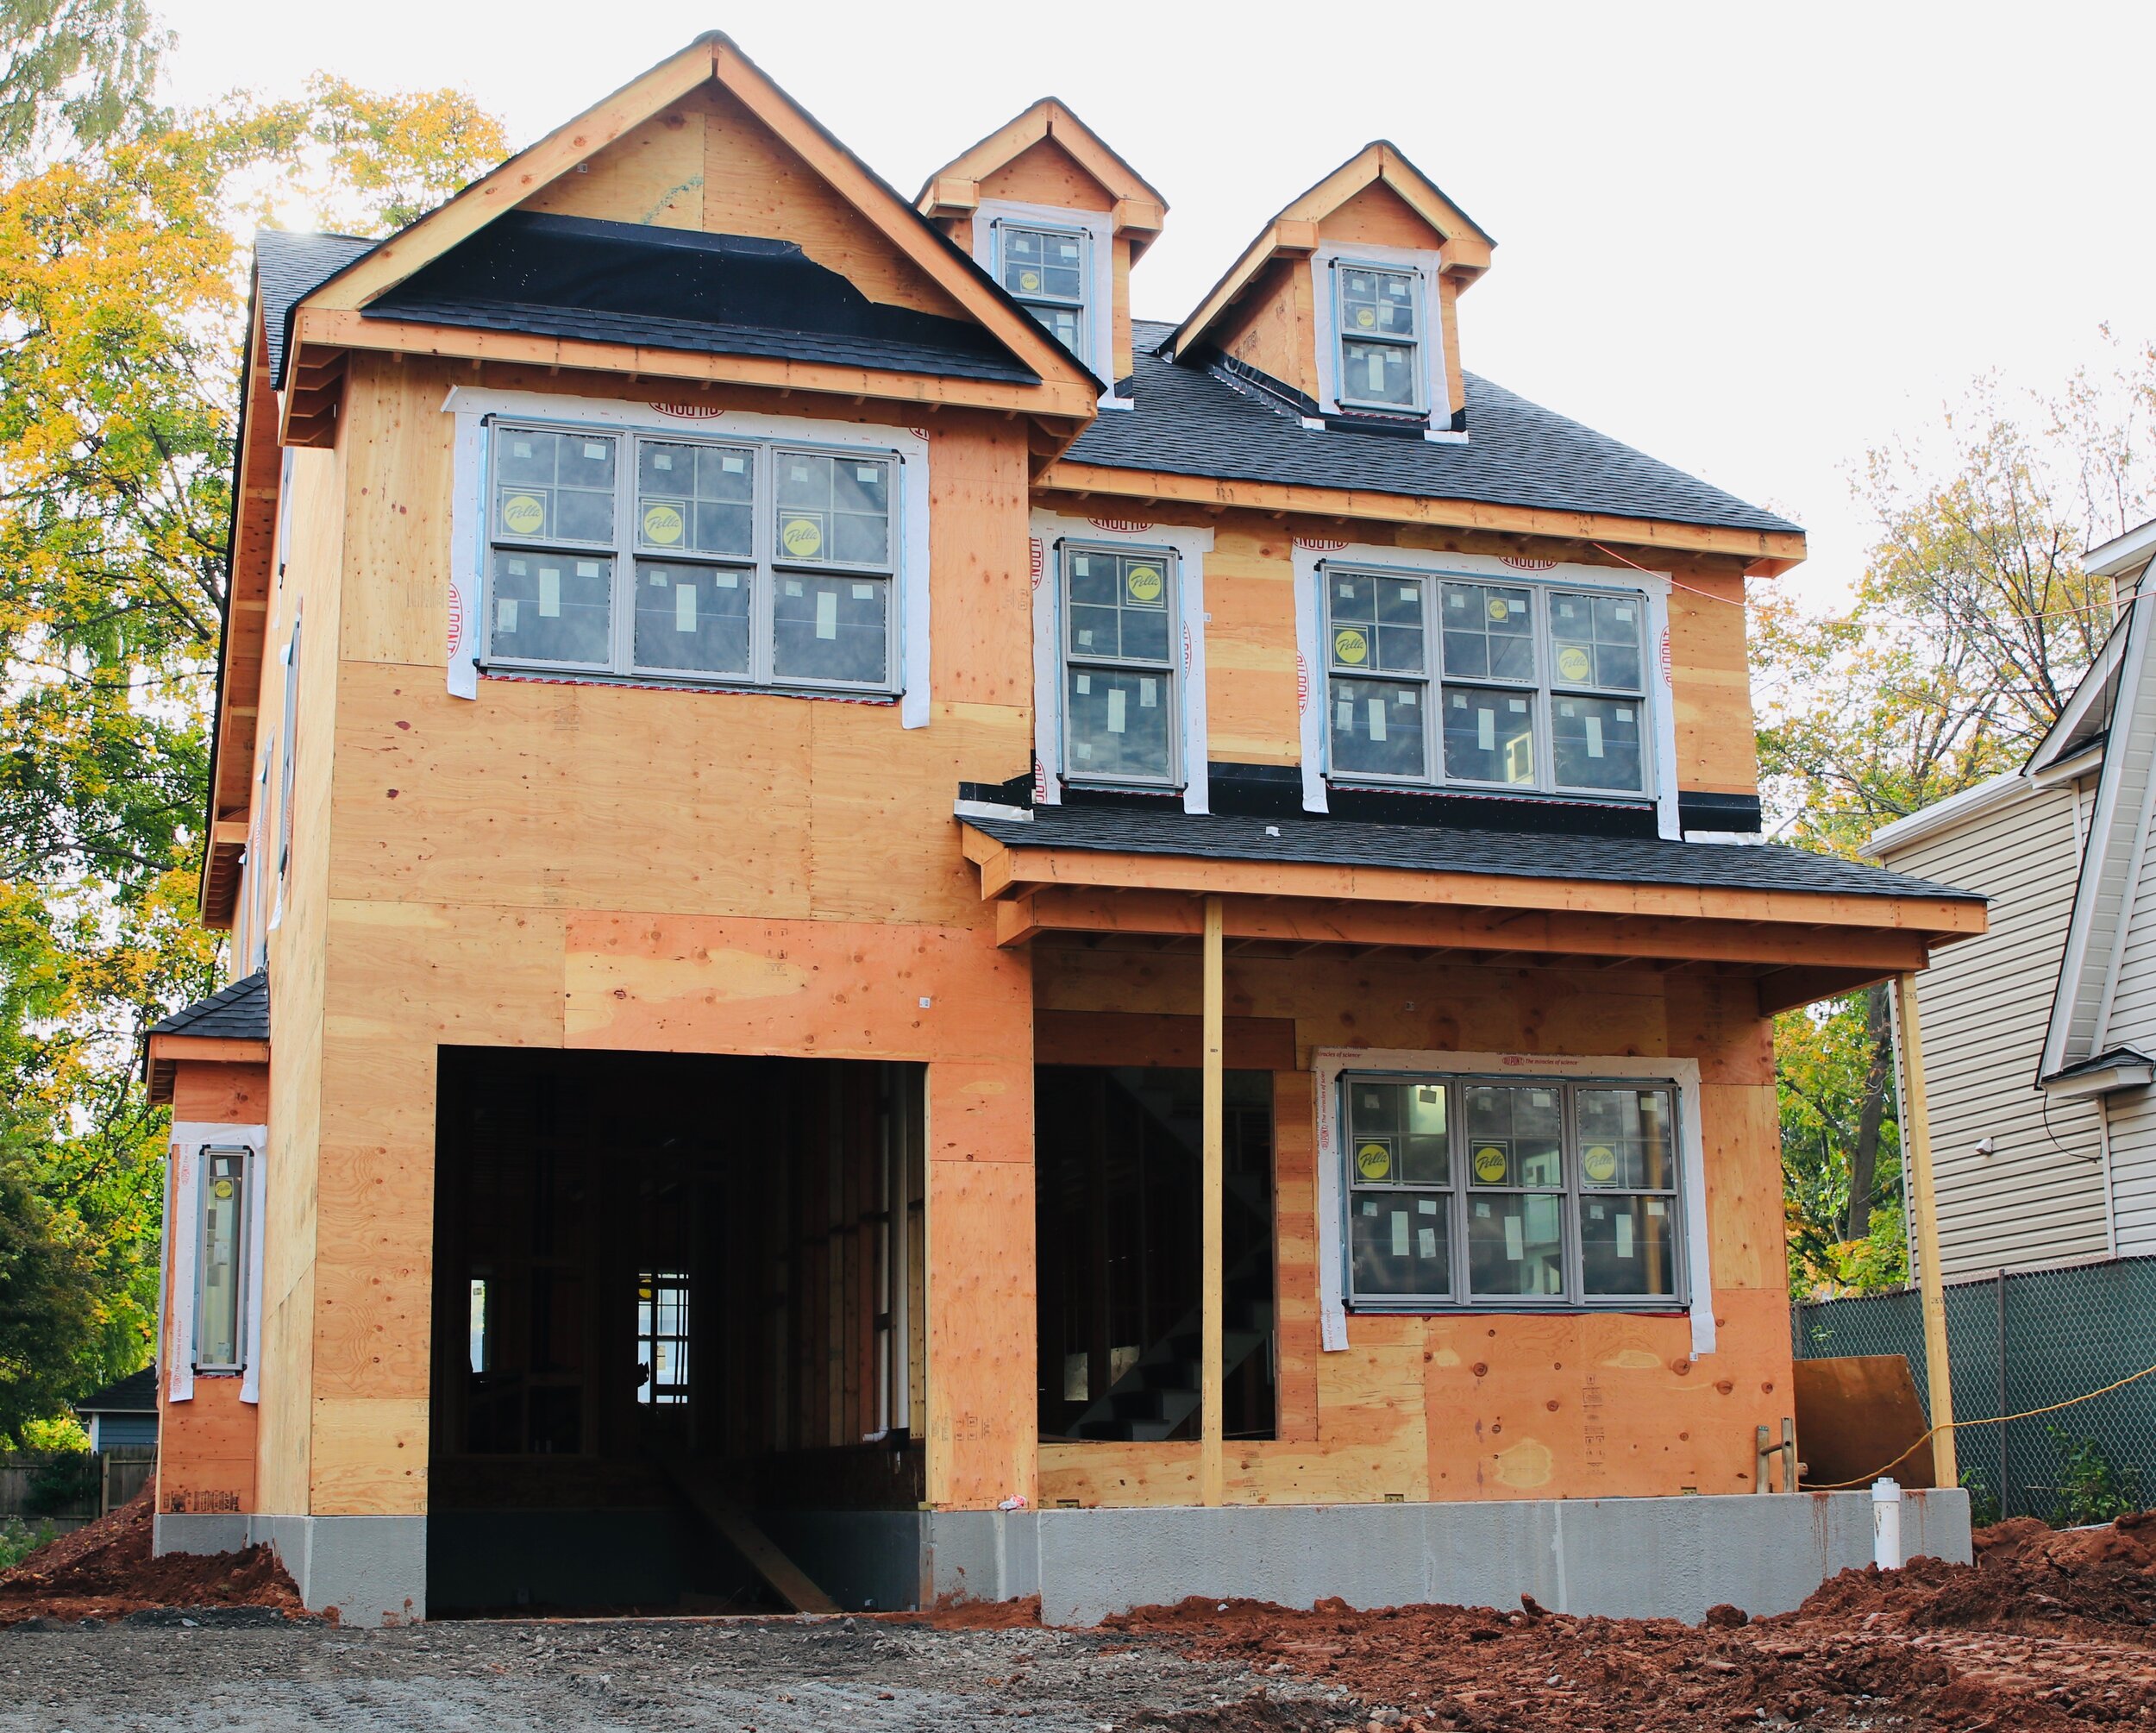
The framers continue by sheathing the entire roof and the outside walls. Once the windows arrive, the framers are set to install. In the case of Arlington Avenue, they are installing custom Pella Windows.


French Drain
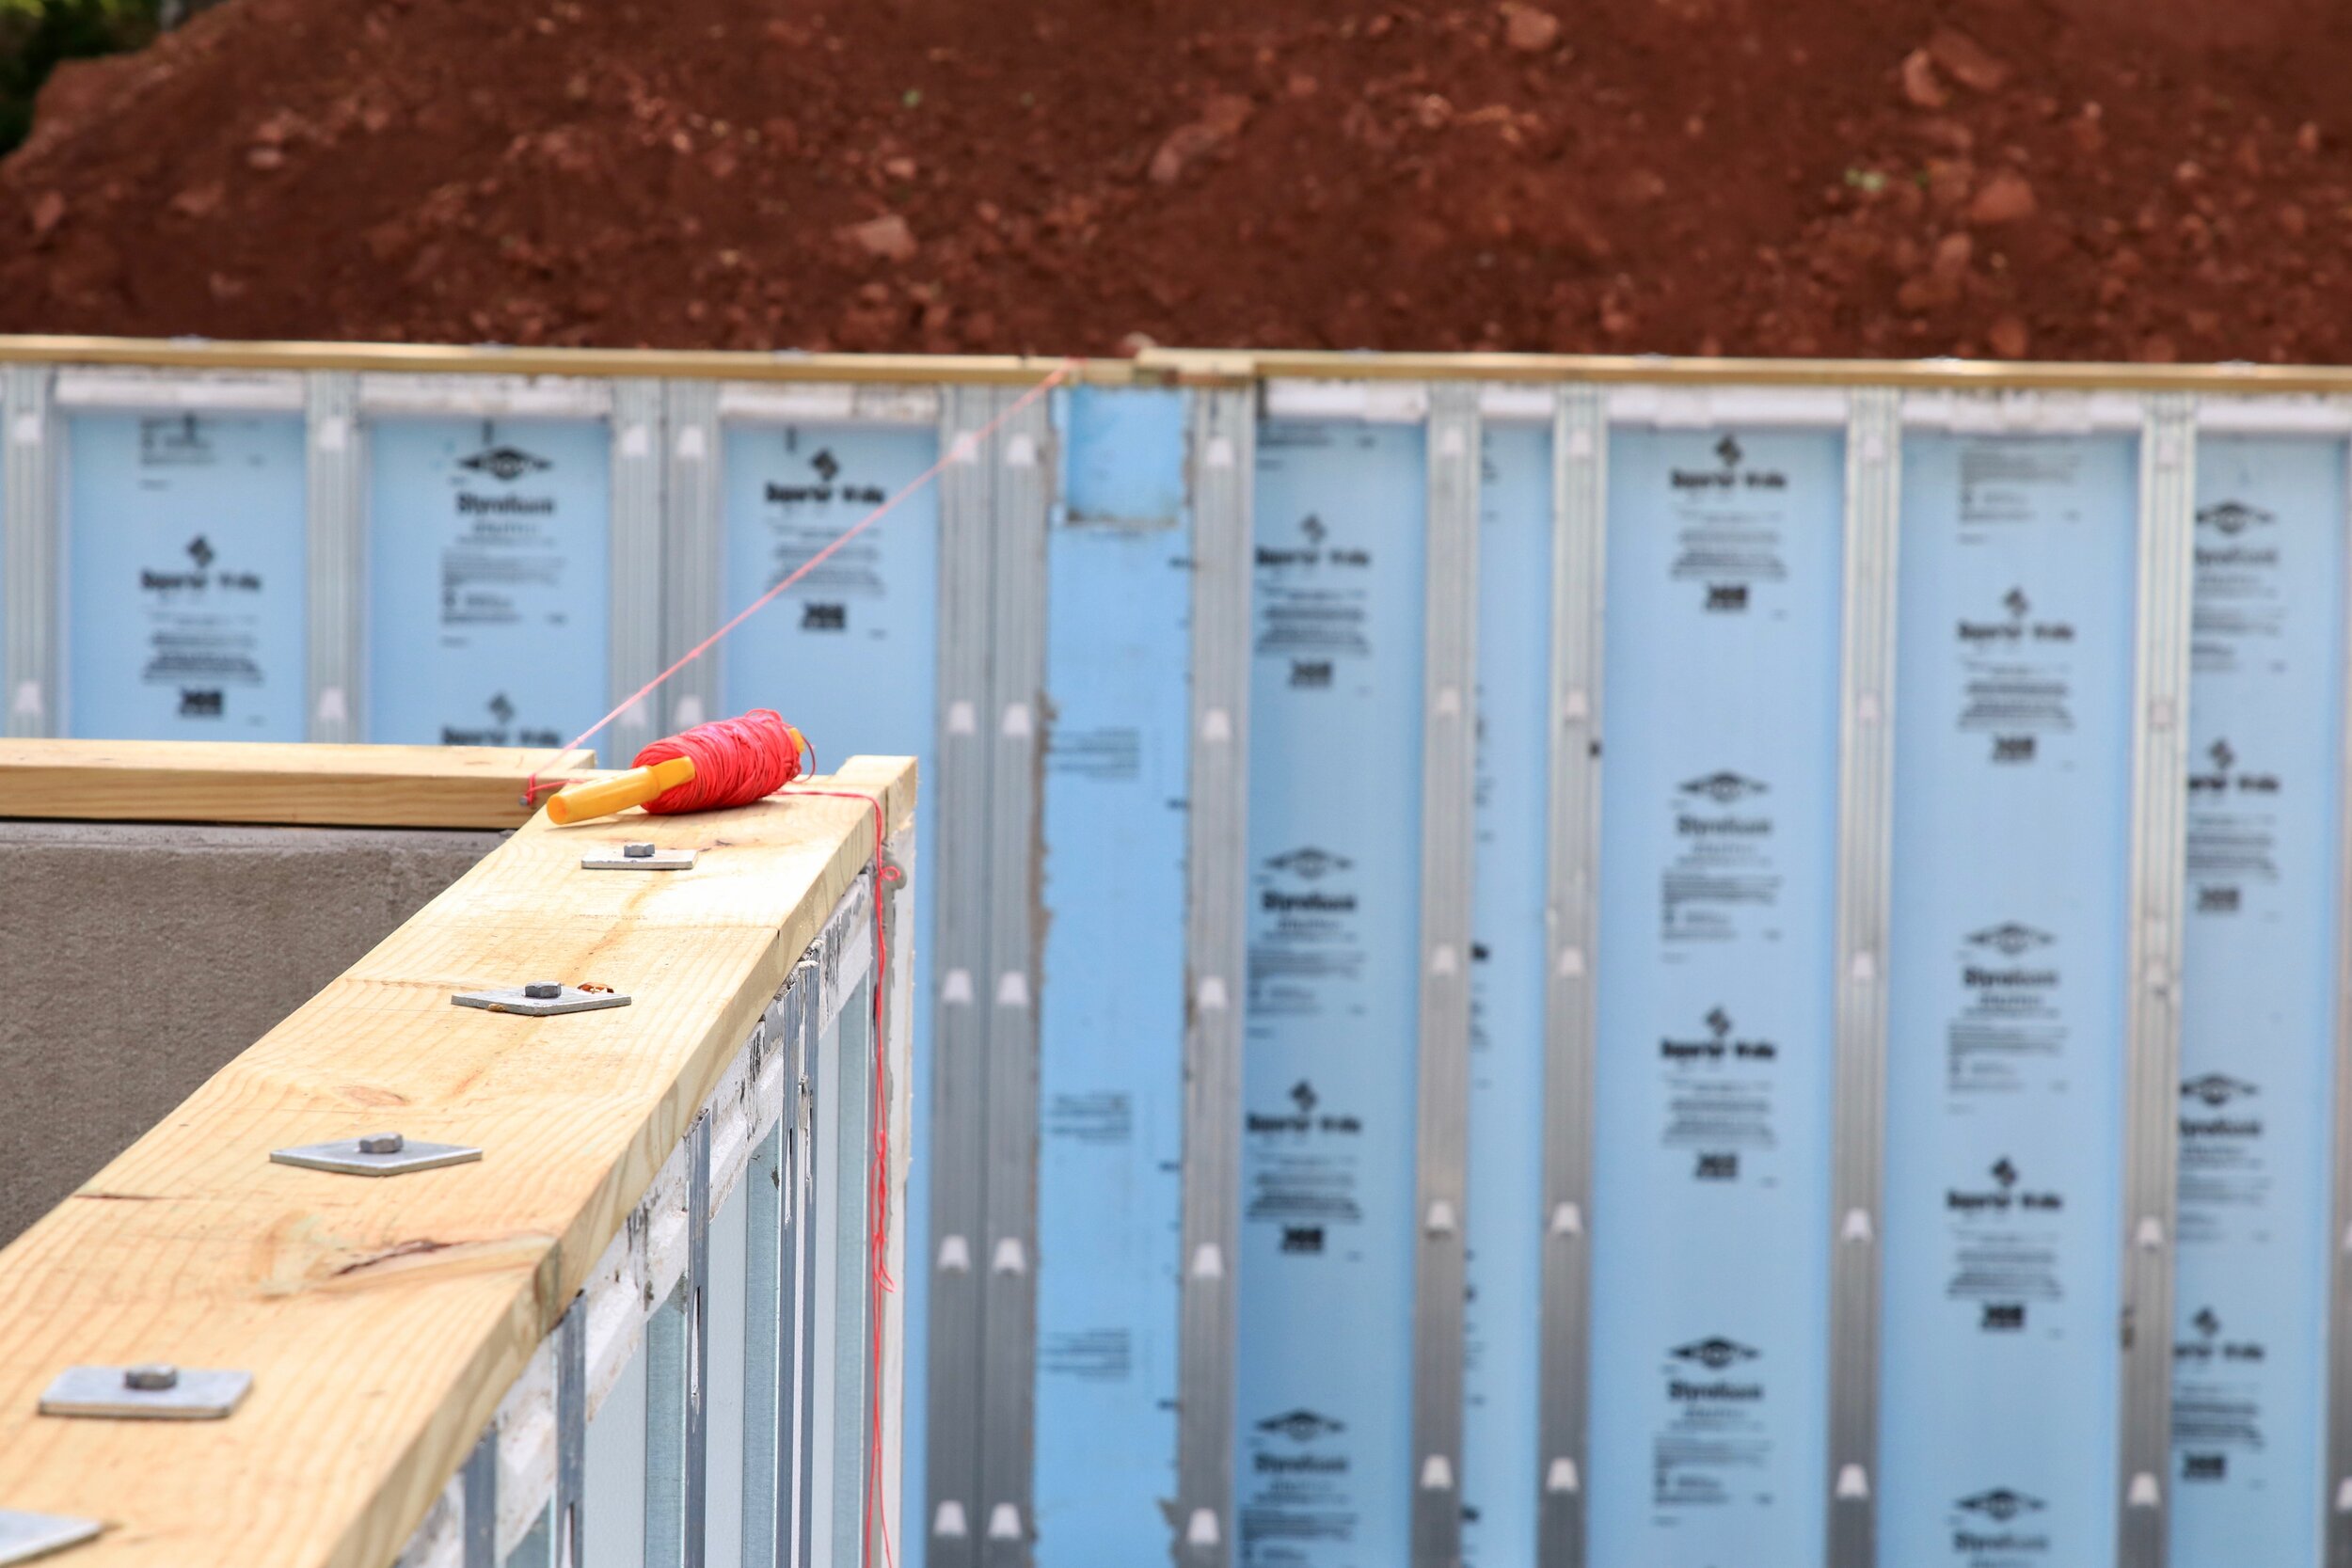
As with most new home builds, a moat like trench surrounding the interior & exterior of the home remains until the french drain is installed. The french drain runs directly to the interior sump pump pit inside the home. Once the piping is laid the exterior is back filled with dirt while the inside of the home is finished with ¾ bluestone gravel and concrete.
The french drain is a crucial element of the build, funneling water away from the foundation and under the basement concrete slab, toward the sump and eventually out to dry-wells or to the street.
Without a french drain, the property risks the future build-up of water both inside and outside of the home.

BWAB: French Drain Trench Around The Home
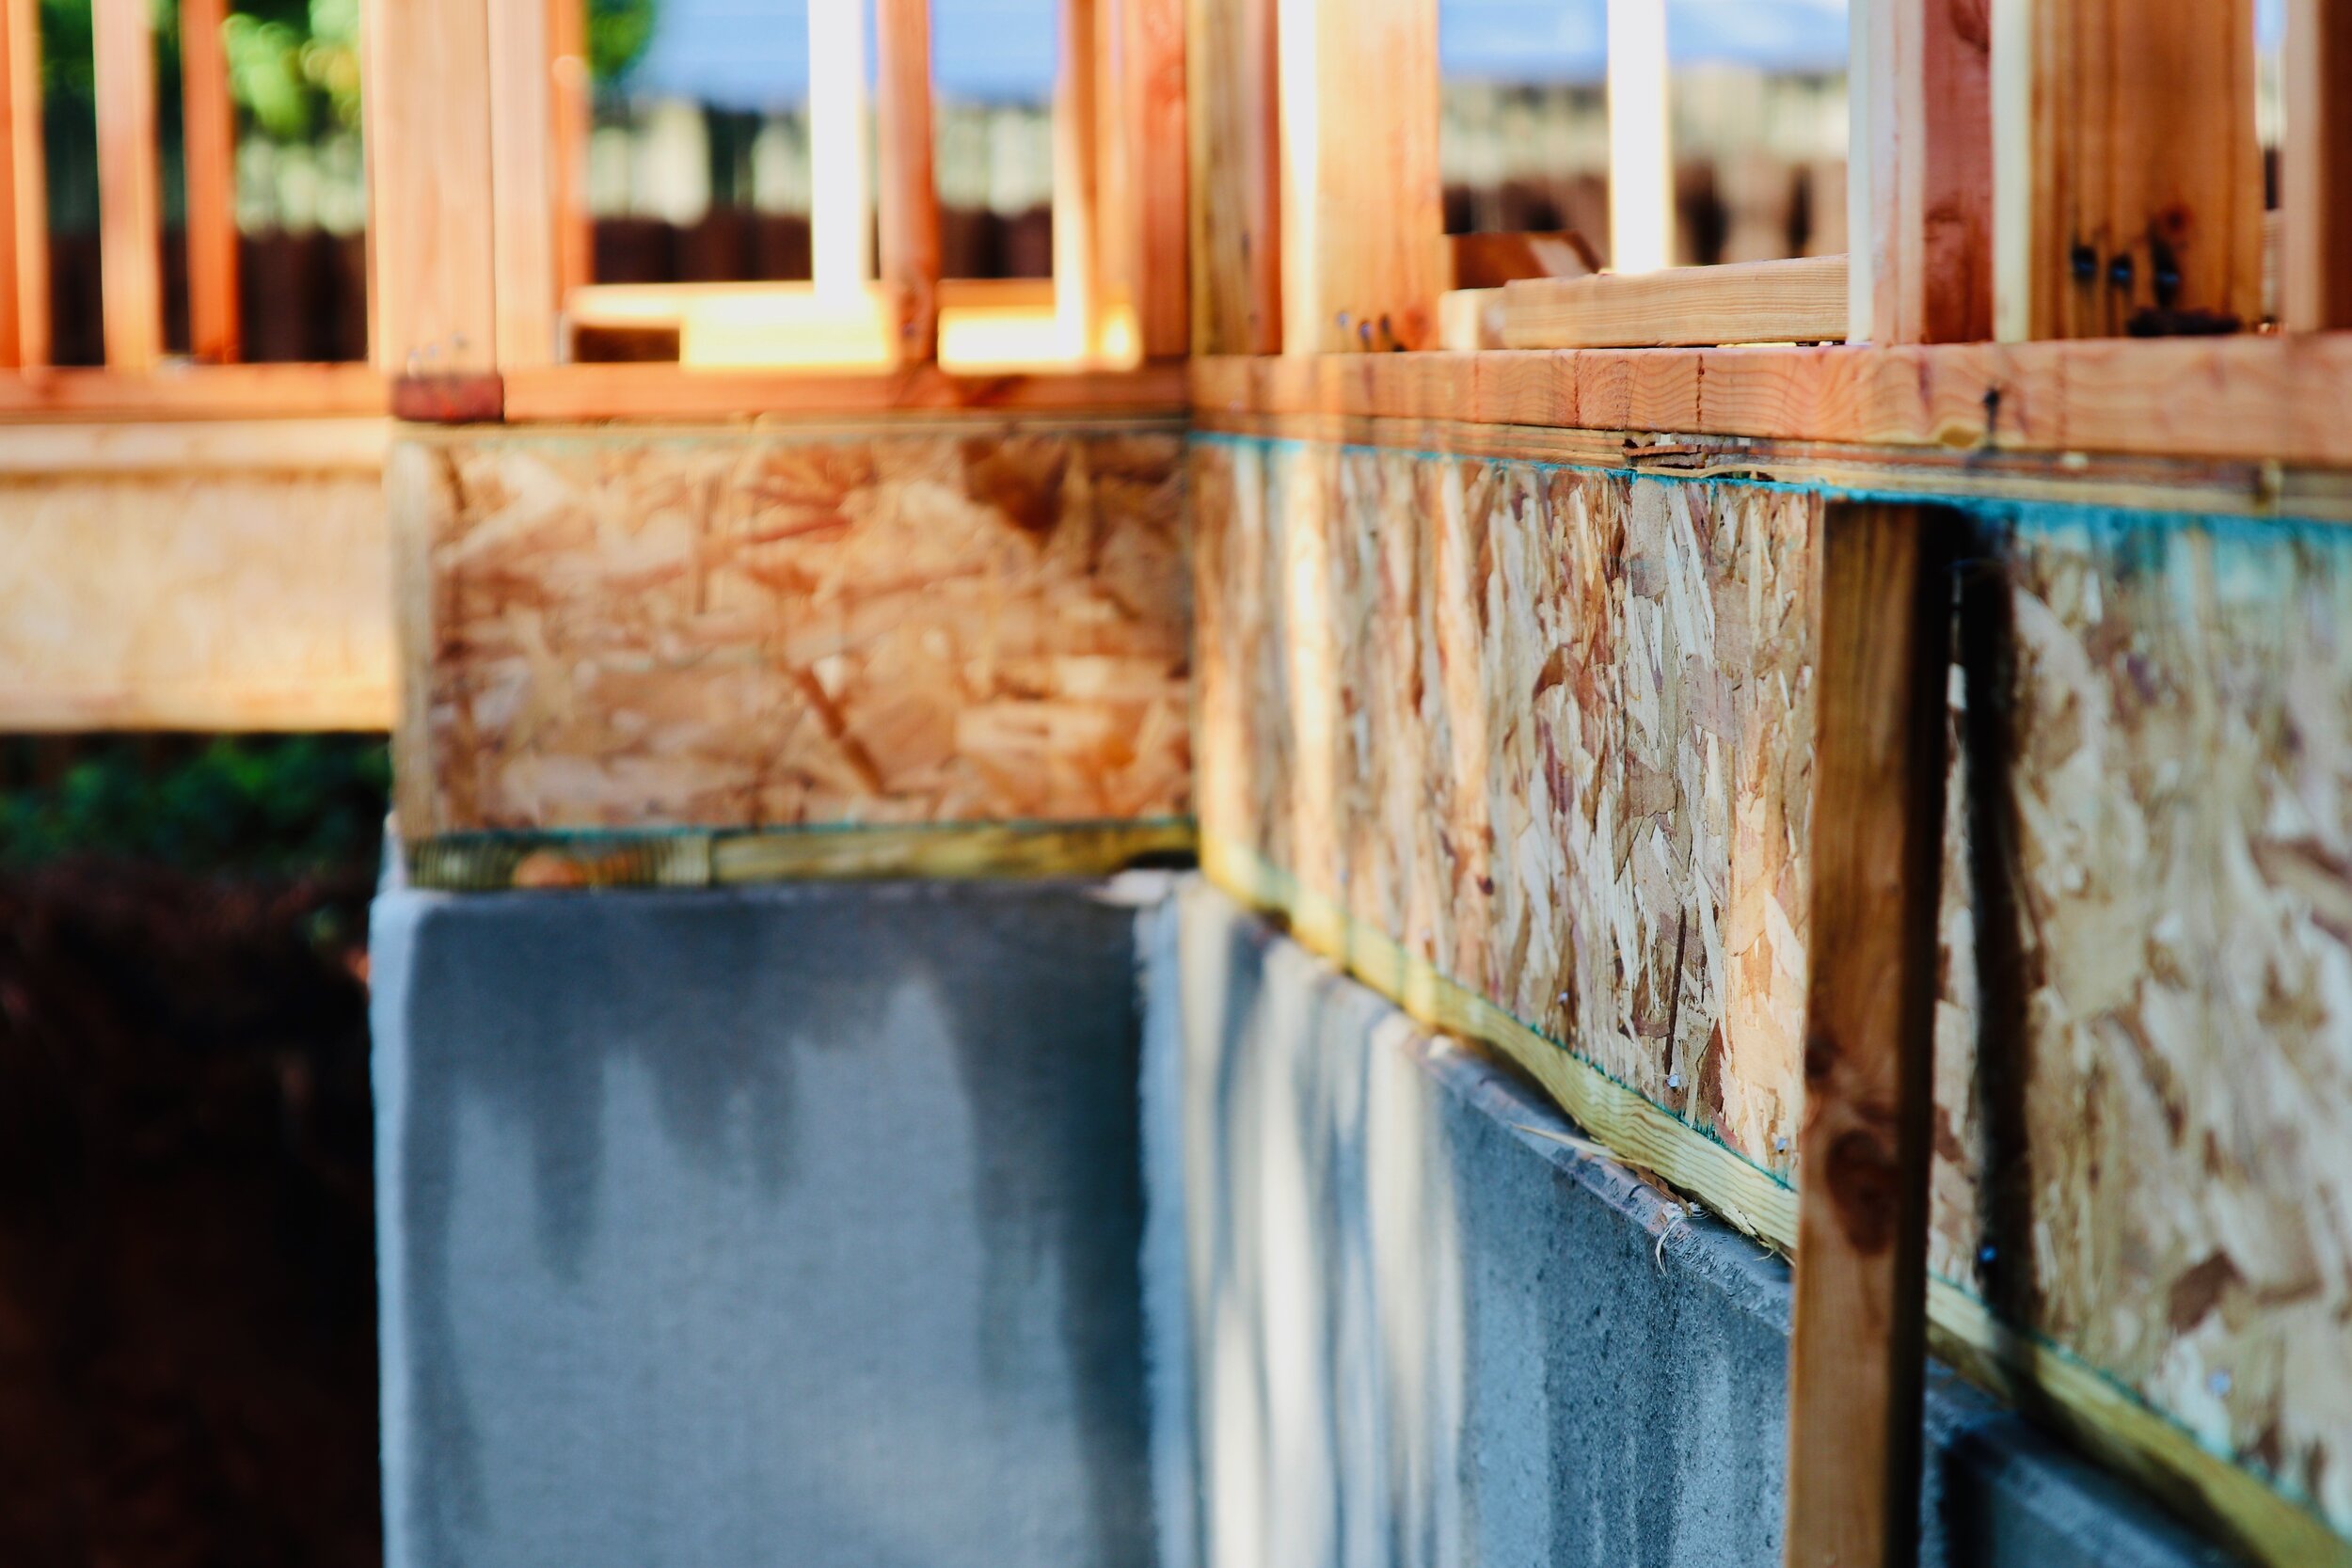
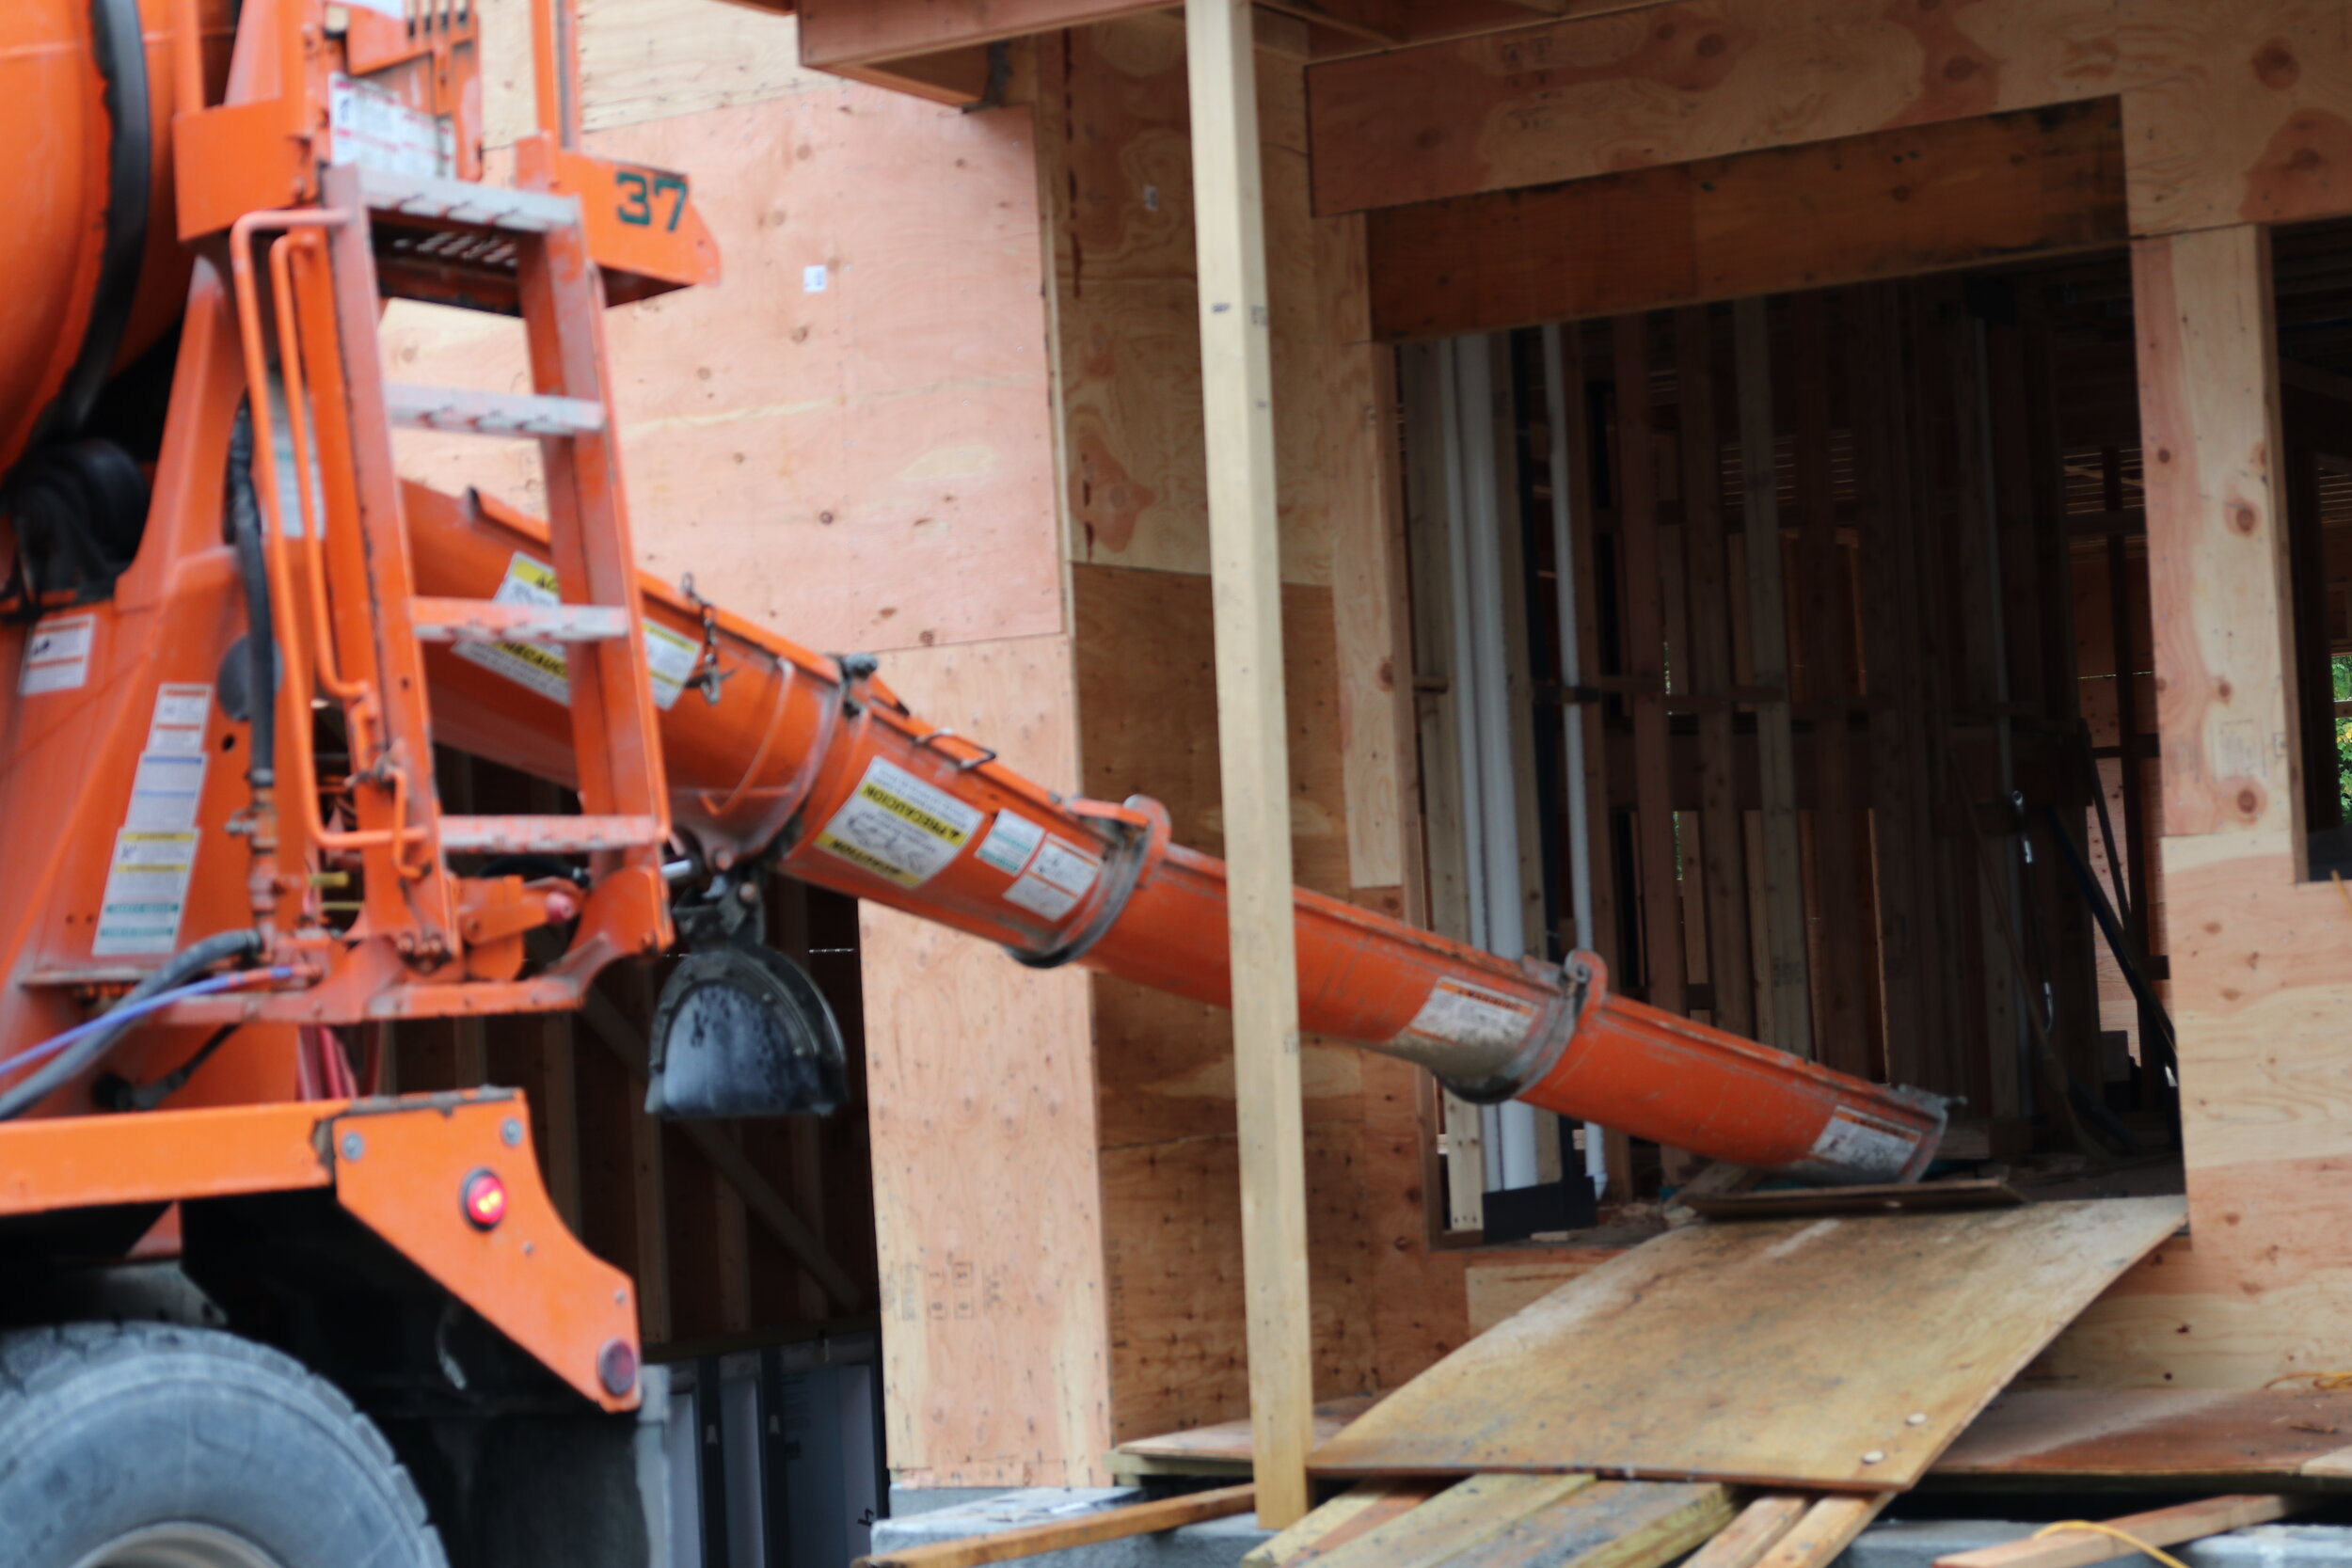
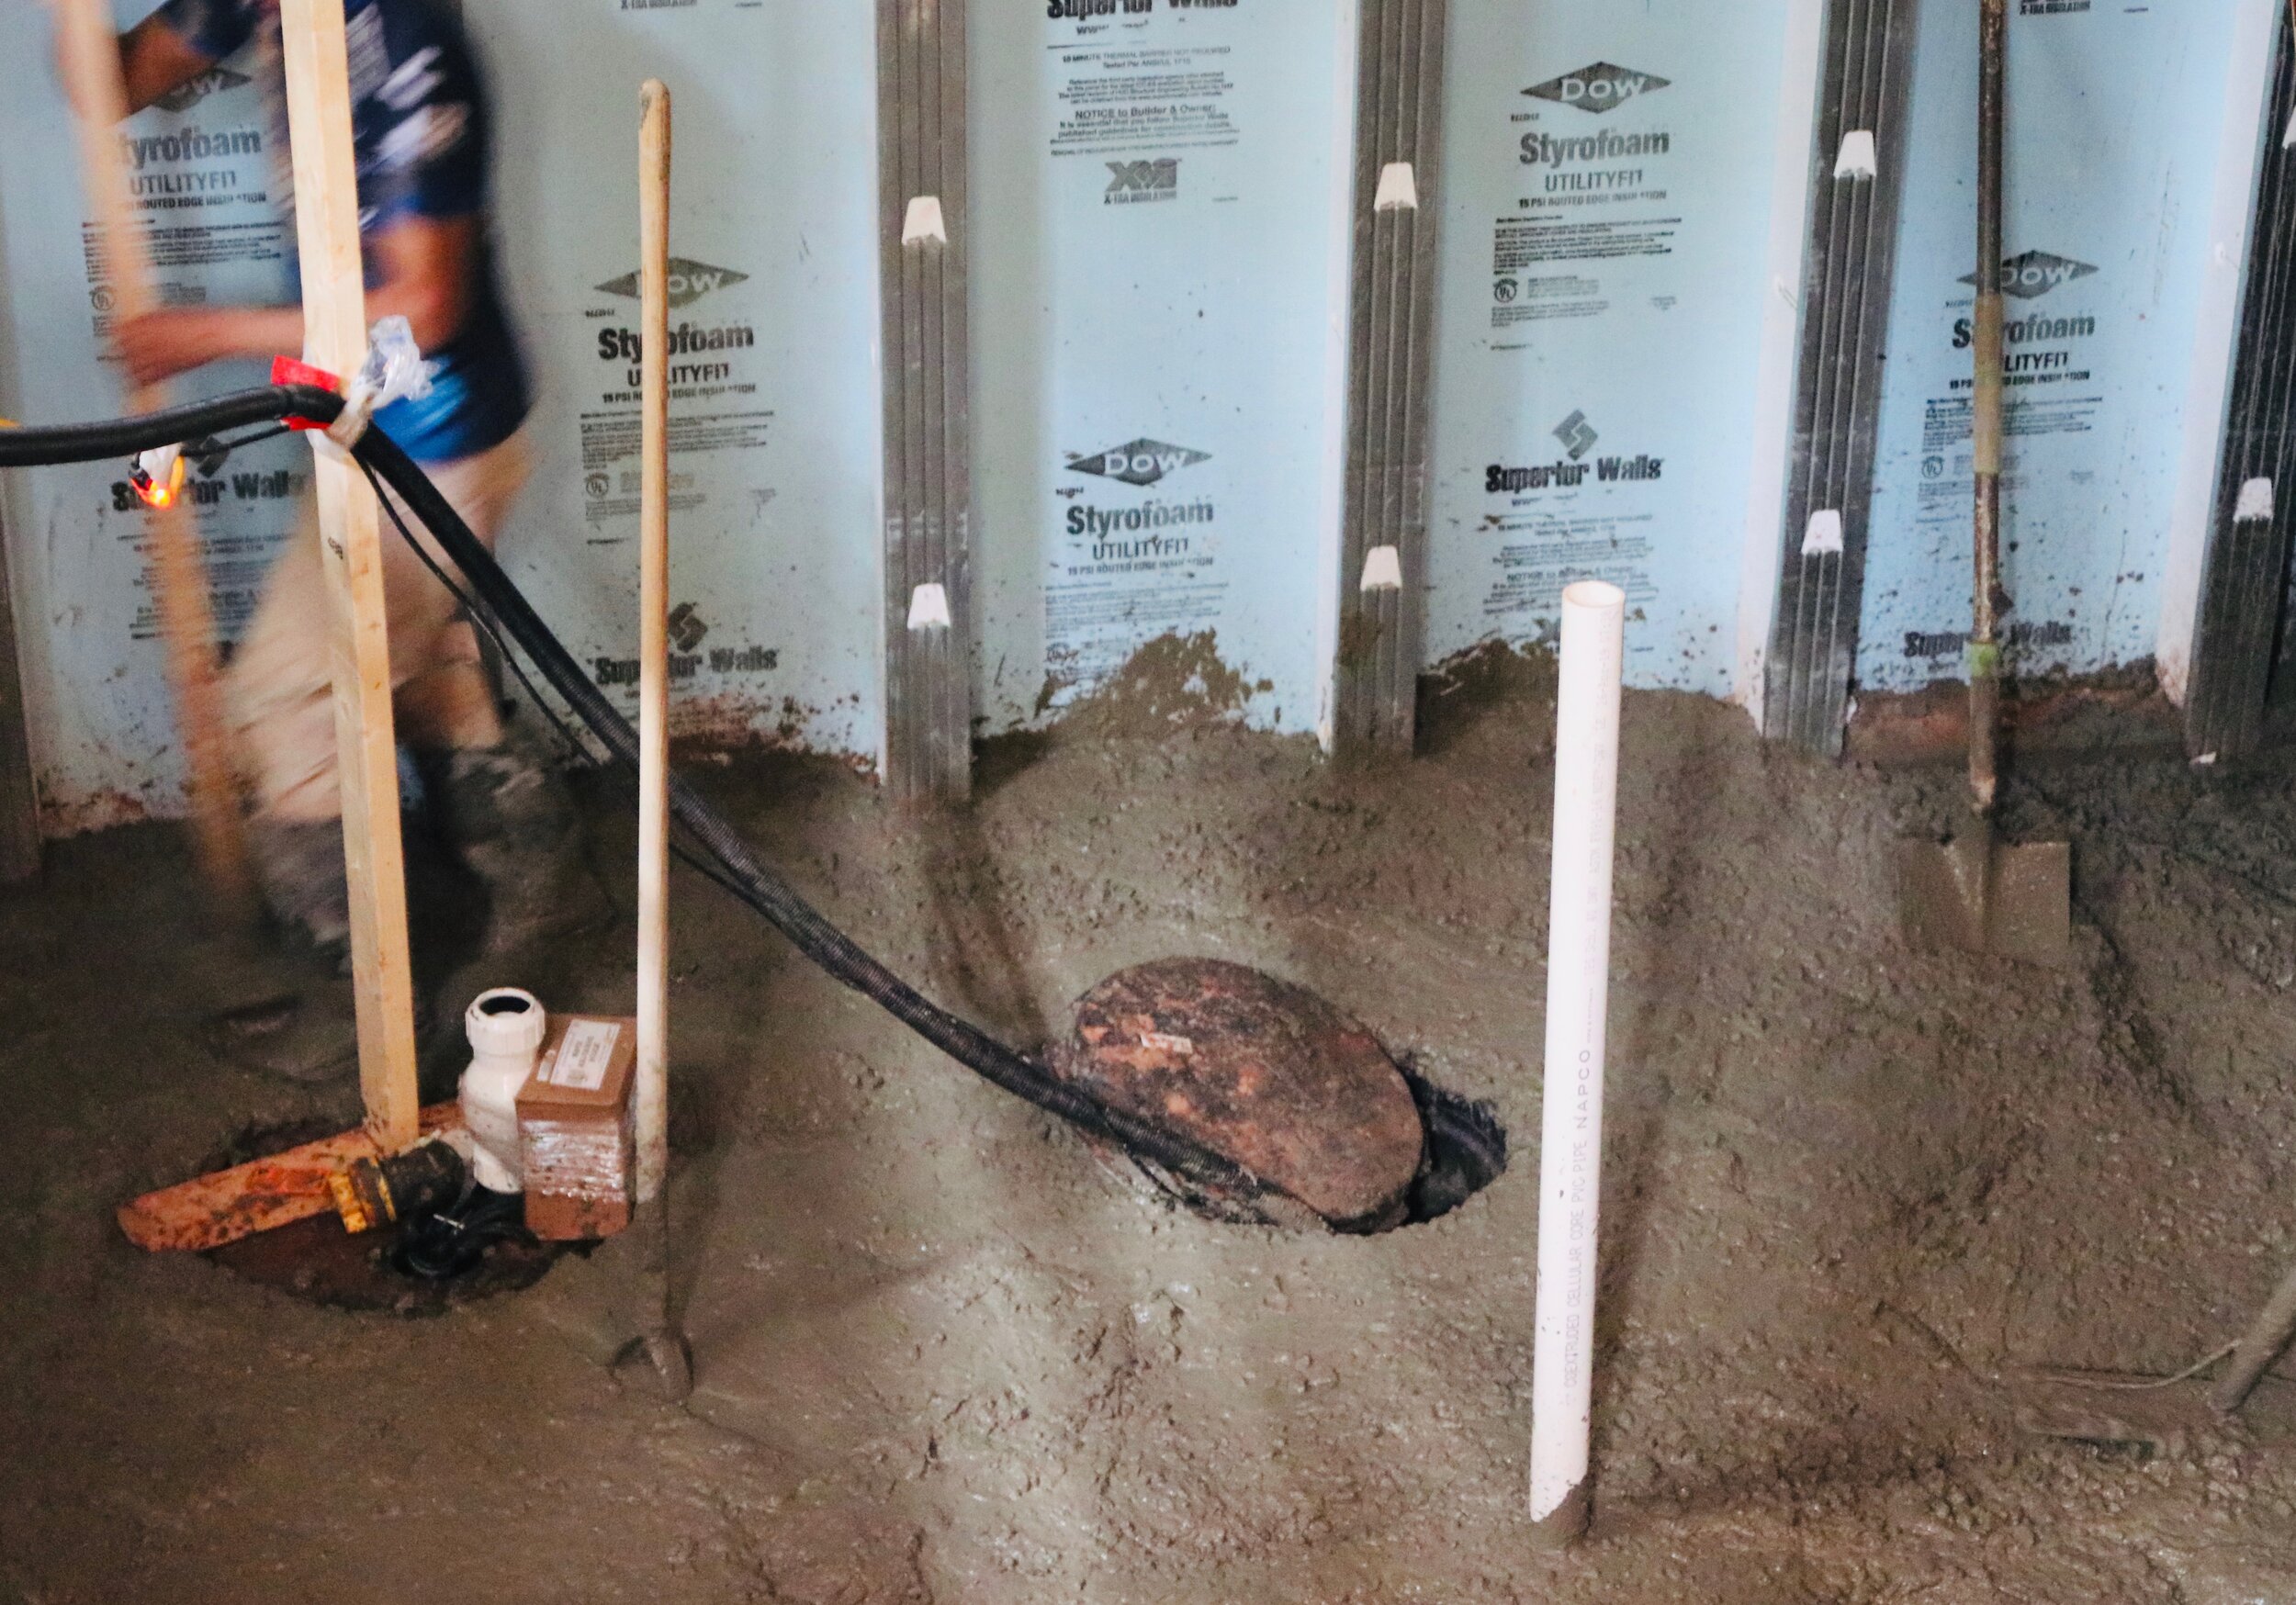
Basement Masonry
Until now the basement floor remained a layer of exterior stone fillers, originally laid as a way to provide a solid foundation and mitigate any ground water.
Now that the framing is complete and the french drain is installed, it’s finally time to pour the concrete basement floor. The builder installed a layer of 6 mil plastic sheathing on top of the crushed blue stone and wire mesh to give additional strength to the concrete that will be poured.

Mechanical Installations
Once the home is completely framed home and the basement floor has cured, the mechanical contractors can begin their work installing plumbing, electrical and the HVAC system (heating & air-conditioning.)
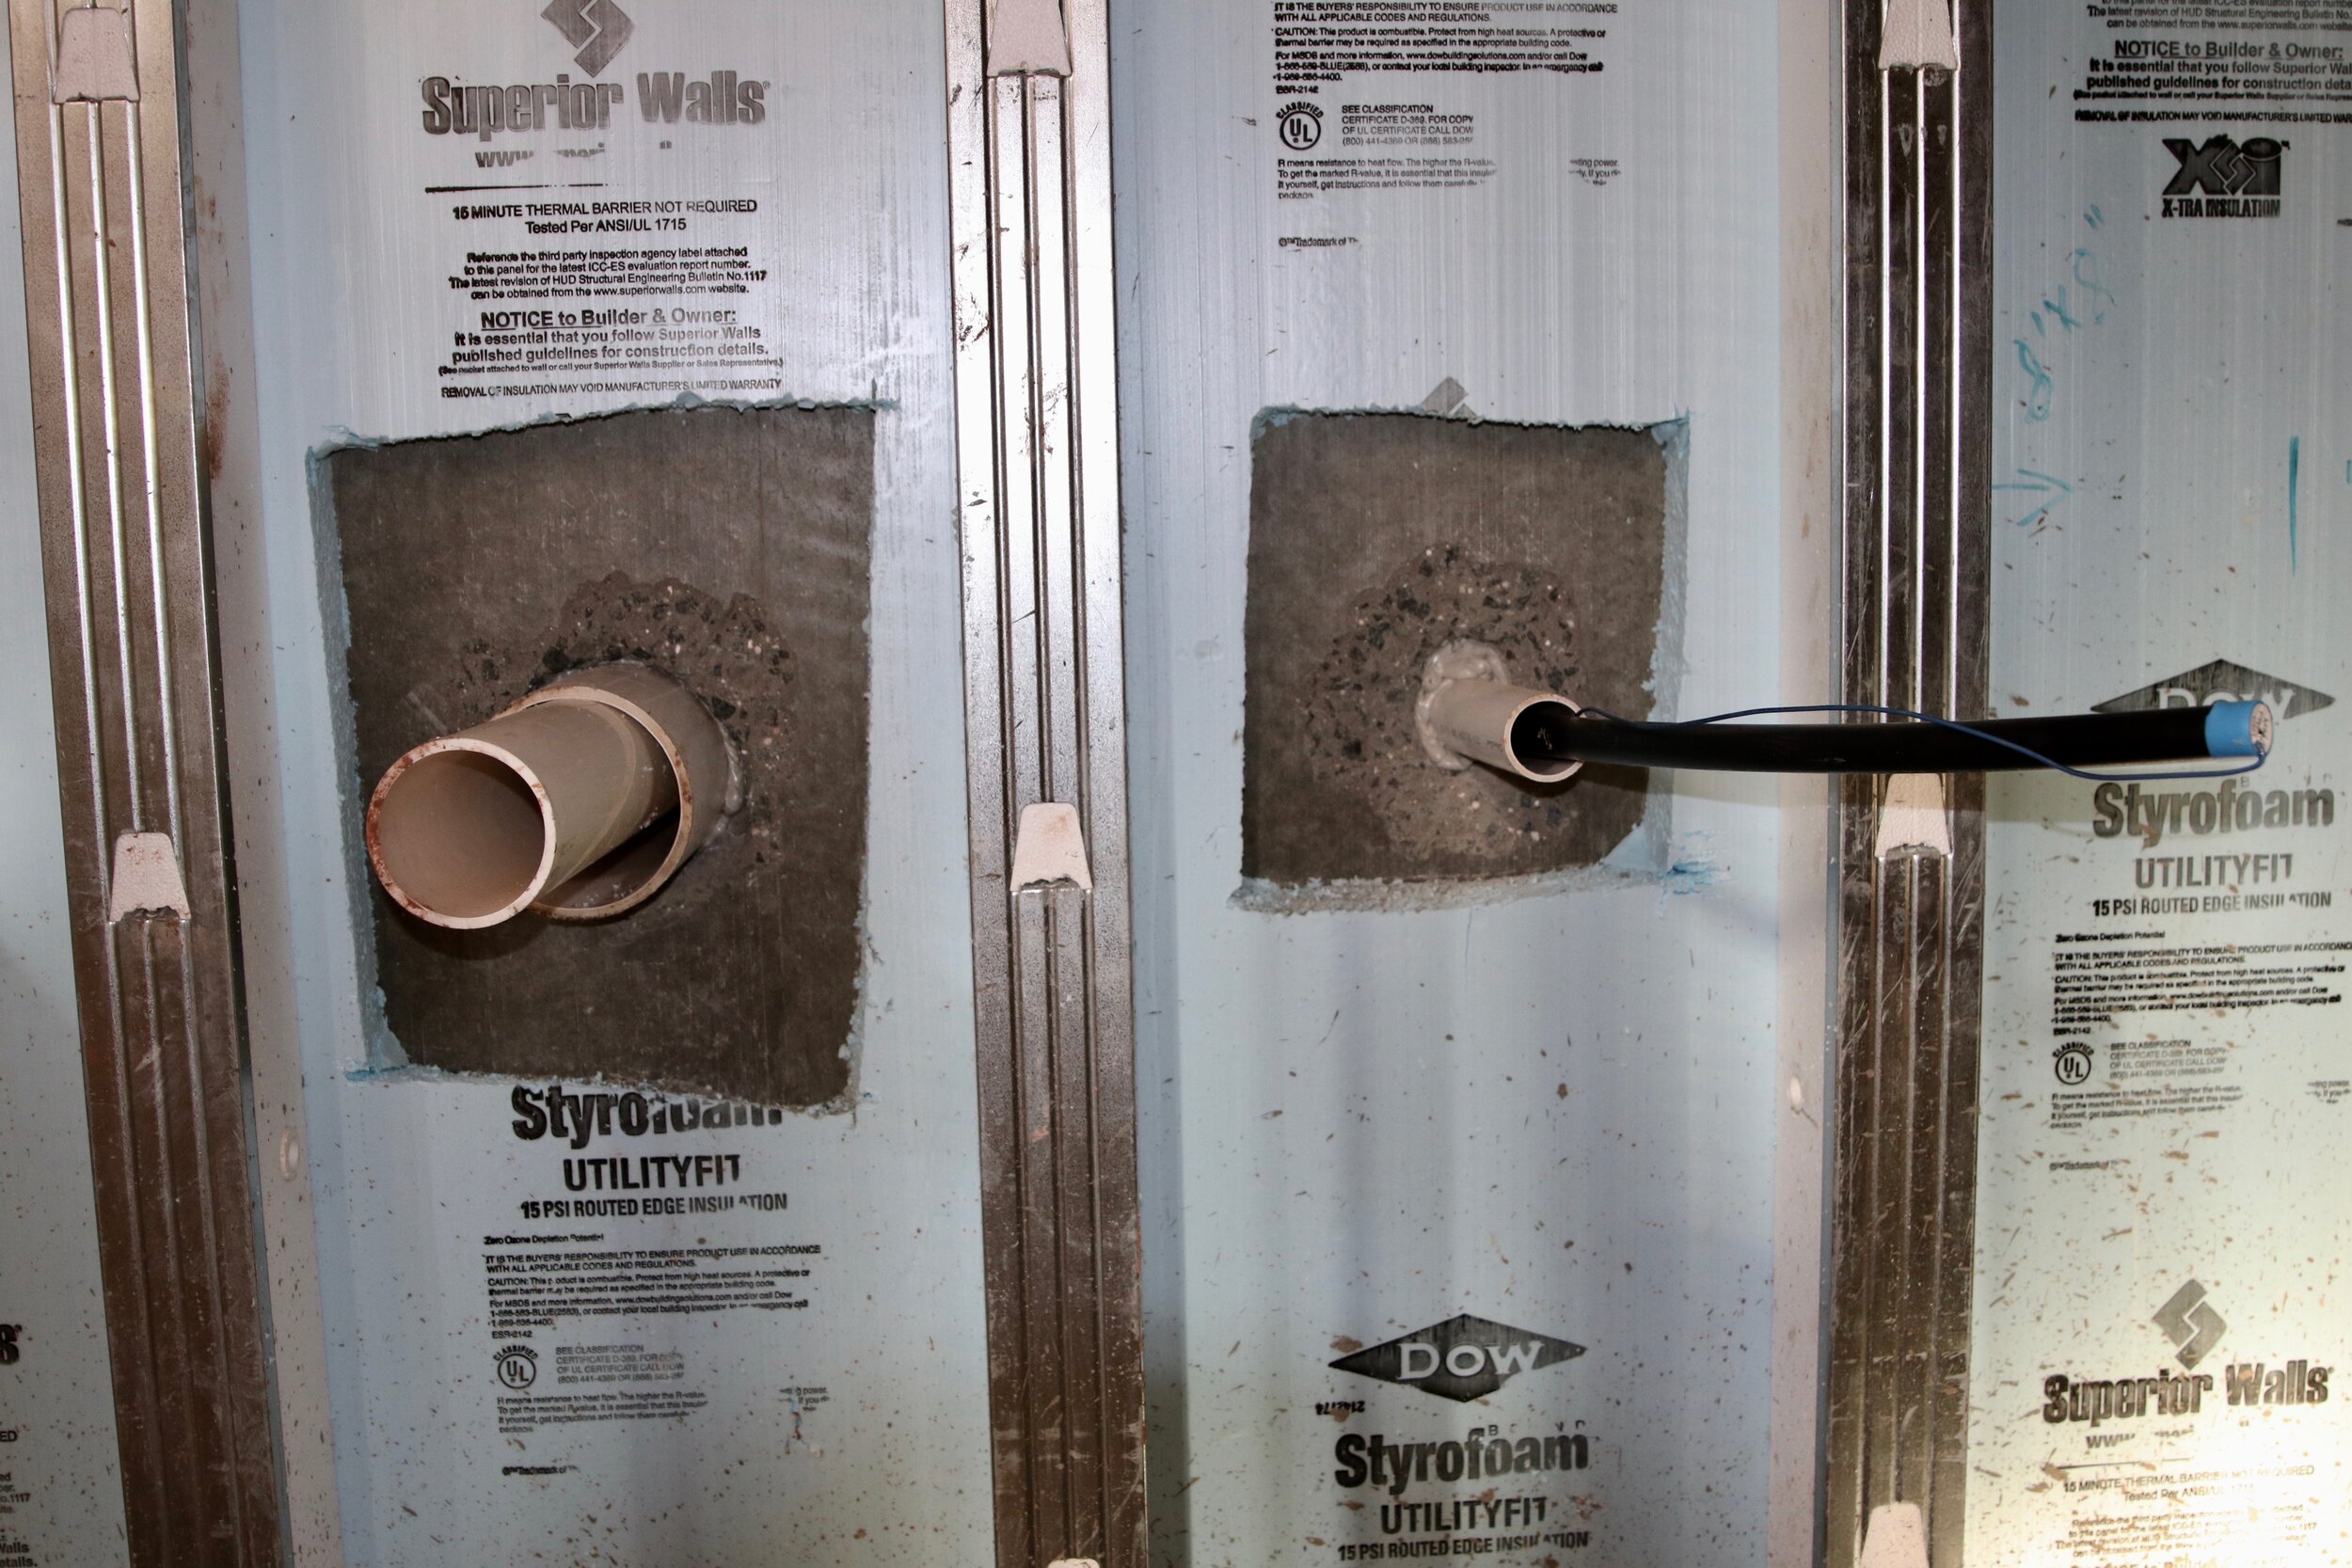

Plumbing Rough-In
Rough-in plumbing is step 1 in developing the plumbing infrastructure for the home. The goal for rough plumbing is to create a framework for the house without installing the finished fixtures.
The rough gives the plumbing inspector the opportunity to green light the bones of the plumbing operation while the builder still has the ability to work without the majority of the plumbing pipes.
Installing complete plumbing now poses an obstacle to the remaining house finishes, so the plumbing finishes will be added toward the end of the build.
Electrical Rough-In
Much like the plumbing rough-in, electrical includes everything that lives inside the walls – switch boxes, wires, conduits and main / sub electrical panels. The rough-in electrical inspection occurs prior to the insulation and sheetrock so the inspector can clearly see all of the wires that lead from the main panel throughout the home.
Some wires are strung through studs leading to wall and ceiling boxes, never a weight supporting beam. At this point no switches, outlets, or lights are installed.
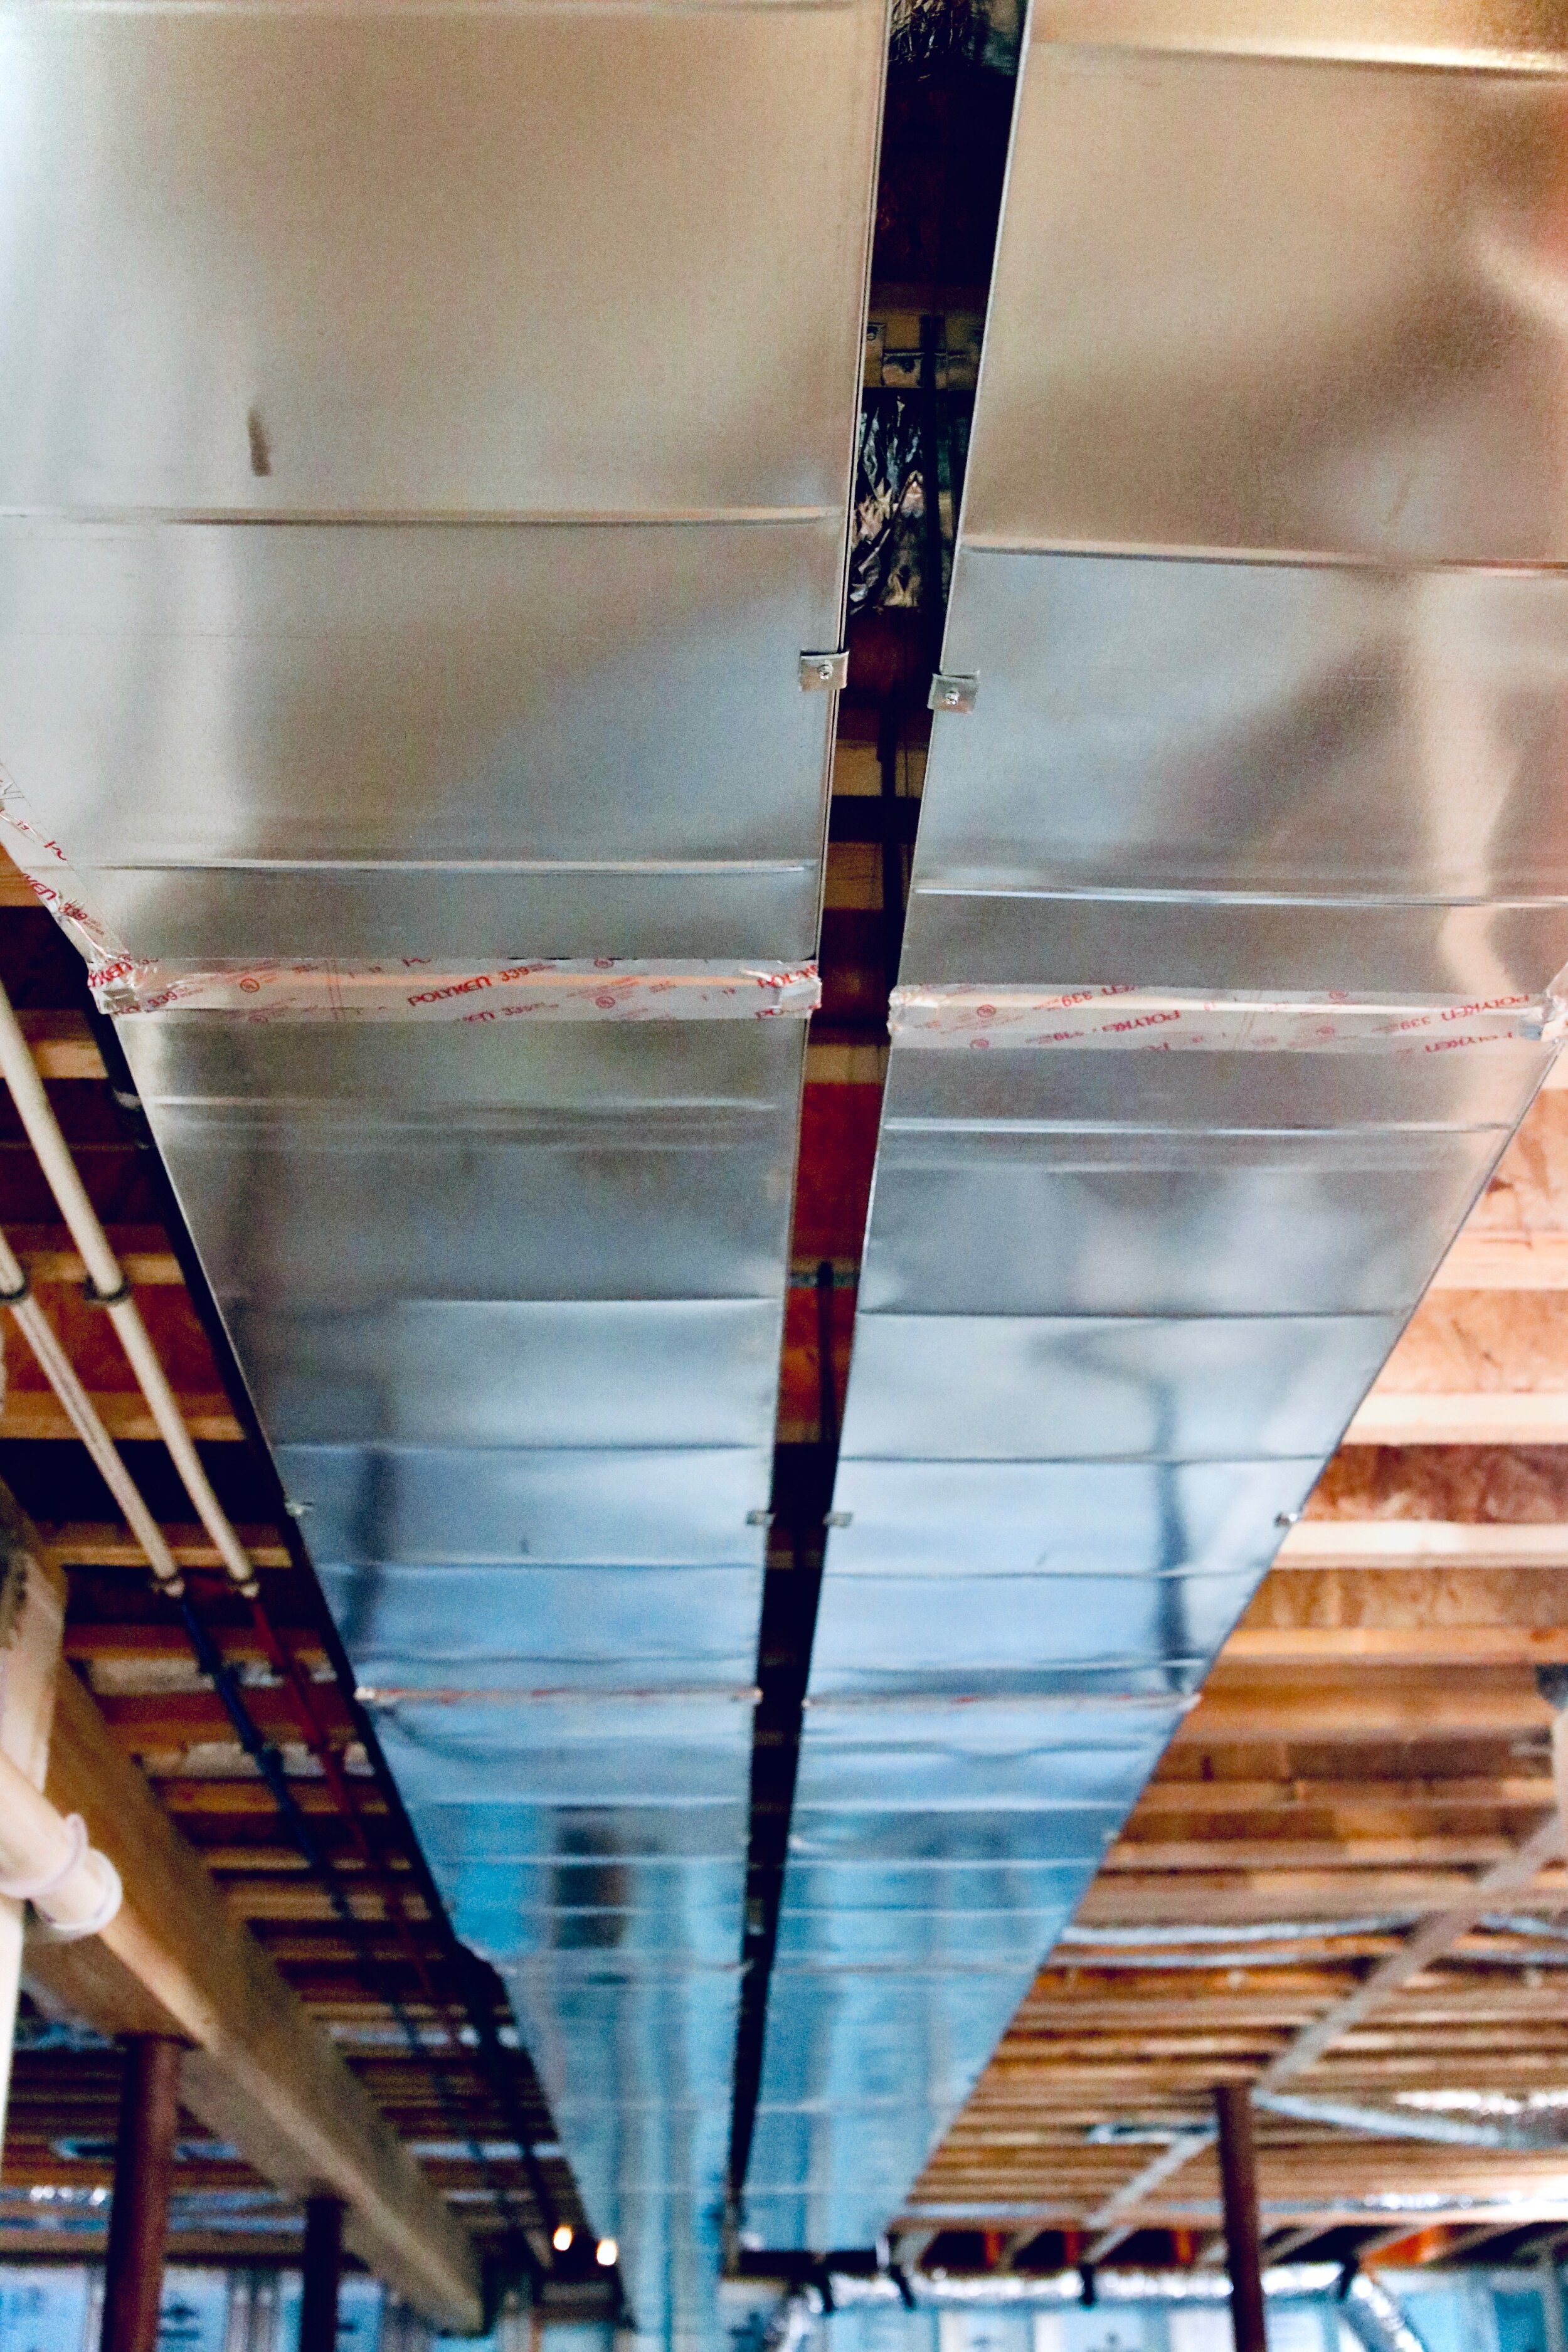
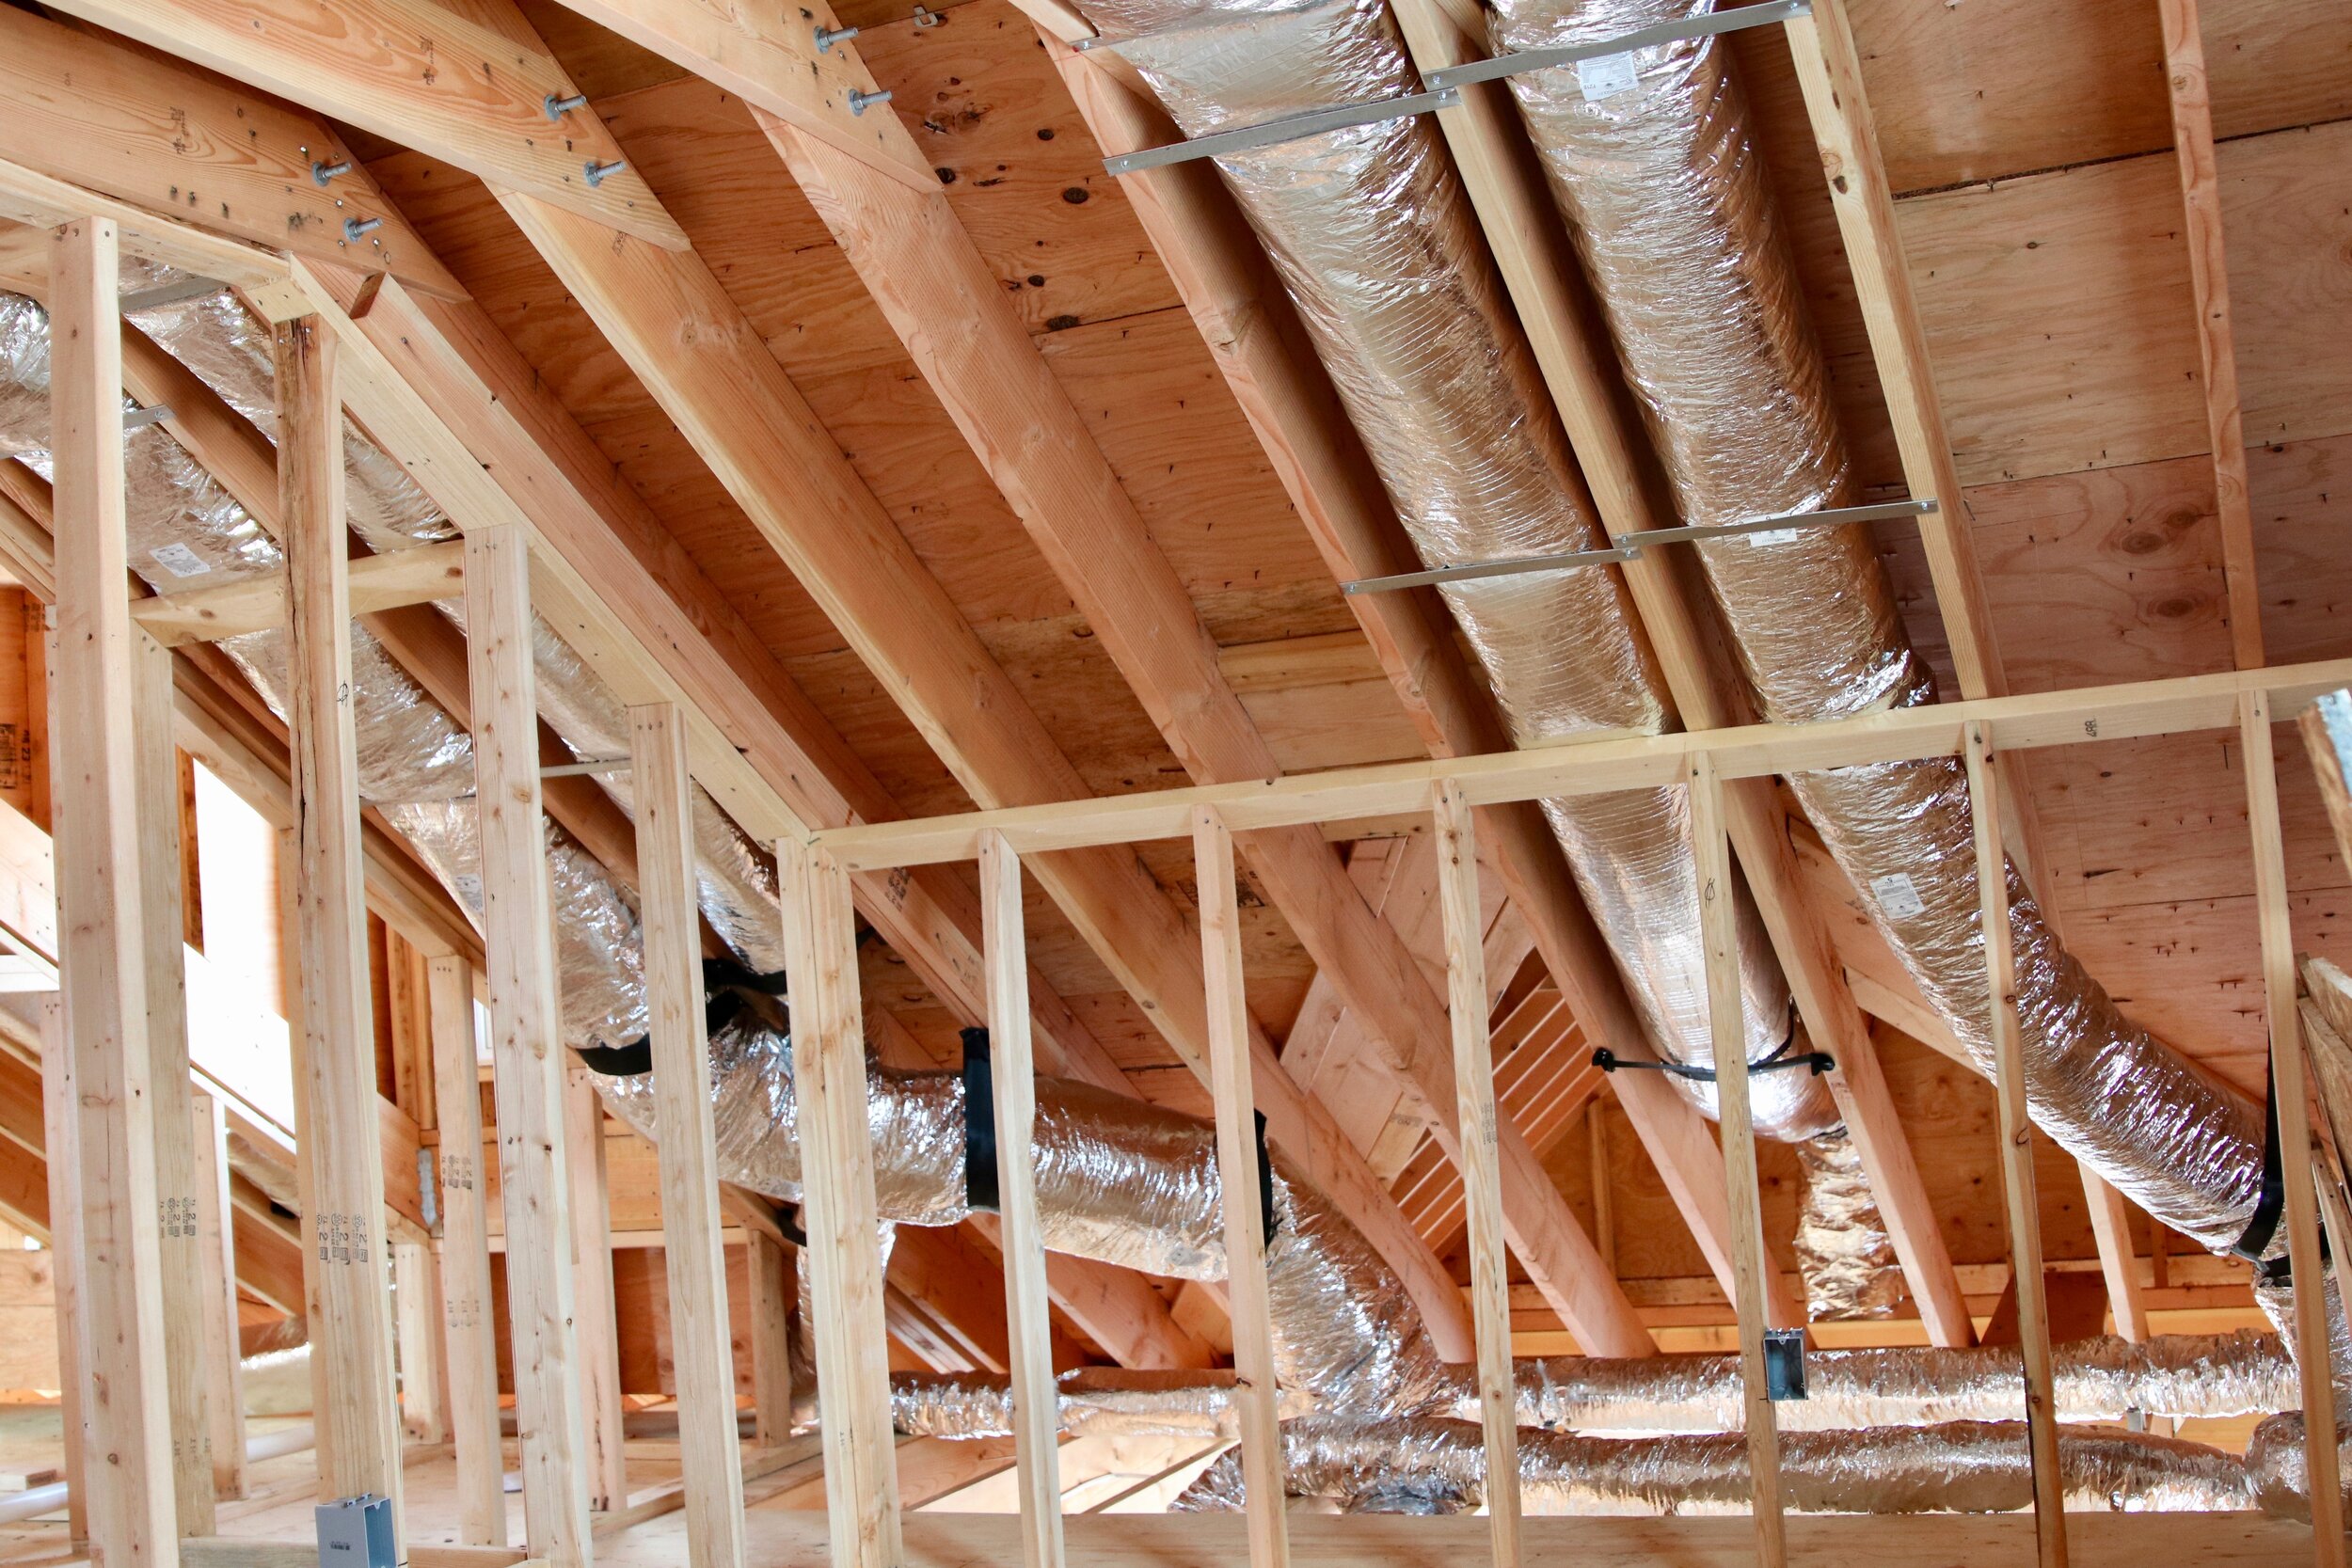
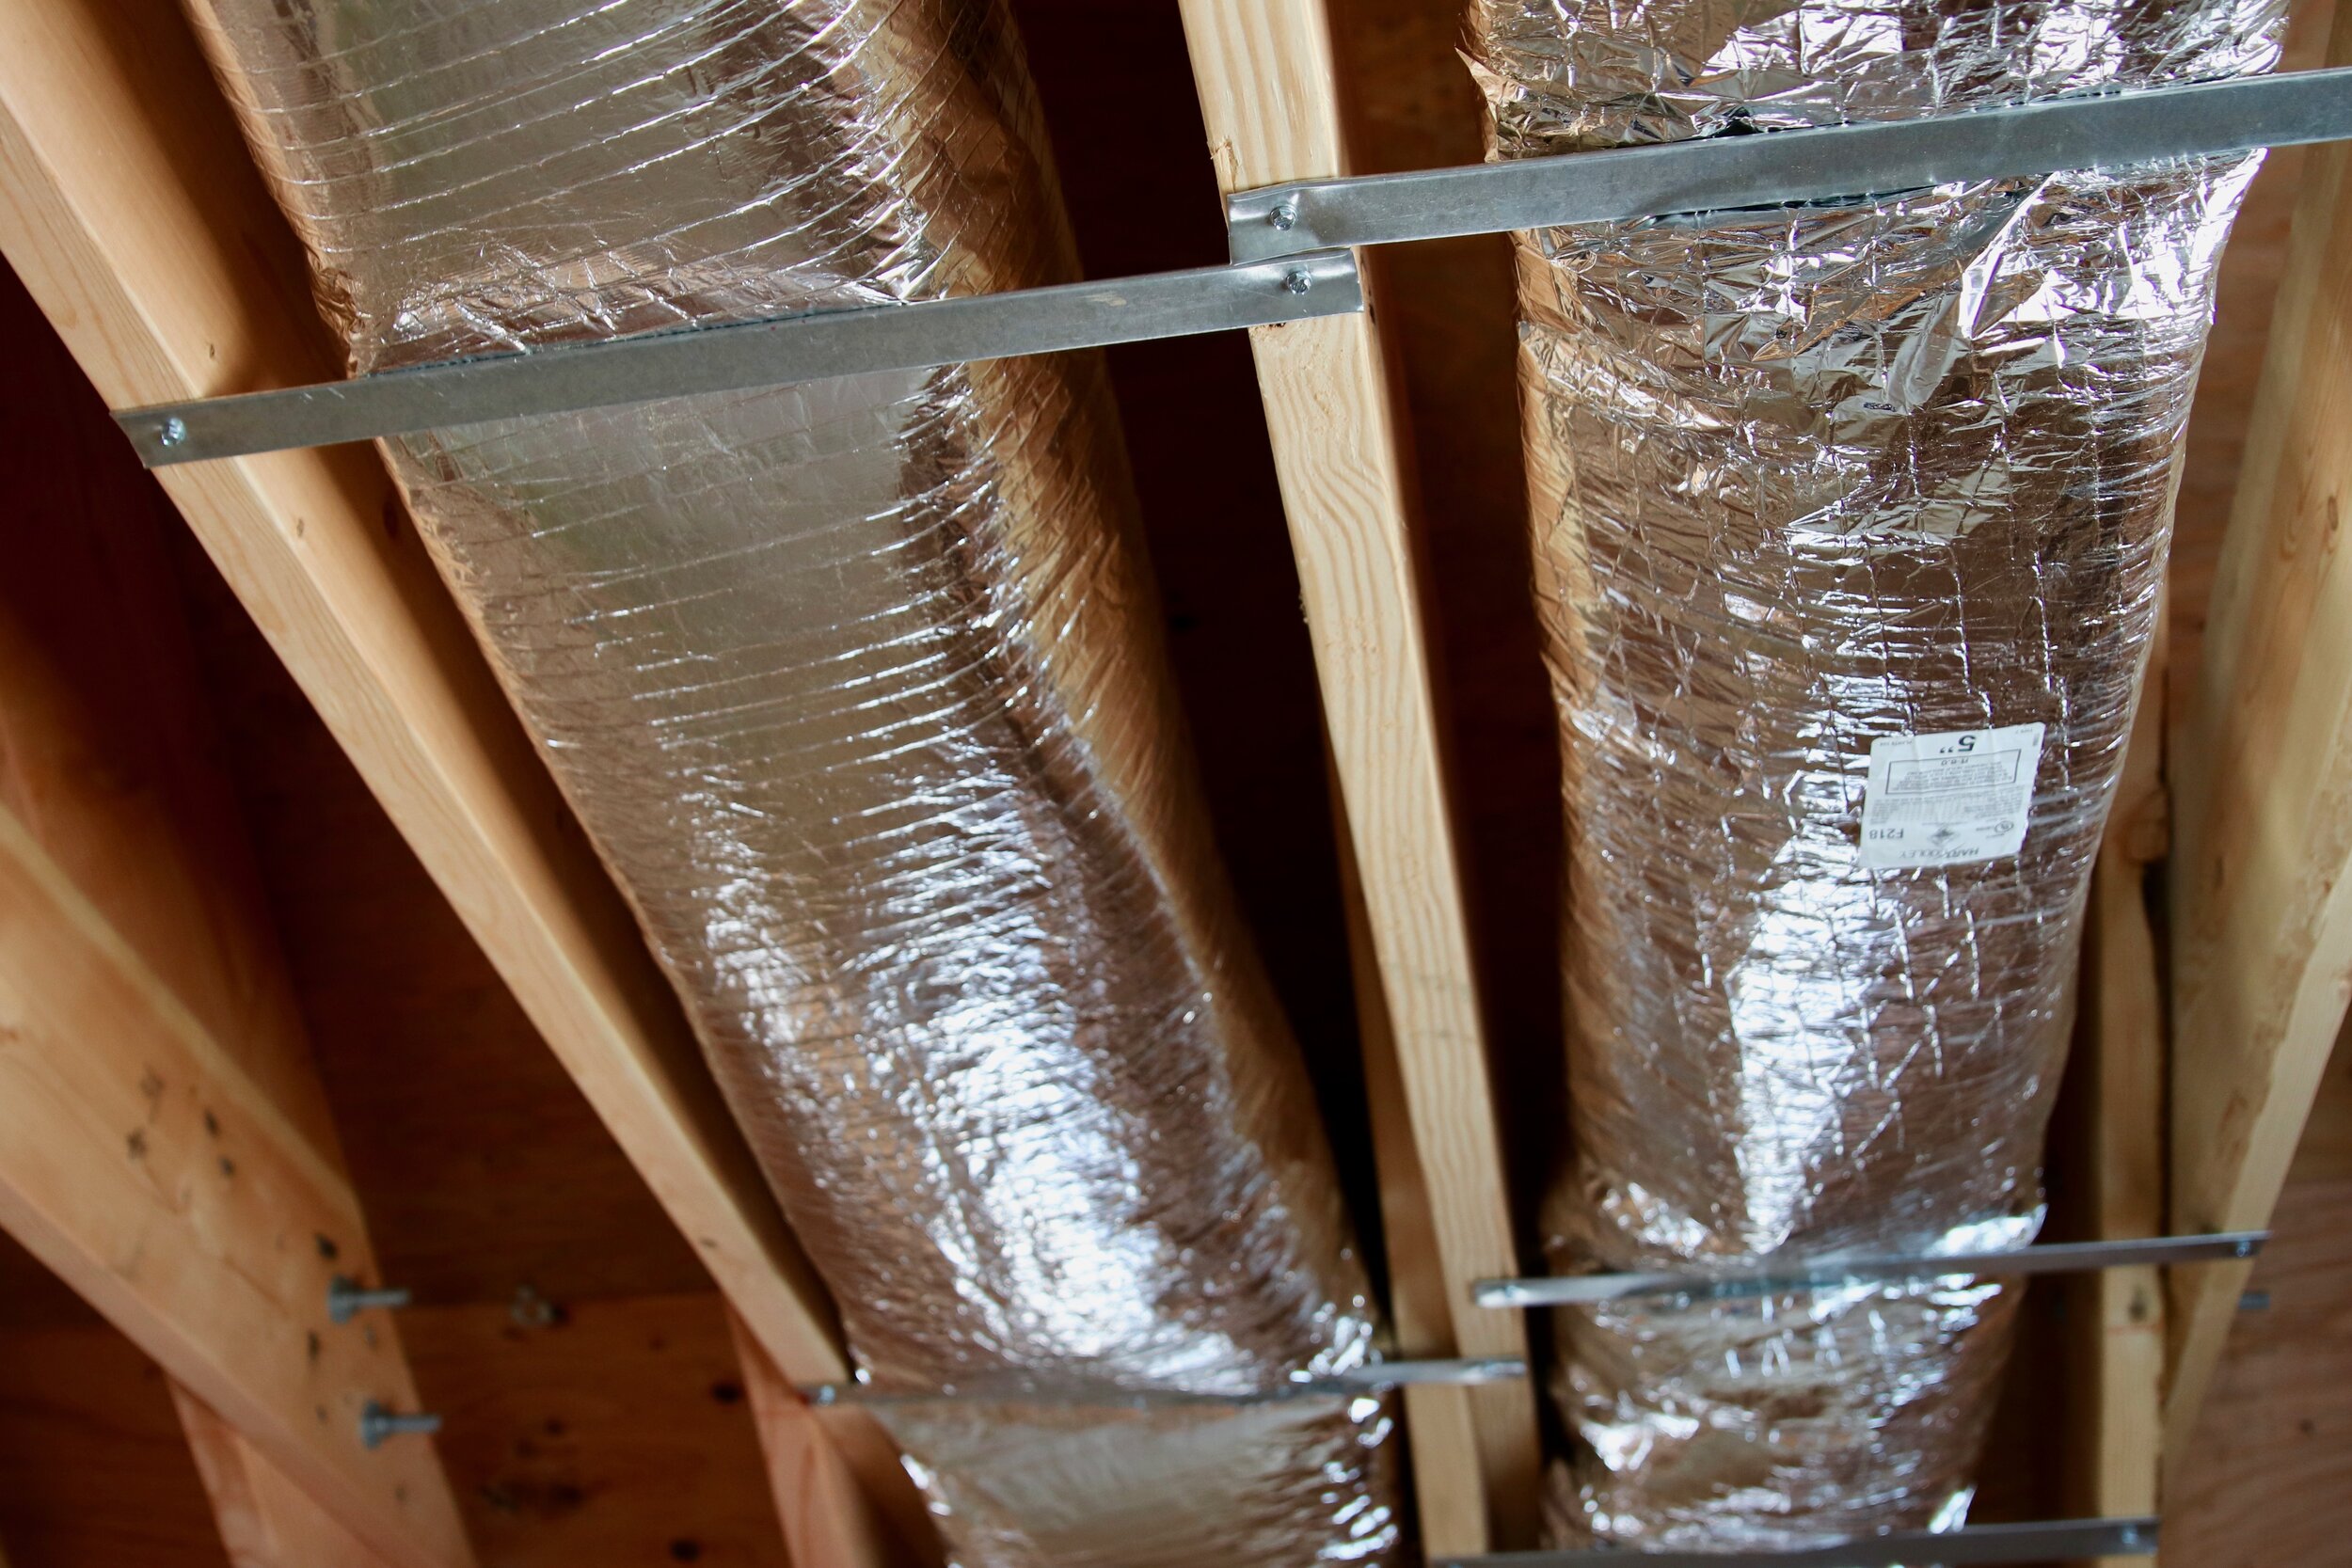
HVAC Rough-In
The installation for HVAC calls for ductwork with supply and return. The Arlington house is designed with a 2 zone system – one unit in the attic that services the 2nd and 3rd floors, and the basement unit that services both the basement & first floor.
Air handlers and line set are installed for each zone. The line set is the copper piping that cycles the refrigerant from the outdoor condenser to the indoor evaporator coil.
Thermostat wiring is run to specific locations in the home – one thermostat for each zone. In the final install, the diffusors (grills) are installed along with the thermostats and the condensers (air-conditioning units) outside the house. The ductwork for each bathroom exhaust fan and the kitchen hood is installed as well.
Finally, gas lines are also added as a means to heat the forced hot air that will be pushed through the system.
Return Of The Framers
Once the rough-ins are complete, the framers returns to box in anything that needs to be framed.
This might include the trunk line (return and supply line/ductwork), basement closets, basement bathroom, and any penetrations that were made by the mechanical contractors (plumbers/HVAC).
The framers repair all penetrations made by the mechanical contractors to ensure the integrity of the structure as originally intended, and to be sure everything is in fact to code.
House Wrap
Prior to the siding install, house wrap is layered on top of the sheathing giving the home a weather-resistant barrier, keeping moisture out and improving energy efficiency. House wrap can improve the R-Value of the home keeping the home warmer in the colder months and cooler during the summer.
The siding team uses Dupont’s Tyvek, the most dependable and prevalent house wrap on the market.
Sheathing, soffits, windows and protrusions from the home like electrical, plumbing and HVAC are all wrapped.
Siding
Siding is cut and layered on top of the sheathing and house wrap layers to beautify and protect the exterior of the home. The Arlington house is draped in James Hardie’s top selling product, HardiePlank® lap siding (8 ¼ Cedar Mill Arctic White). HardiePlank is a fiber cement board and James Hardie’s most popular siding. According to James Hardie, HardiePlank is also the most popular brand of siding in North America.
HardiePlank is a fiber cement board - a composite cement and cellulose fiber material. It's a popular option for new builds because it is impact resistant to bad weather, unaffected by termites, and won't rot over time like wood.
HardiePlank (and other brands of cement board) come in various colors or are primed to paint. One huge advantage for pre-colored fiber cement planking is that it won’t fade or need to be painted for 20+ years.
Rough & Framing Inspections
Now that all three of the mechanical rough-ins are complete– the builder calls for the rough inspections: HVAC, Plumbing, Fire (fireplace) and Electrical.
Once all mechanicals pass inspection, we call for the framing inspection.
The framing inspector makes sure that everything is done correctly. They are also checking to be sure that the mechanical contractors did not cut or drill through any framing. NJ code explicitly says that you may only nail to the LVL’s/Microllam’s. You cannot drill, cut, or disturb the LVL/Microllam.
Once all of our inspections are complete, the next step is insulation.